70 cutlass supreme convertible my first frame off

Thread Tools
 
Search this Thread
 
Old April 17th, 2021, 01:36 PM
  #121  
Registered User
 
Phoenix8990's Avatar
 
Join Date: Dec 2018
Location: Asheville NC
Posts: 1,160
I agree with you, a lot of little pieces vs. some big ones. Just the firewall and rust under the dash makes it look pretty endless, but you wouldn't be the first to take something like that on. I think that you'll be happier in the long run with the one your working on. It looks like it has good bones and will come out nice.

Steve
Phoenix8990 is offline  
Old April 17th, 2021, 06:51 PM
  #122  
Registered User
Thread Starter
 
tkcutlass's Avatar
 
Join Date: Jan 2020
Location: CT
Posts: 1,135
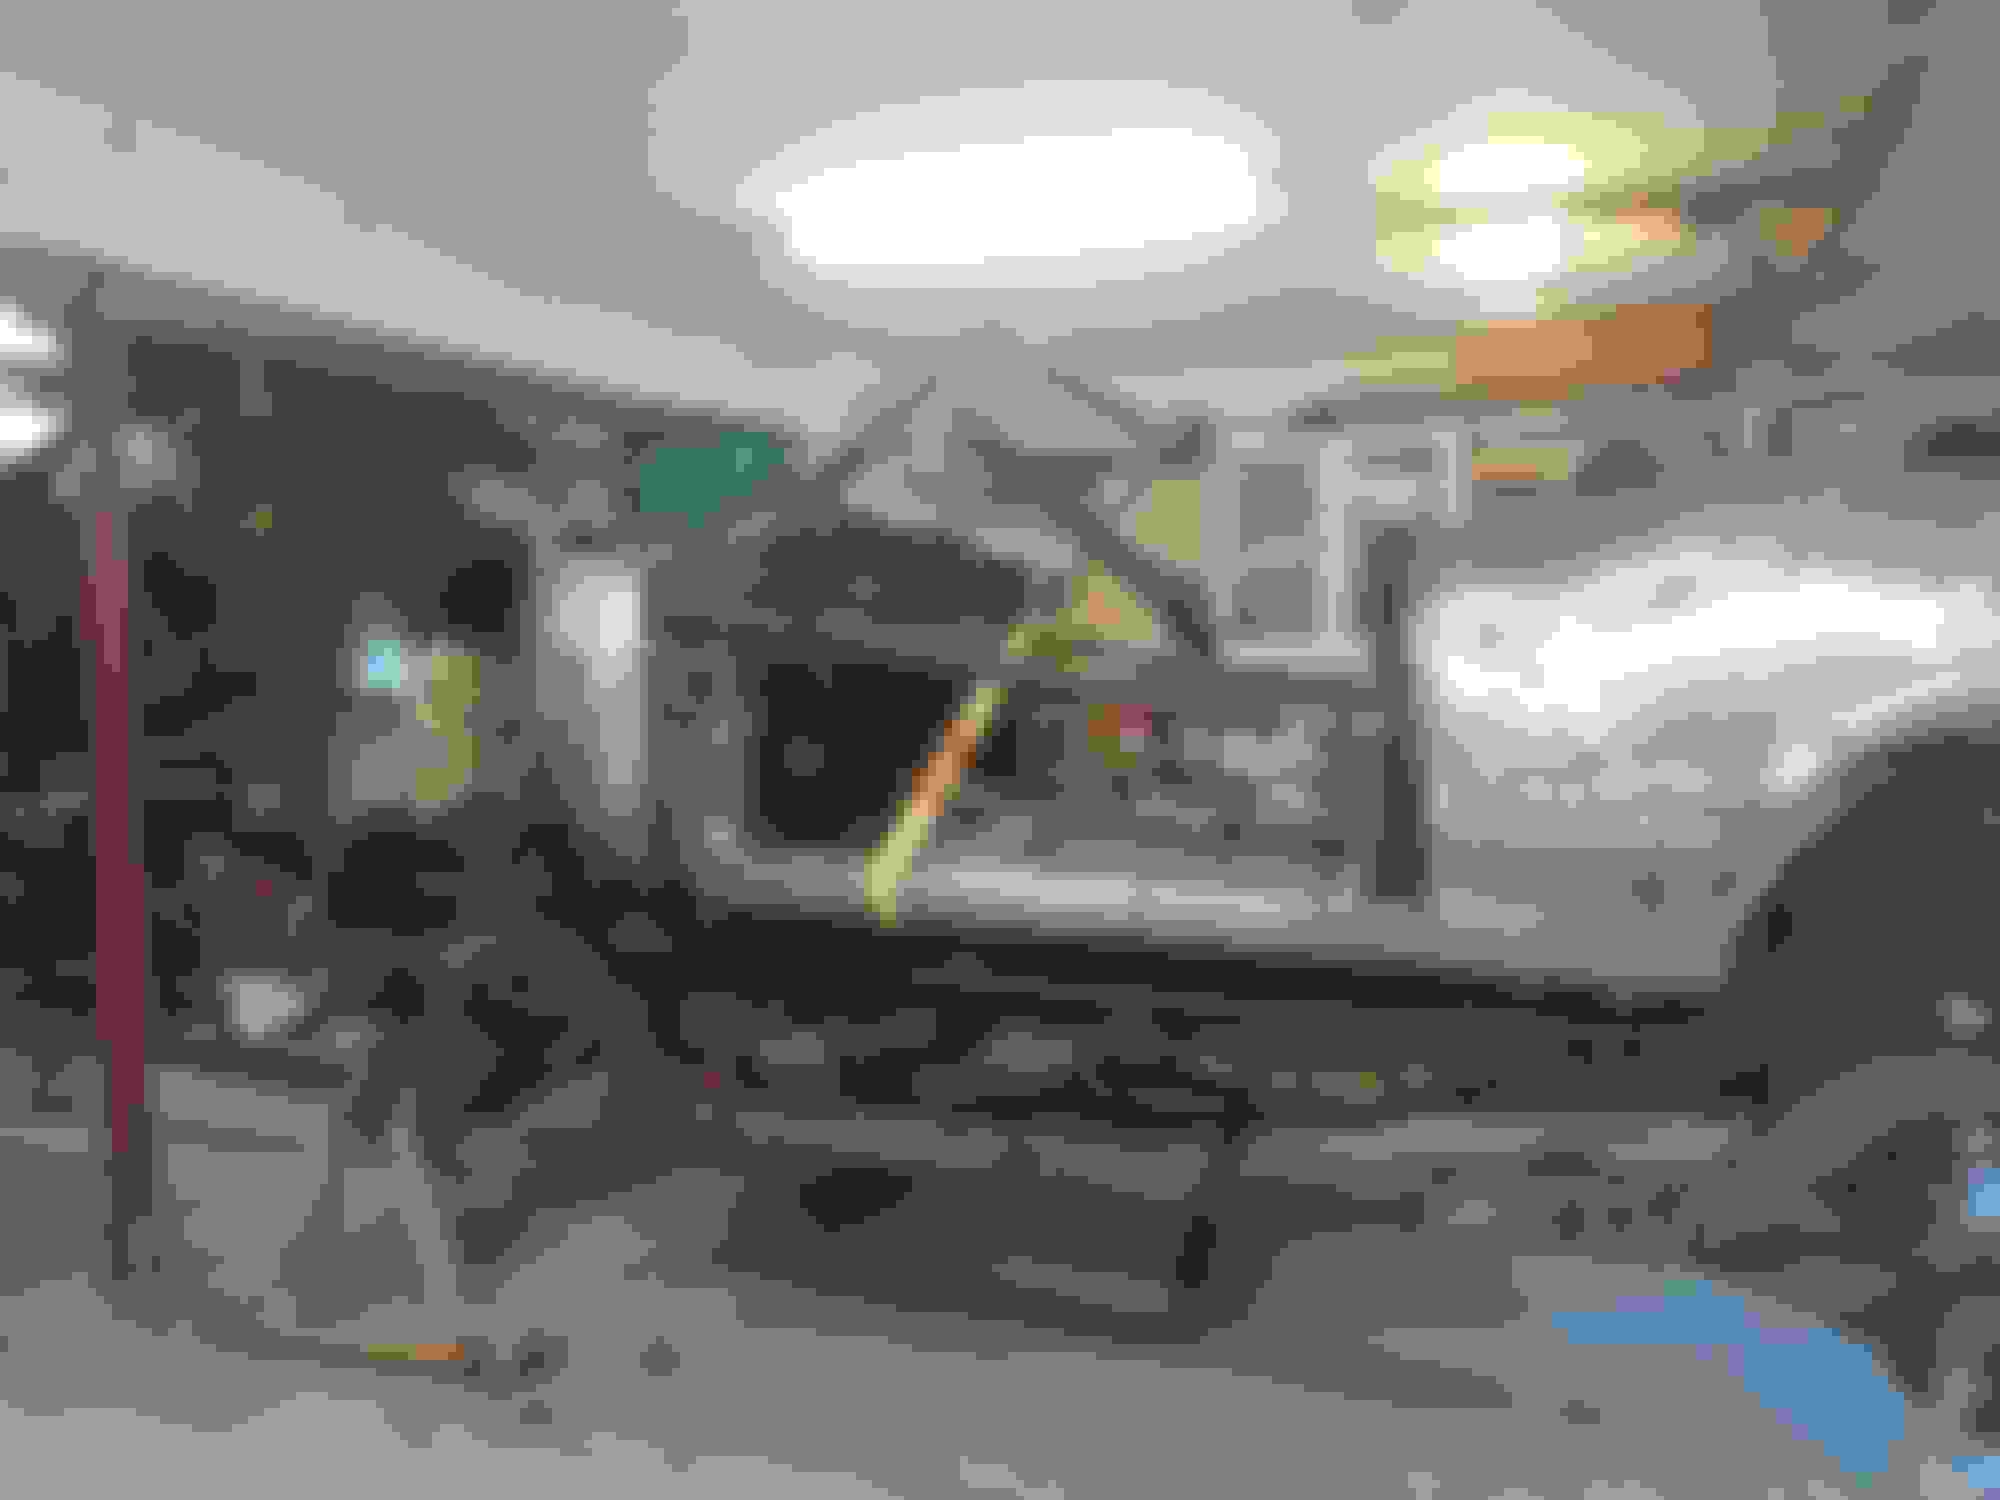
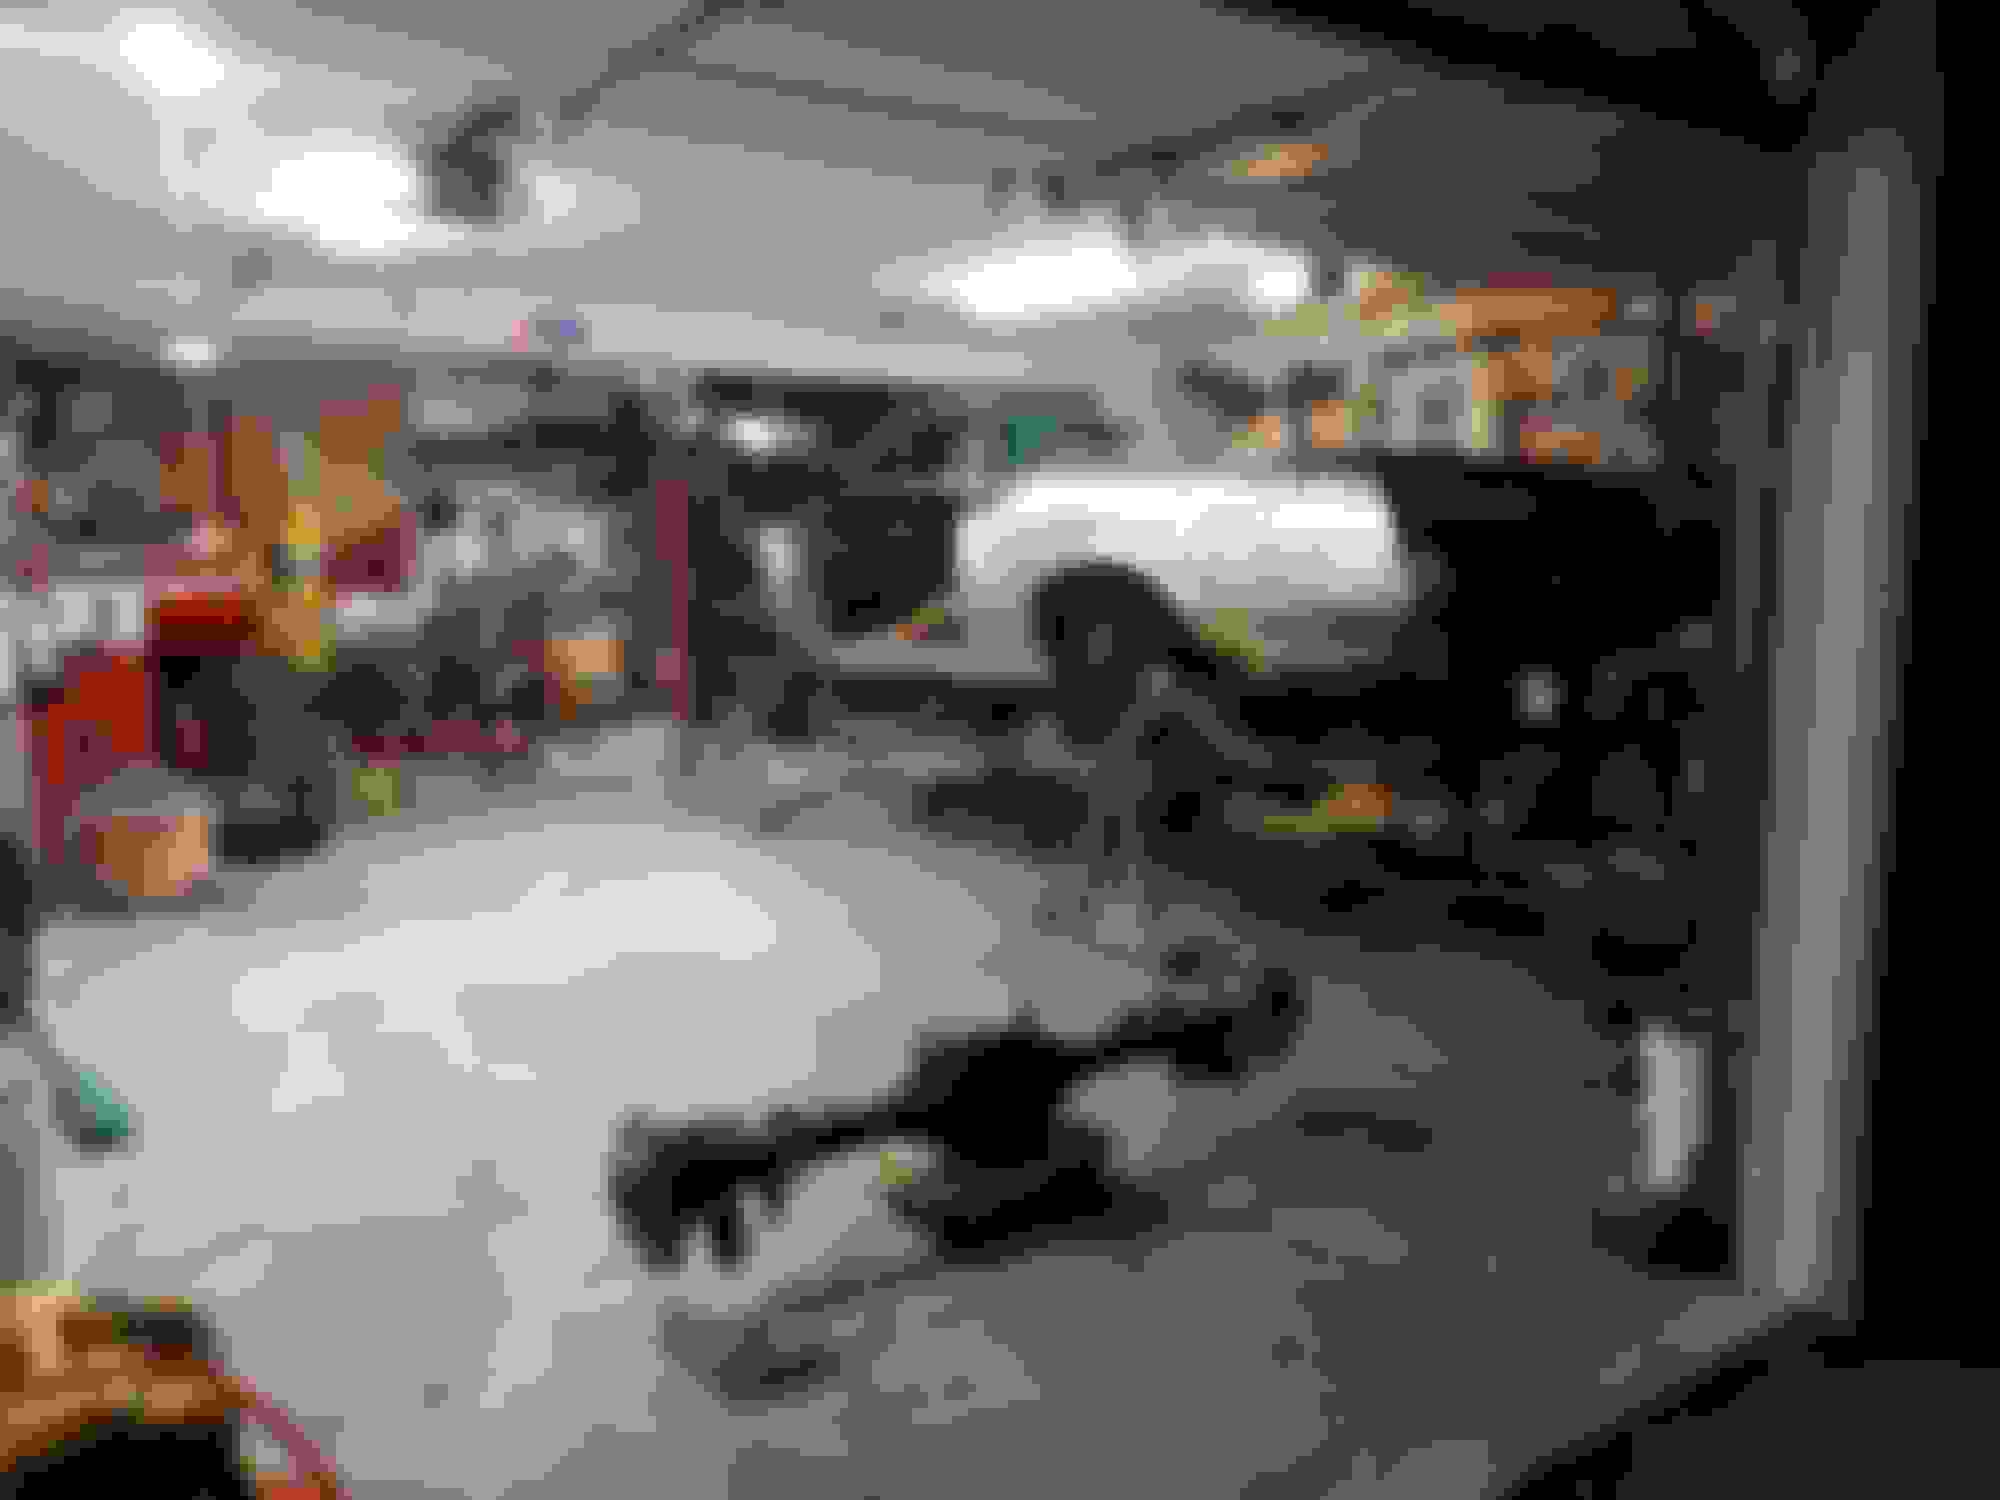
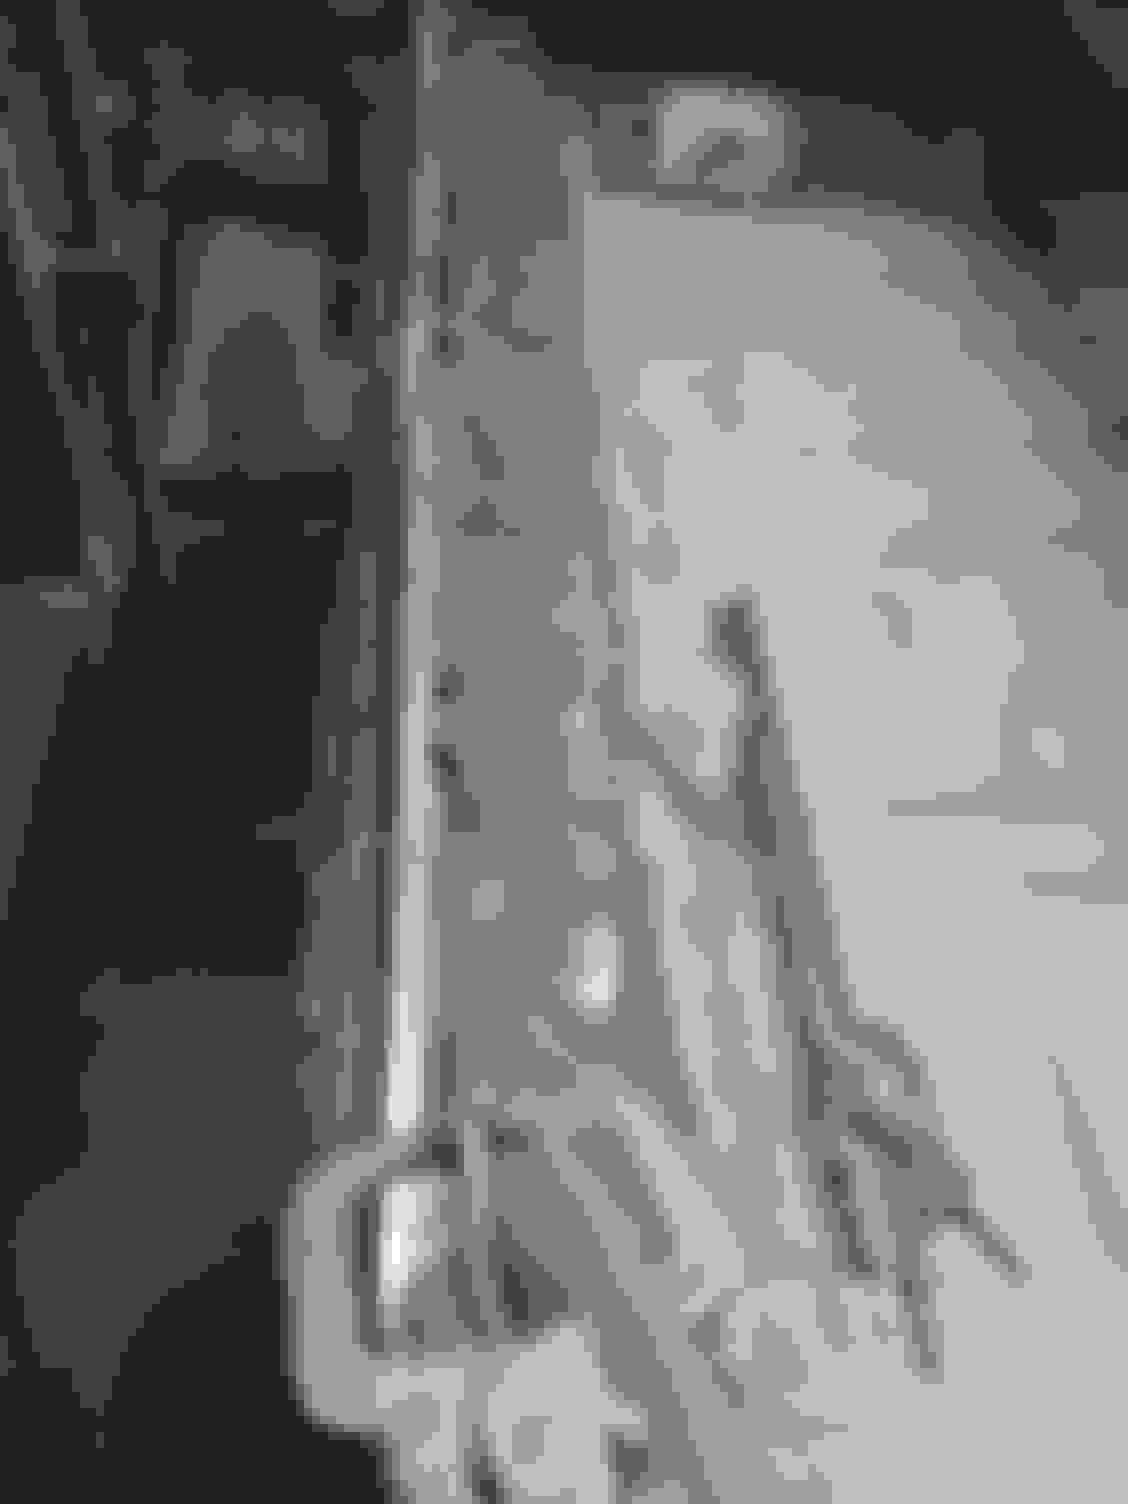
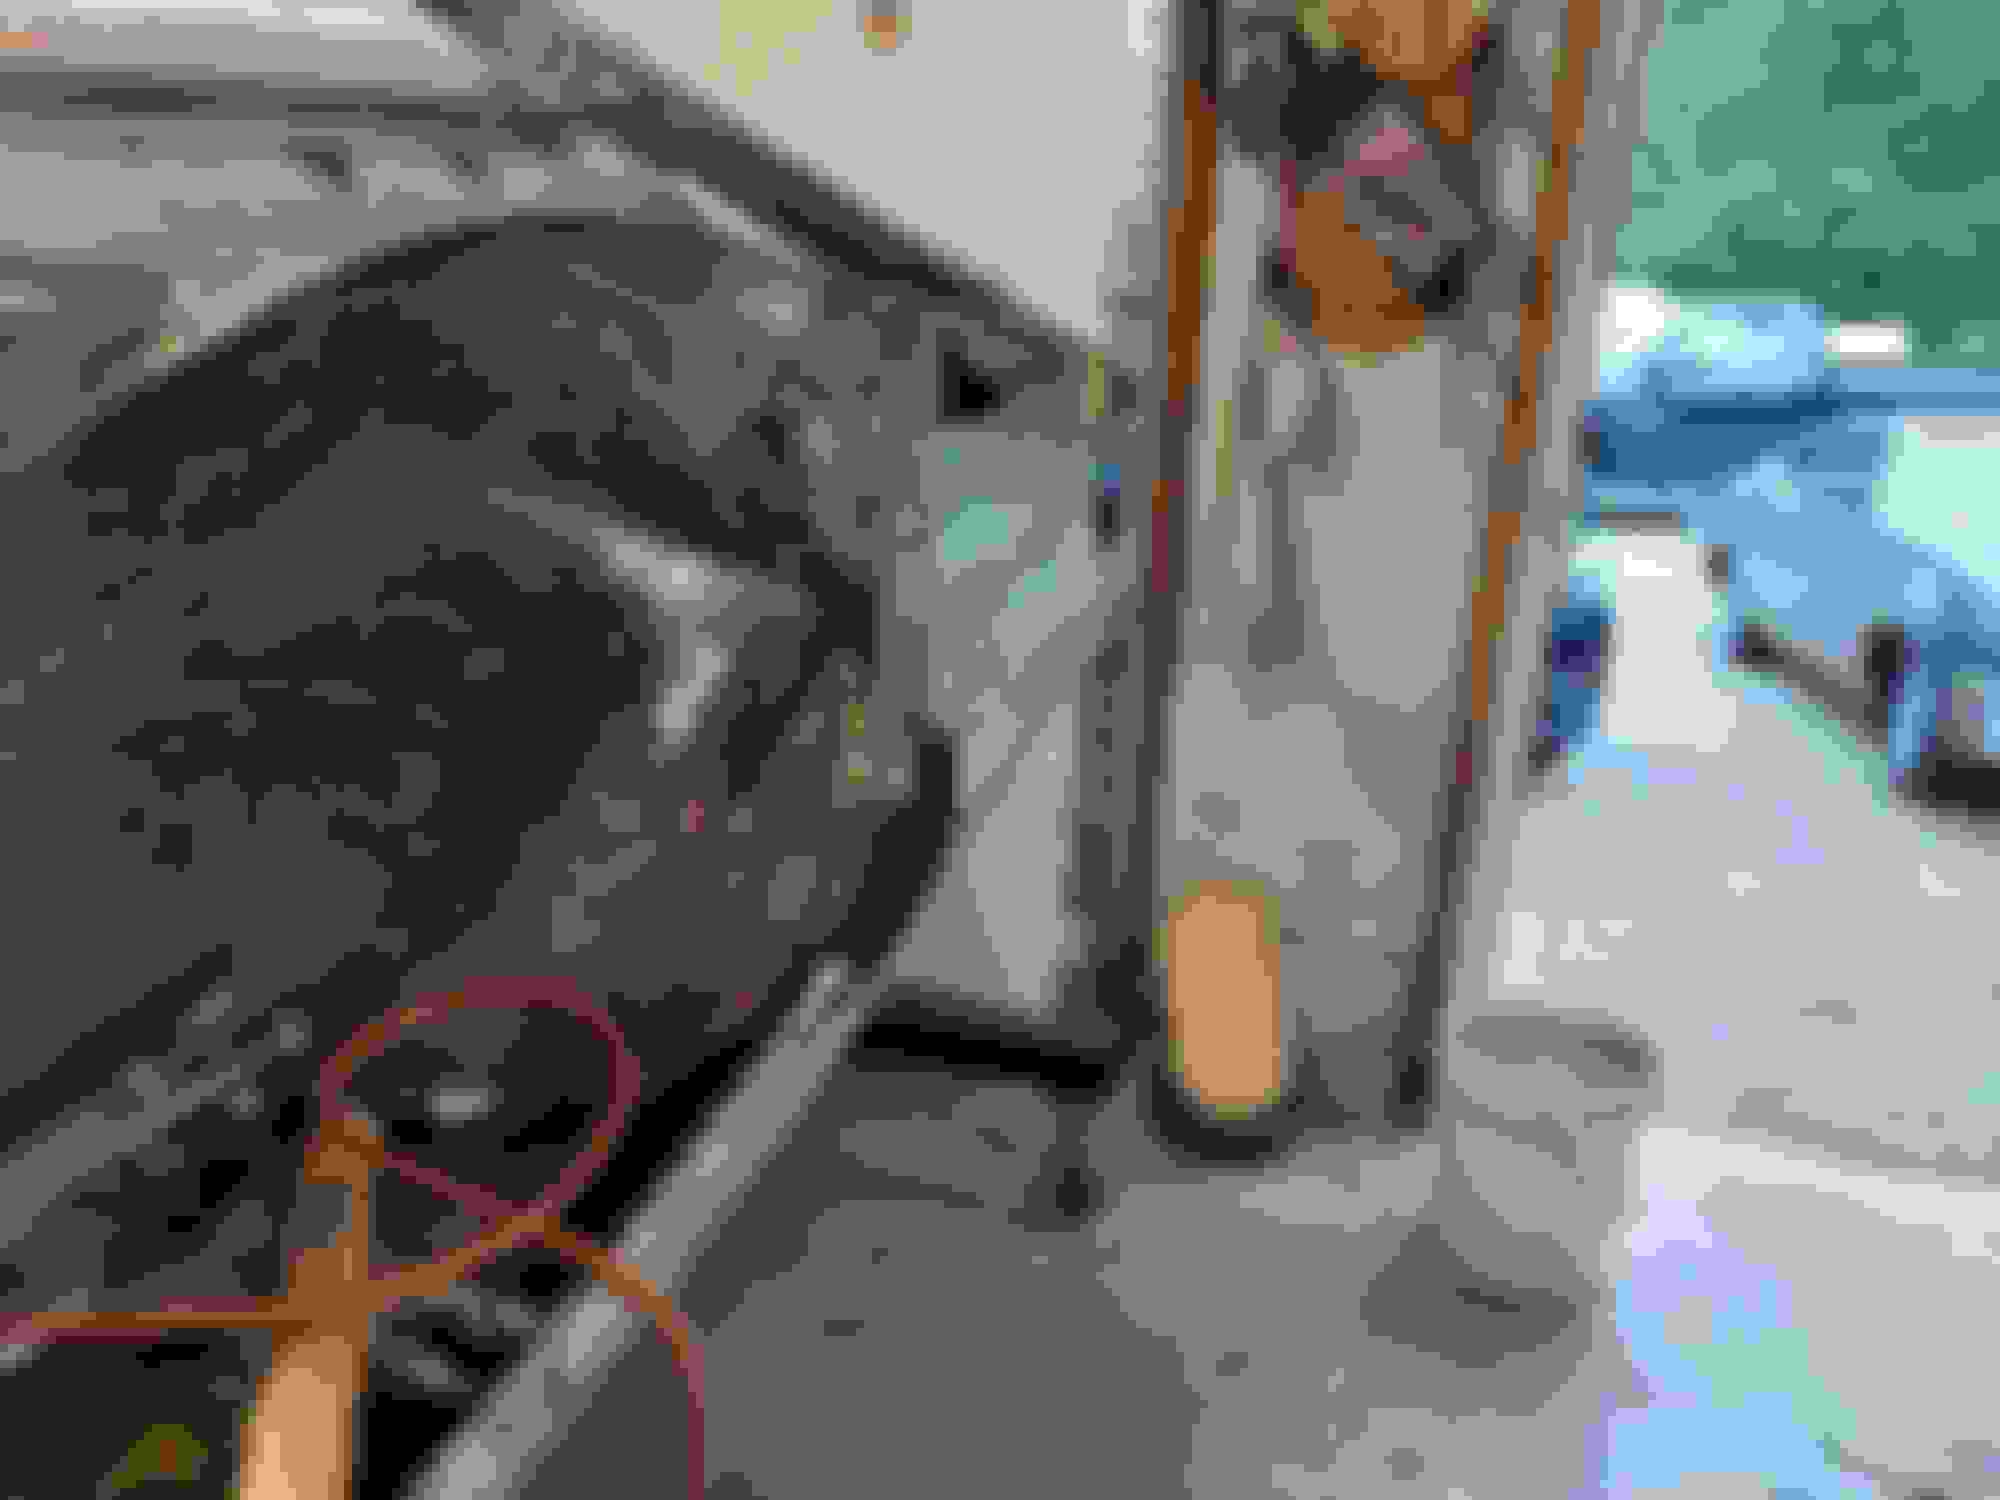
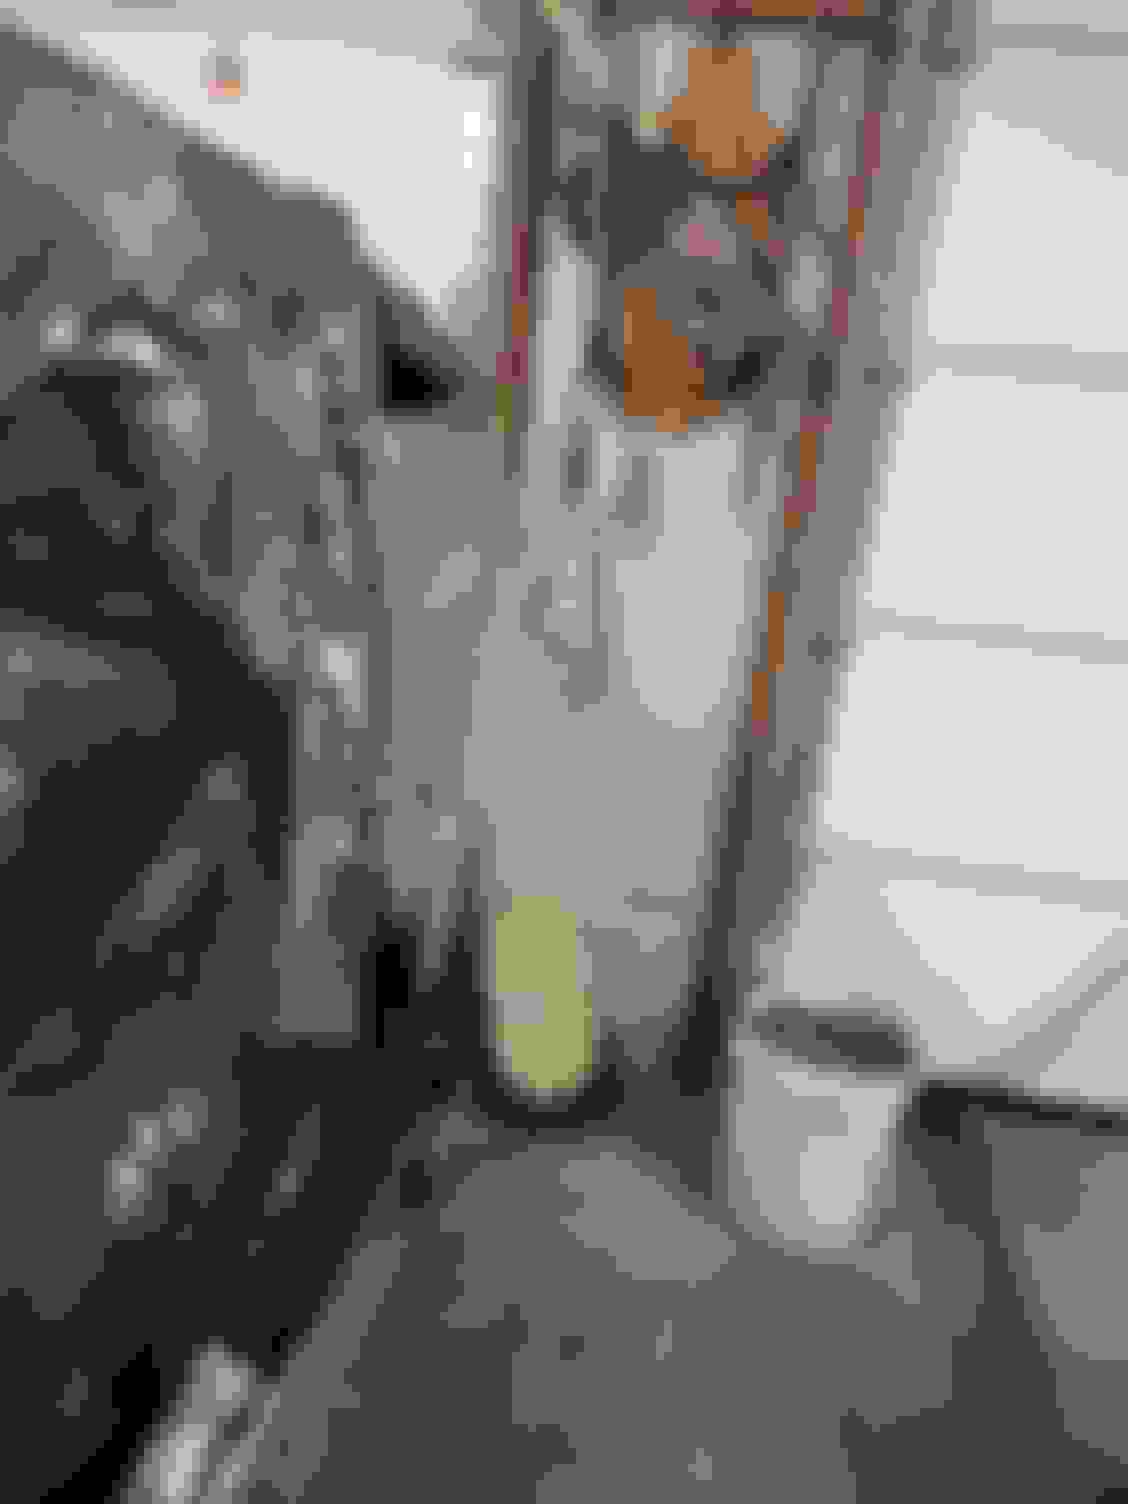
Some progress today, finished removing the rear cross member cleaned up the valence, and hit it with rust converter, removed the trunk drop off.
With luck tomorrow I can start putting the trunk in along with the rear cross member. I left the original trunk edge in the hopes it will make things easier to line up properly.


tkcutlass is online now  
Old April 18th, 2021, 07:49 PM
  #123  
Registered User
Thread Starter
 
tkcutlass's Avatar
 
Join Date: Jan 2020
Location: CT
Posts: 1,135
Got a late start today, silly little things like mowing the lawn.
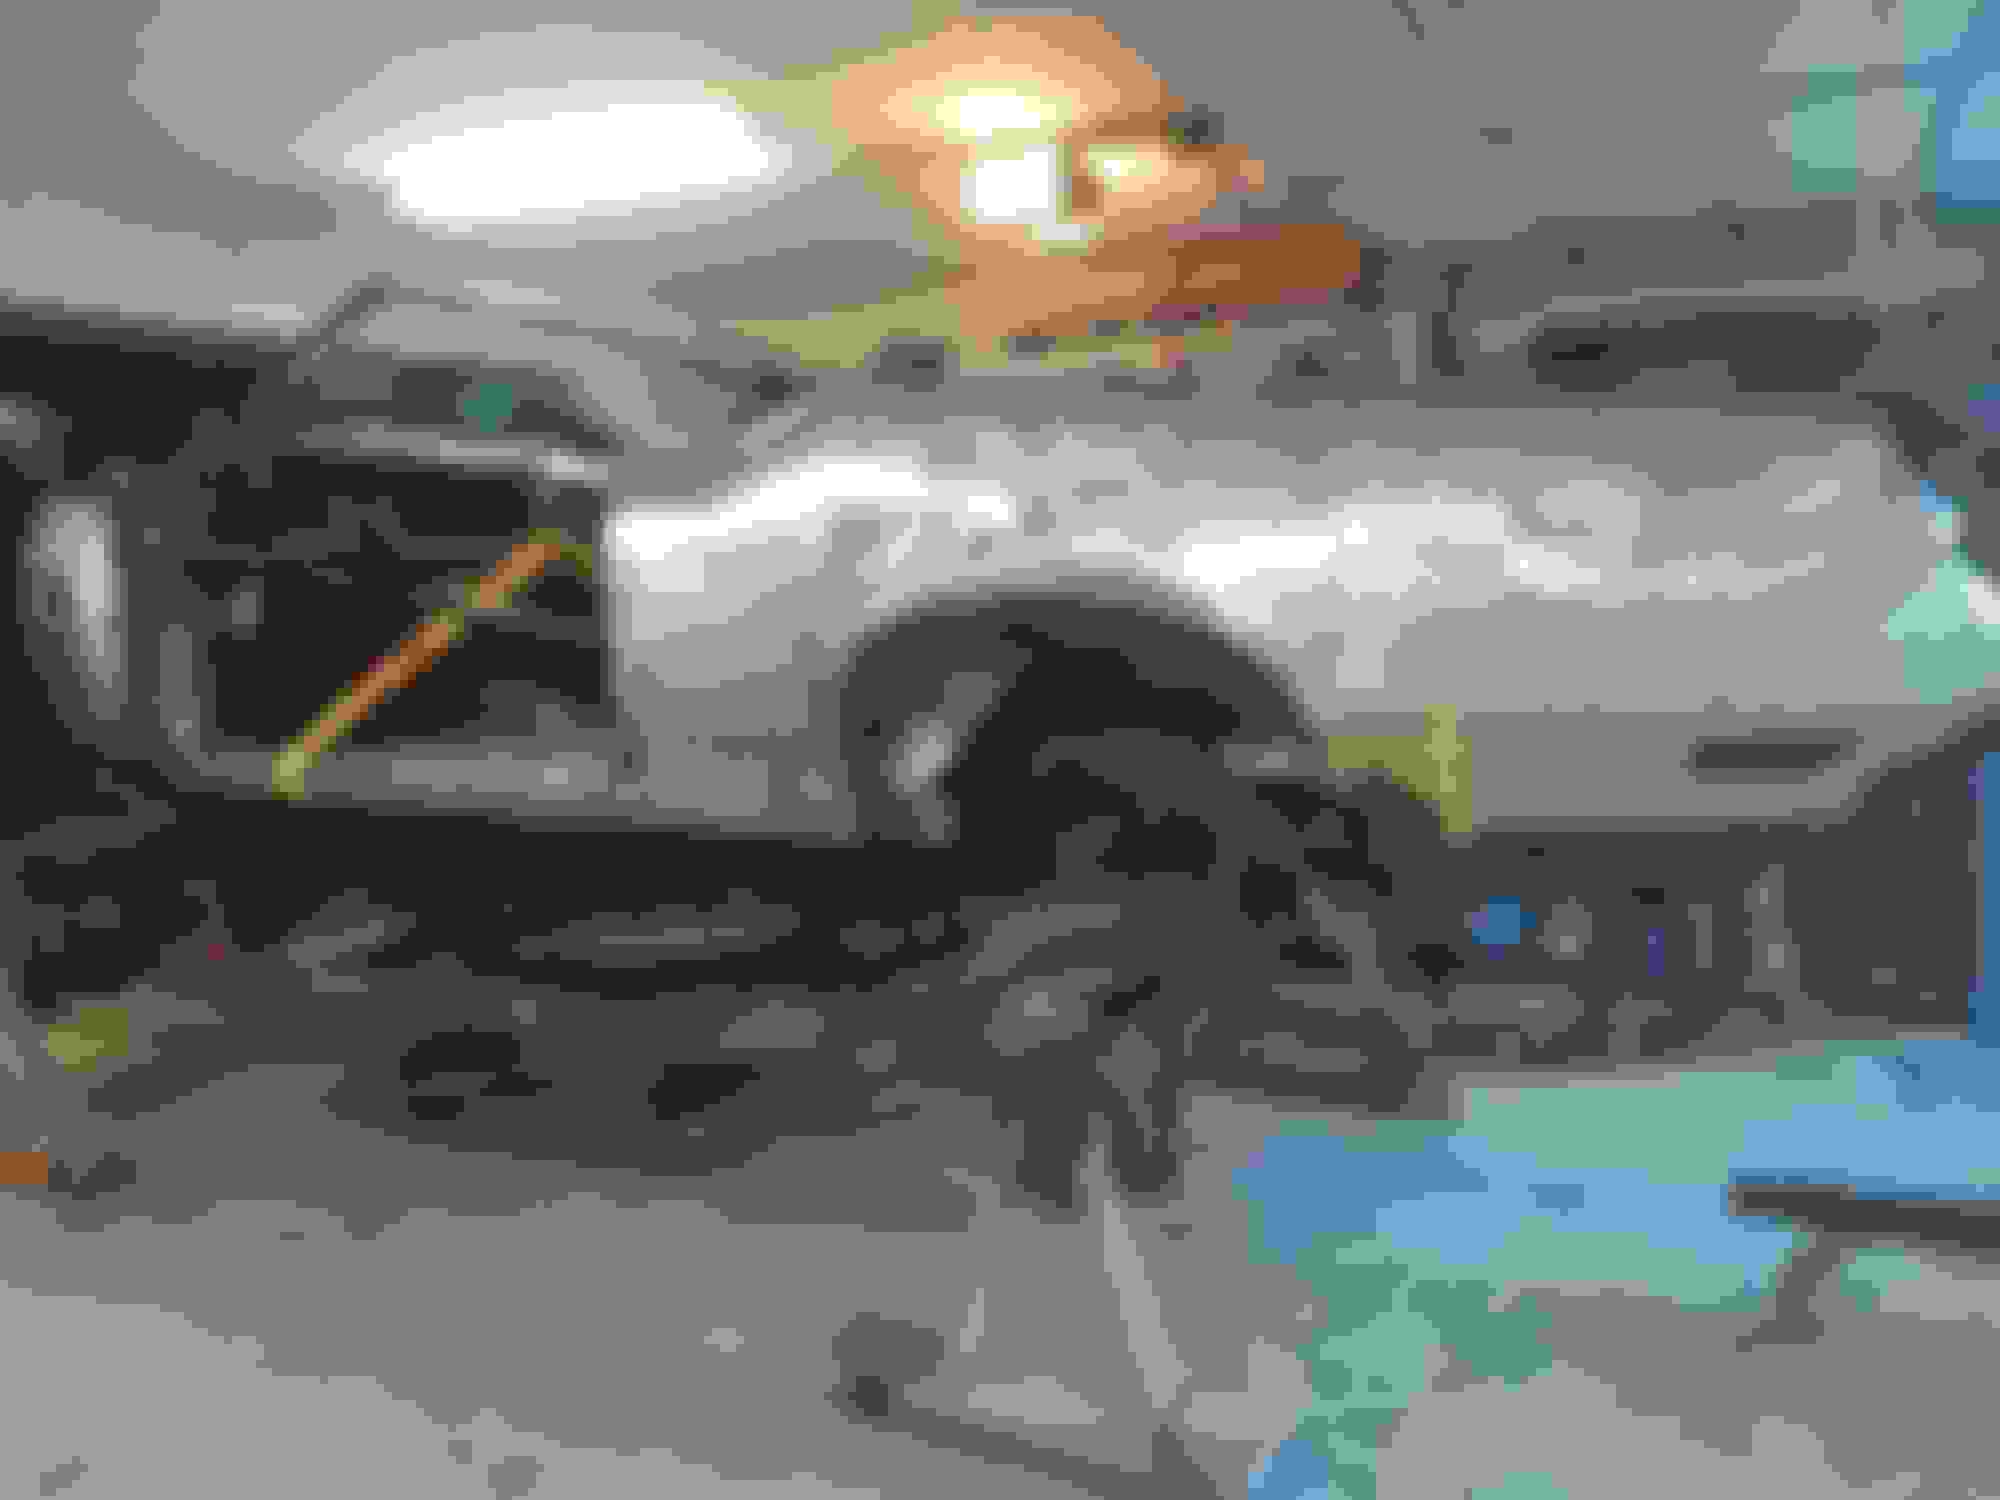
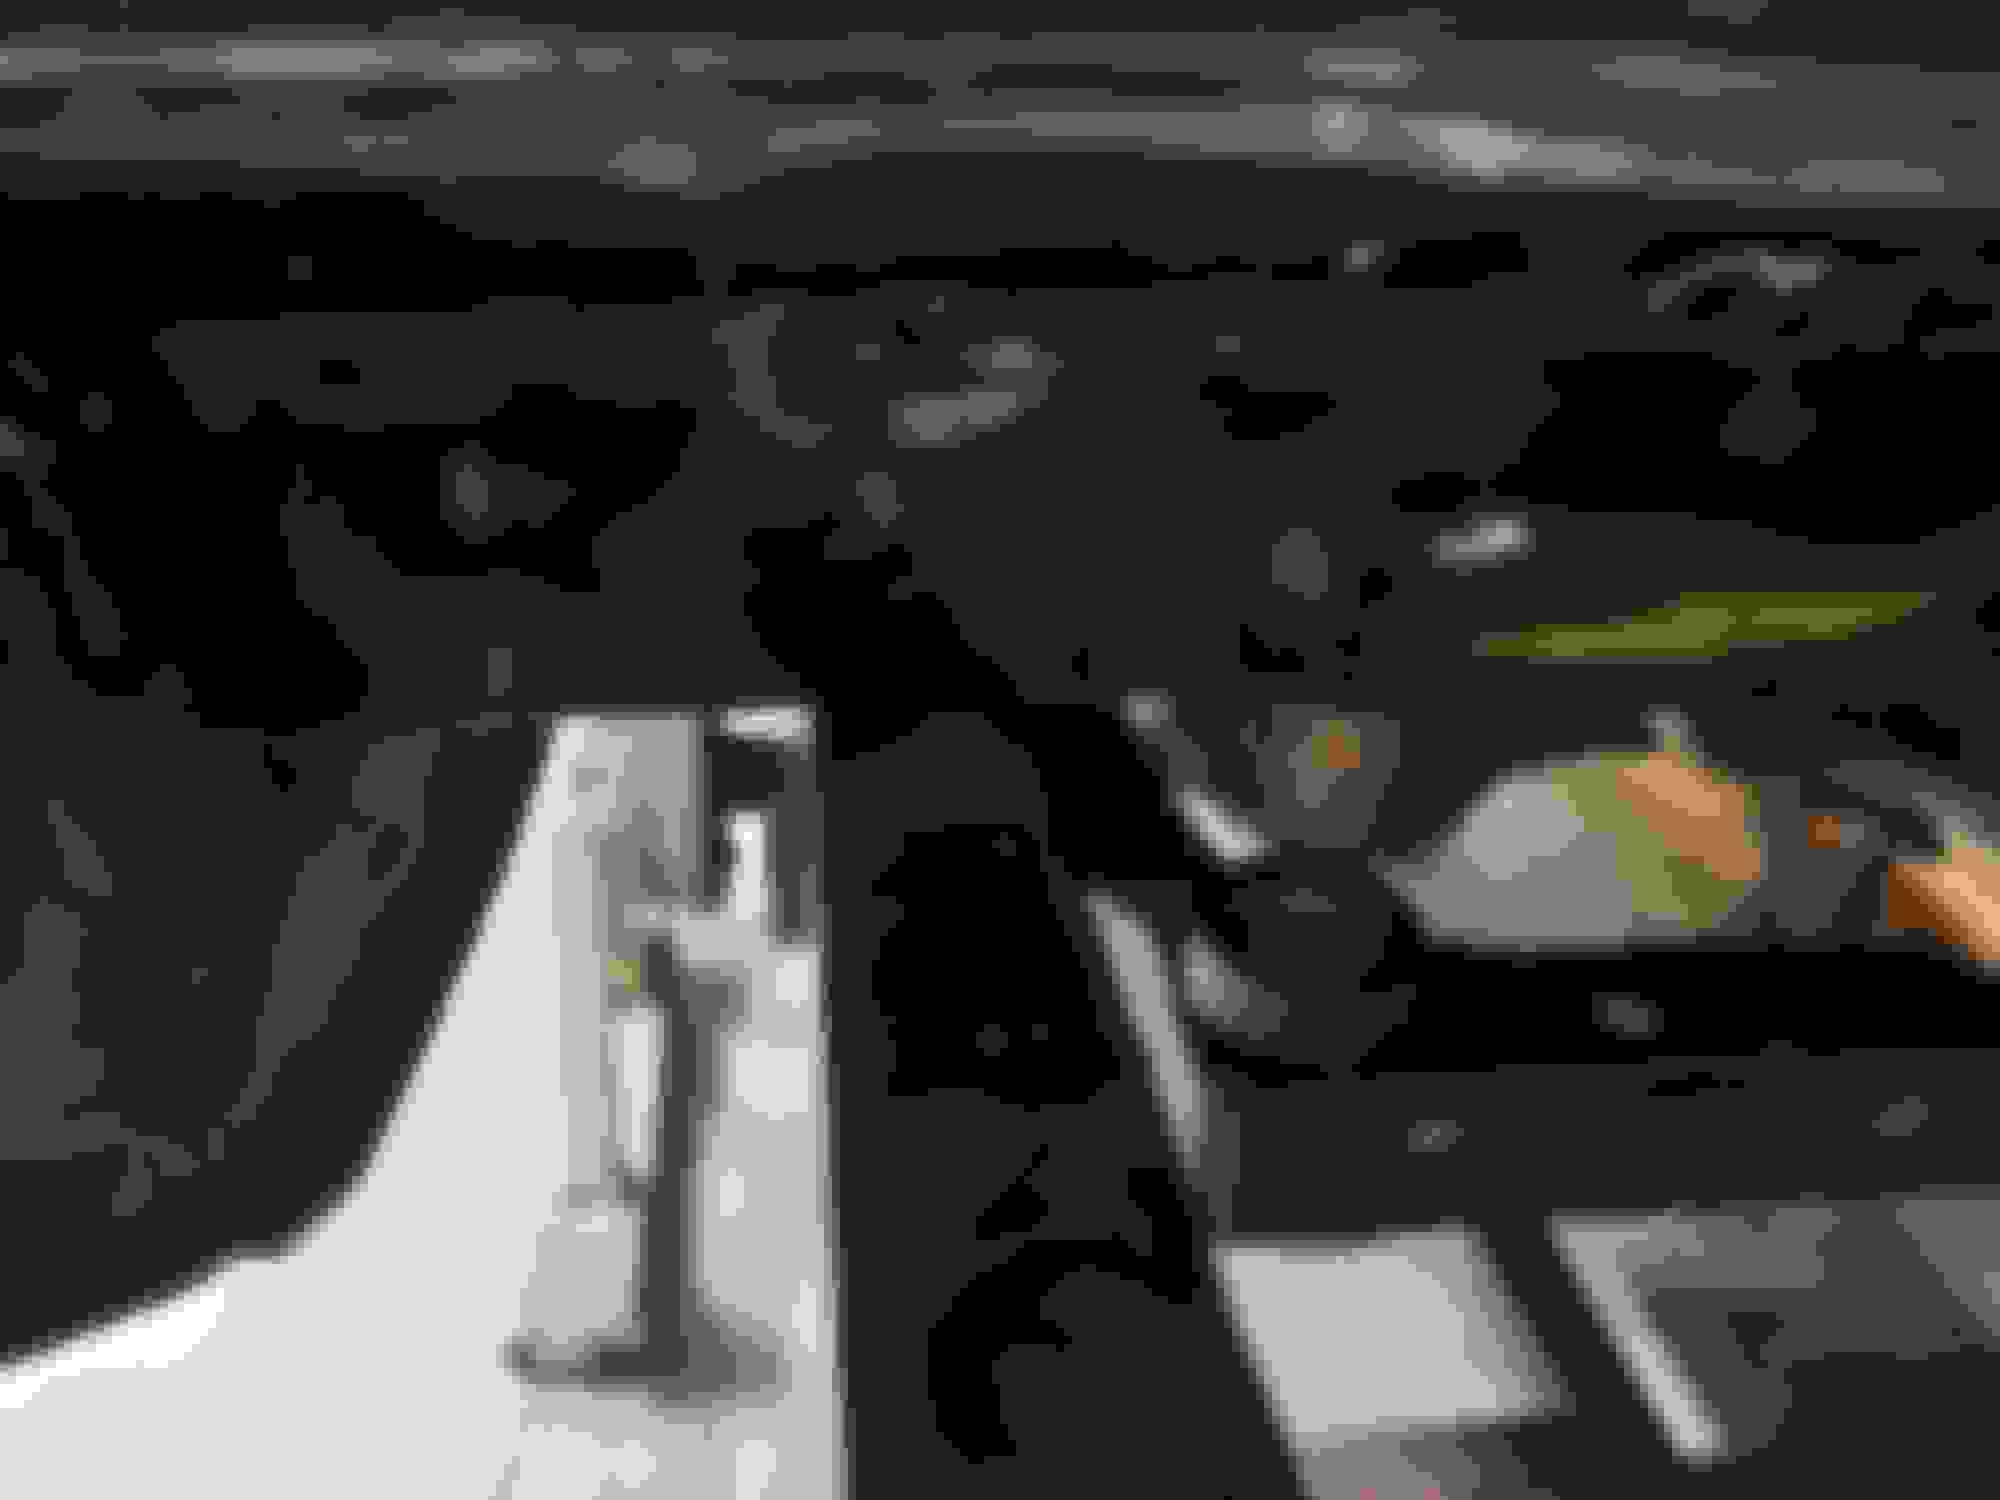
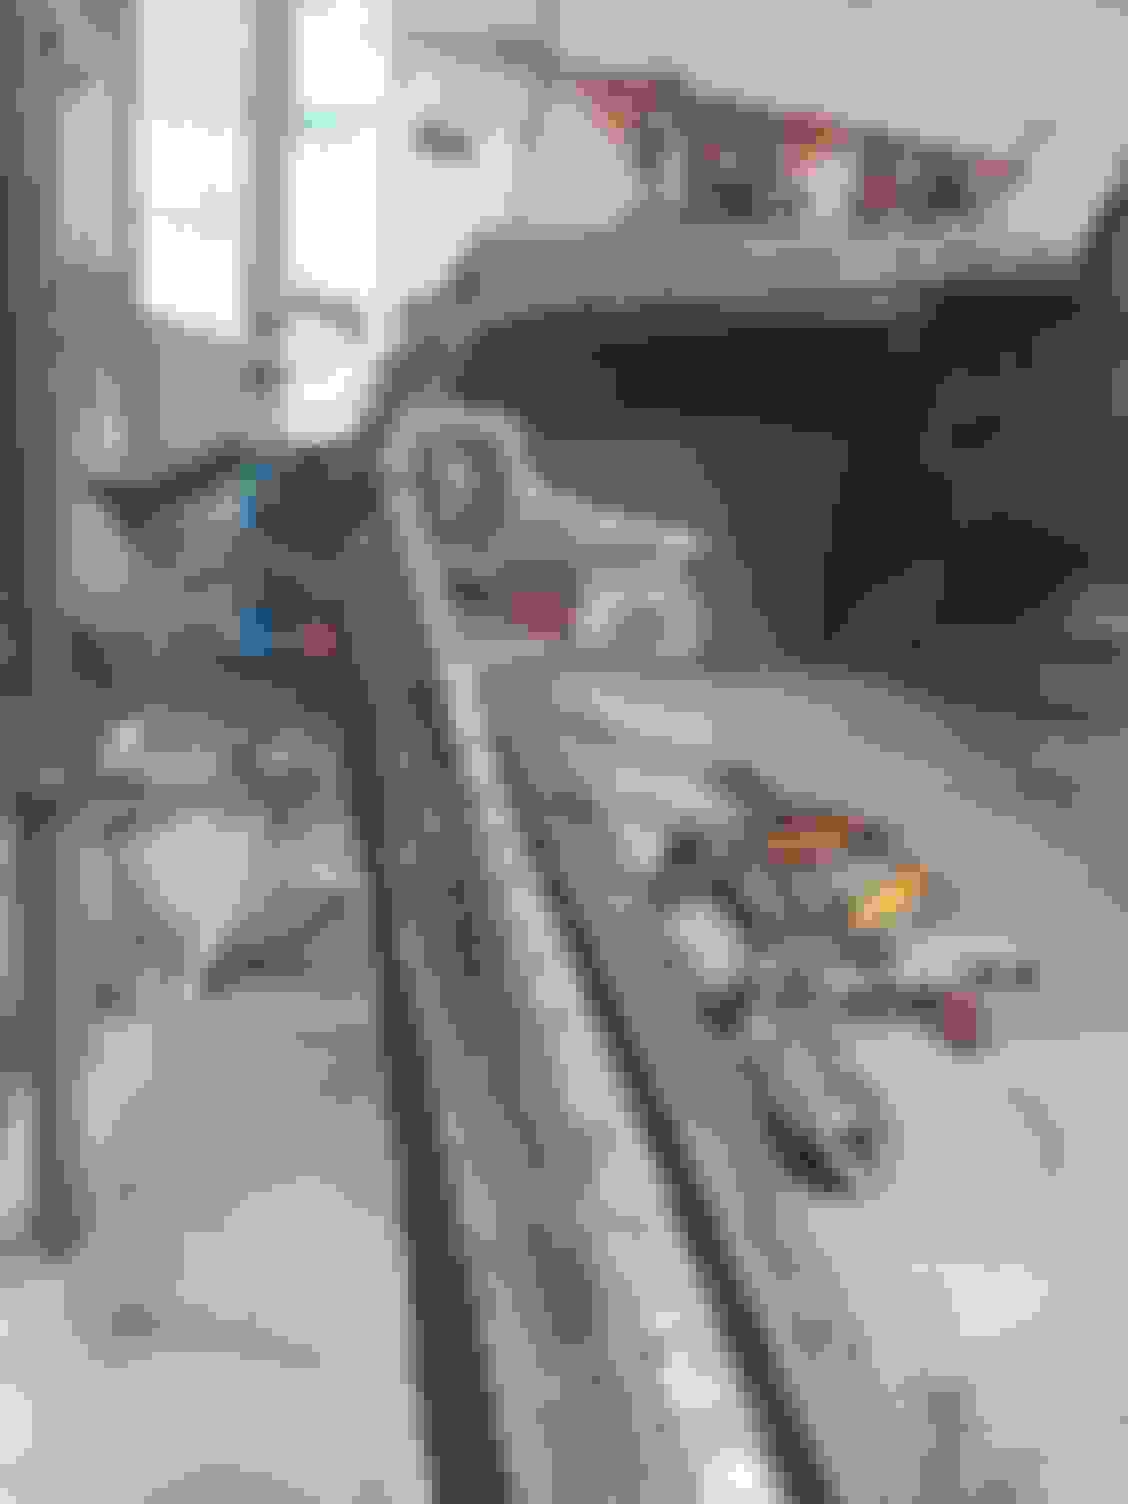
Trunk drop-off is in and the rear cross member is tacked in.
I may try to get the car flipped back over and onto the frame to ensure proper alignment.


tkcutlass is online now  
Old April 20th, 2021, 09:26 PM
  #124  
Registered User
Thread Starter
 
tkcutlass's Avatar
 
Join Date: Jan 2020
Location: CT
Posts: 1,135
Got the rear cross member welded in, back onto the rotisserie, and flipped back over without it falling off.


tkcutlass is online now  
Old April 21st, 2021, 05:54 AM
  #125  
Registered User
 
Phoenix8990's Avatar
 
Join Date: Dec 2018
Location: Asheville NC
Posts: 1,160
Your getting closer, can't wait to see it back on the frame! It is nice to have all the metal fabricating equipment you have. Great job!

Steve
Phoenix8990 is offline  
Old April 25th, 2021, 05:30 PM
  #126  
Registered User
Thread Starter
 
tkcutlass's Avatar
 
Join Date: Jan 2020
Location: CT
Posts: 1,135
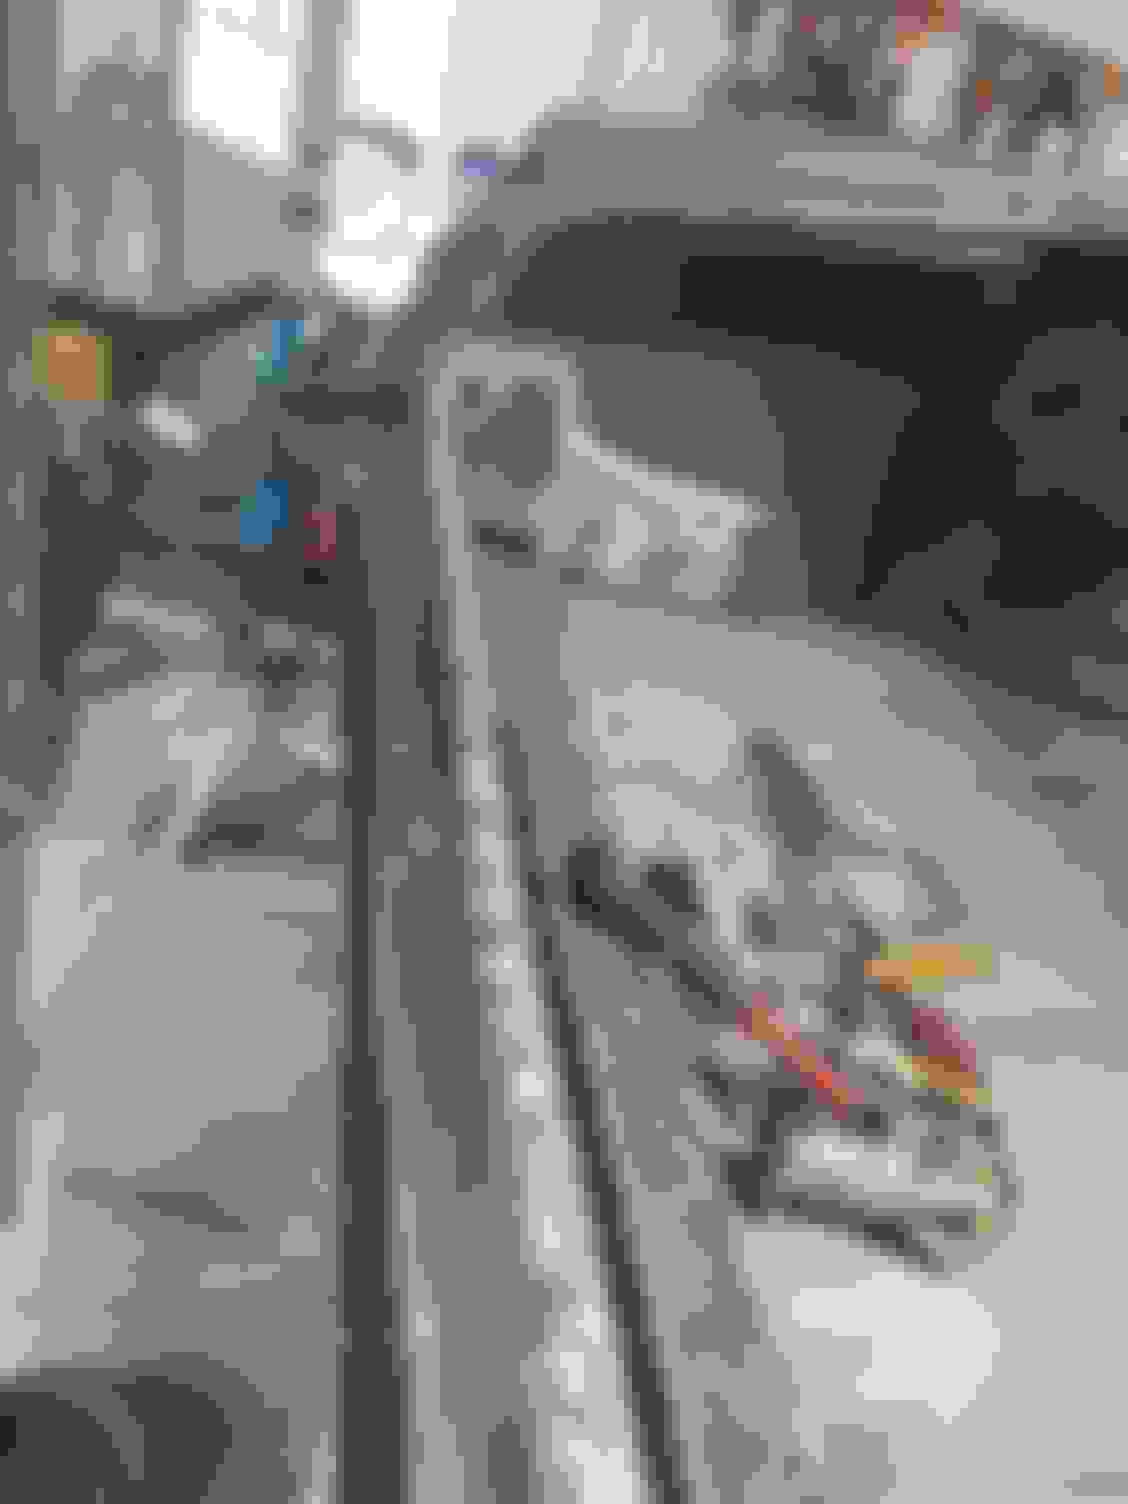
Finally got the trunk tacked in.
Haven't decided how to handle the center seem yet but through some aerobatics, I managed to get trunk dropoffs aligned.


tkcutlass is online now  
Old April 26th, 2021, 05:43 AM
  #127  
Registered User
 
Phoenix8990's Avatar
 
Join Date: Dec 2018
Location: Asheville NC
Posts: 1,160
Looking good, moving right along, looking forward to seeing it in primer.

Steve
Phoenix8990 is offline  
Old April 28th, 2021, 09:23 PM
  #128  
Registered User
Thread Starter
 
tkcutlass's Avatar
 
Join Date: Jan 2020
Location: CT
Posts: 1,135
More welding, got the seam welded up.
Next time I will properly use the flange tool on the seam.


tkcutlass is online now  
Old May 1st, 2021, 06:53 PM
  #129  
Registered User
Thread Starter
 
tkcutlass's Avatar
 
Join Date: Jan 2020
Location: CT
Posts: 1,135
I finished welding up the trunk.
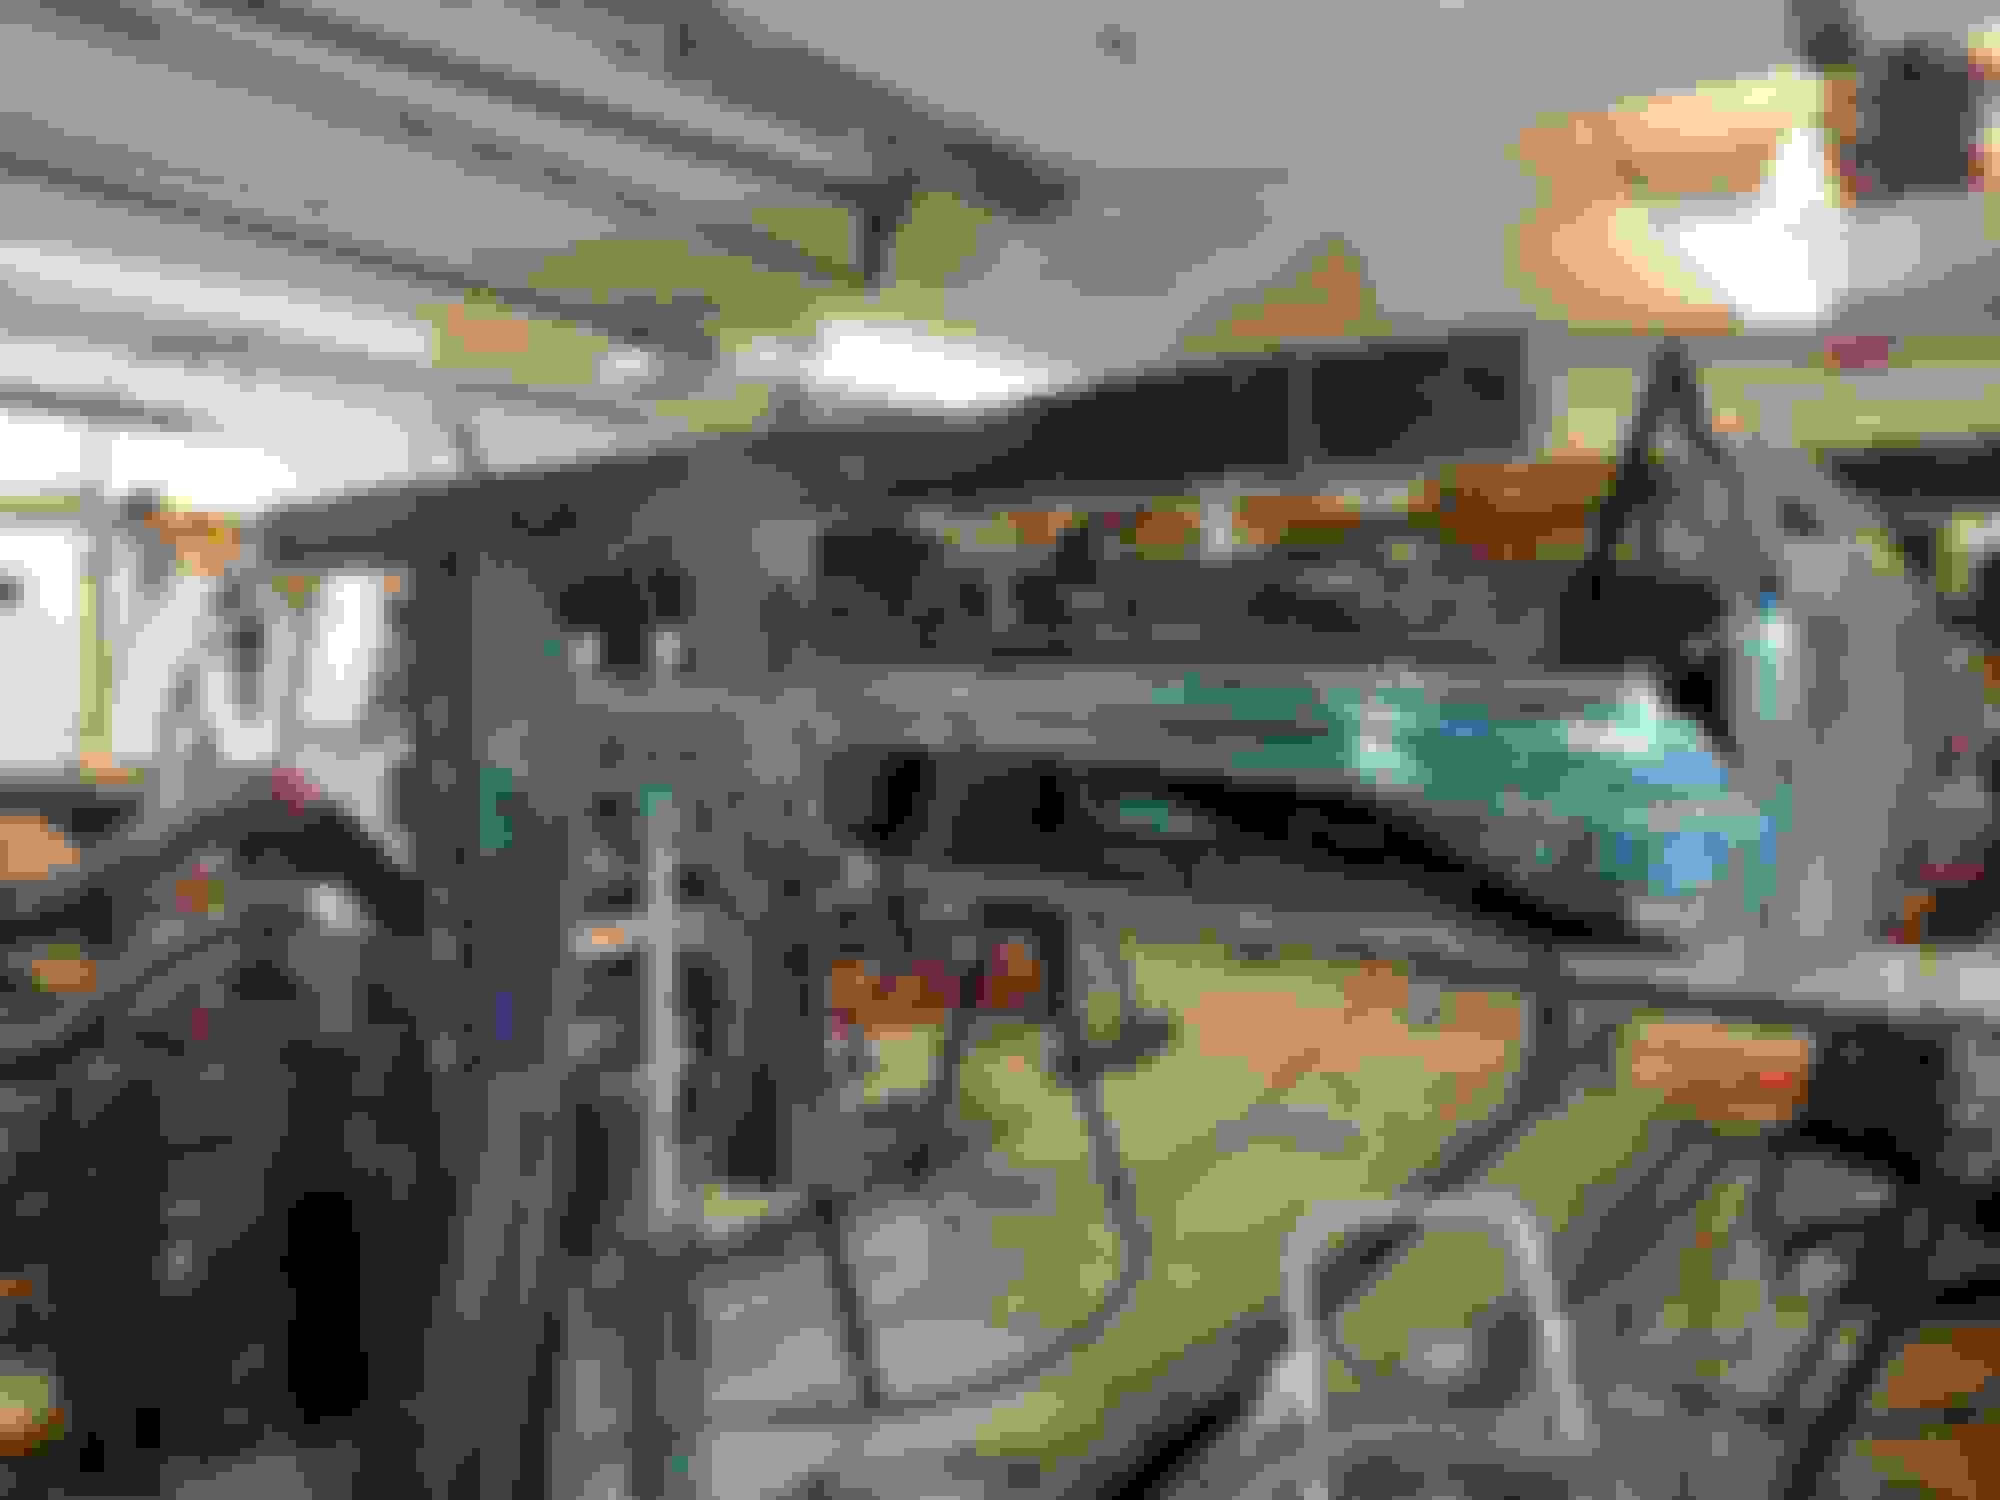
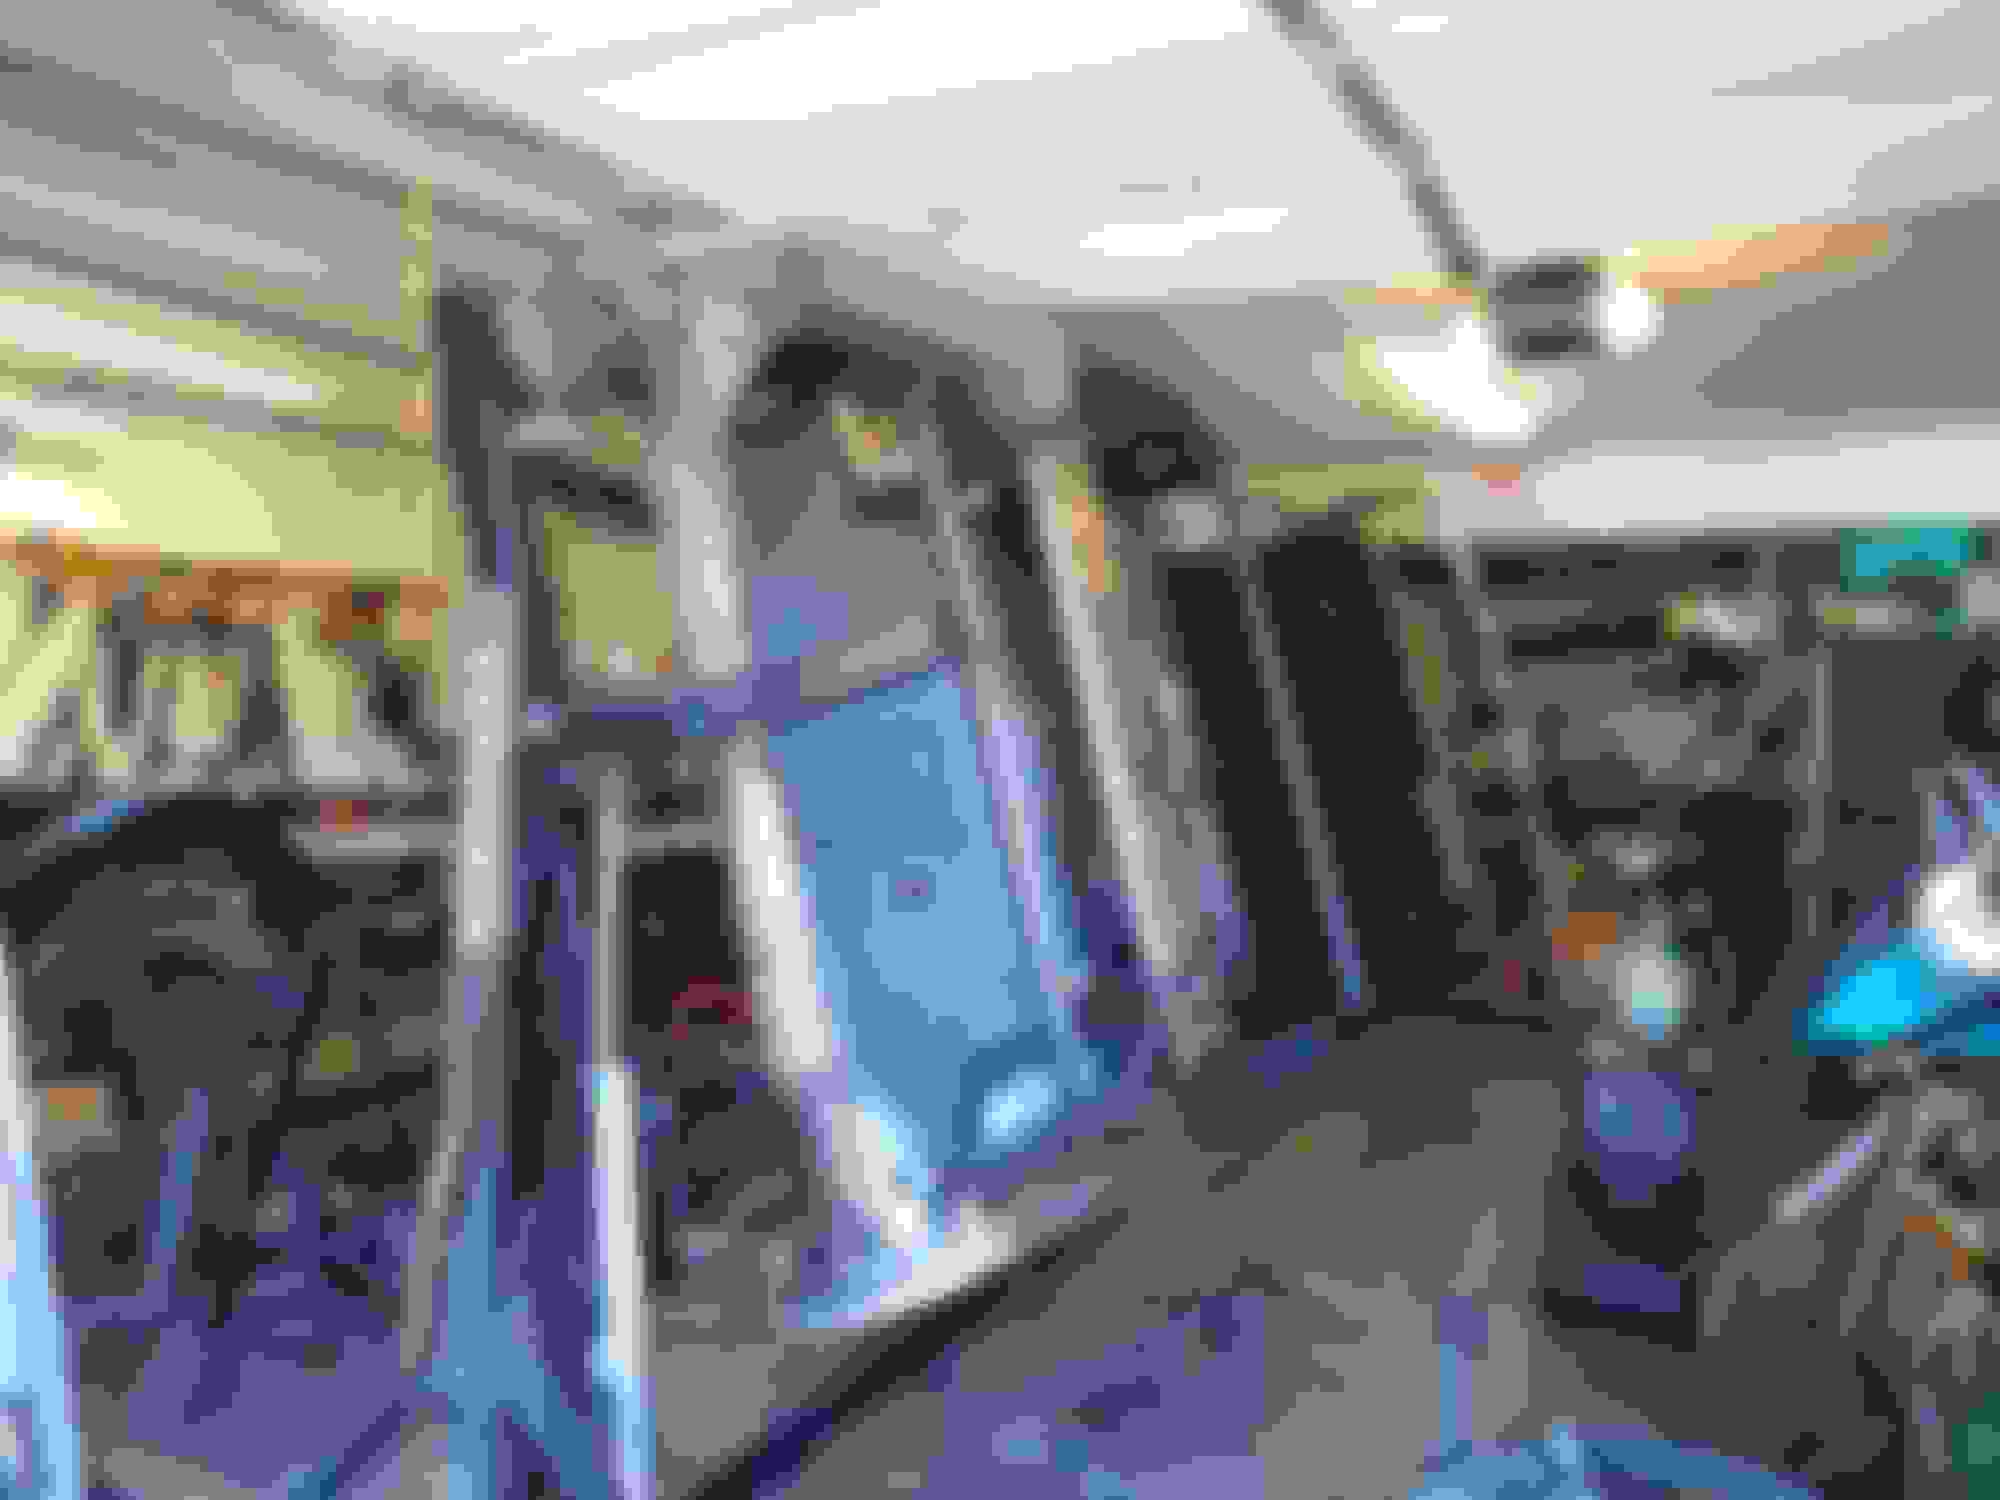
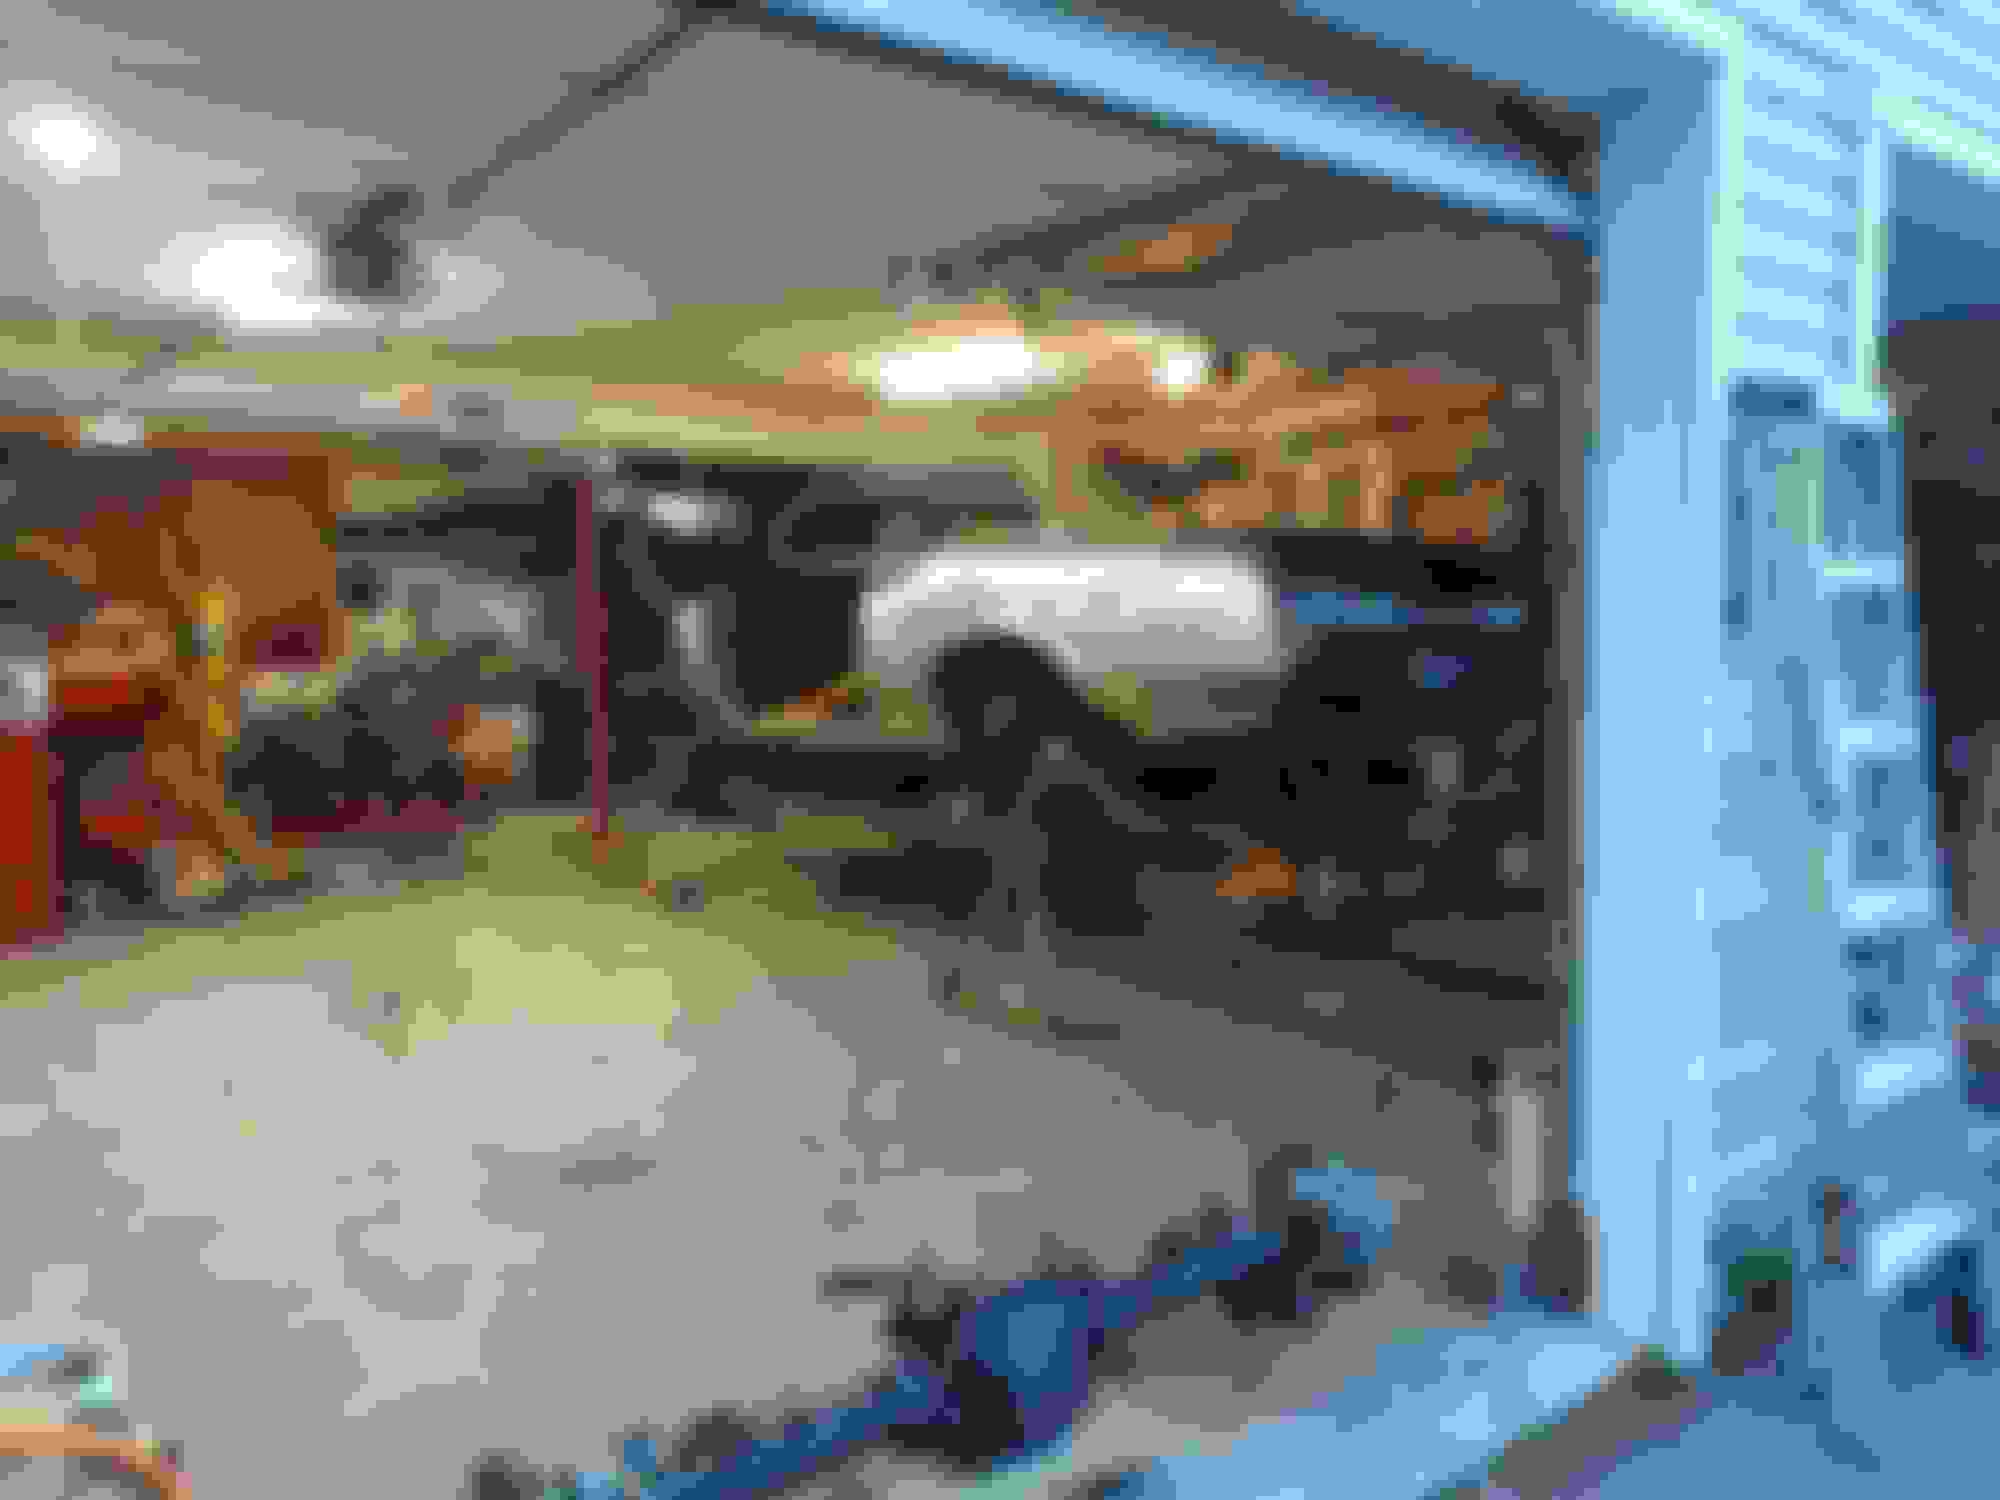
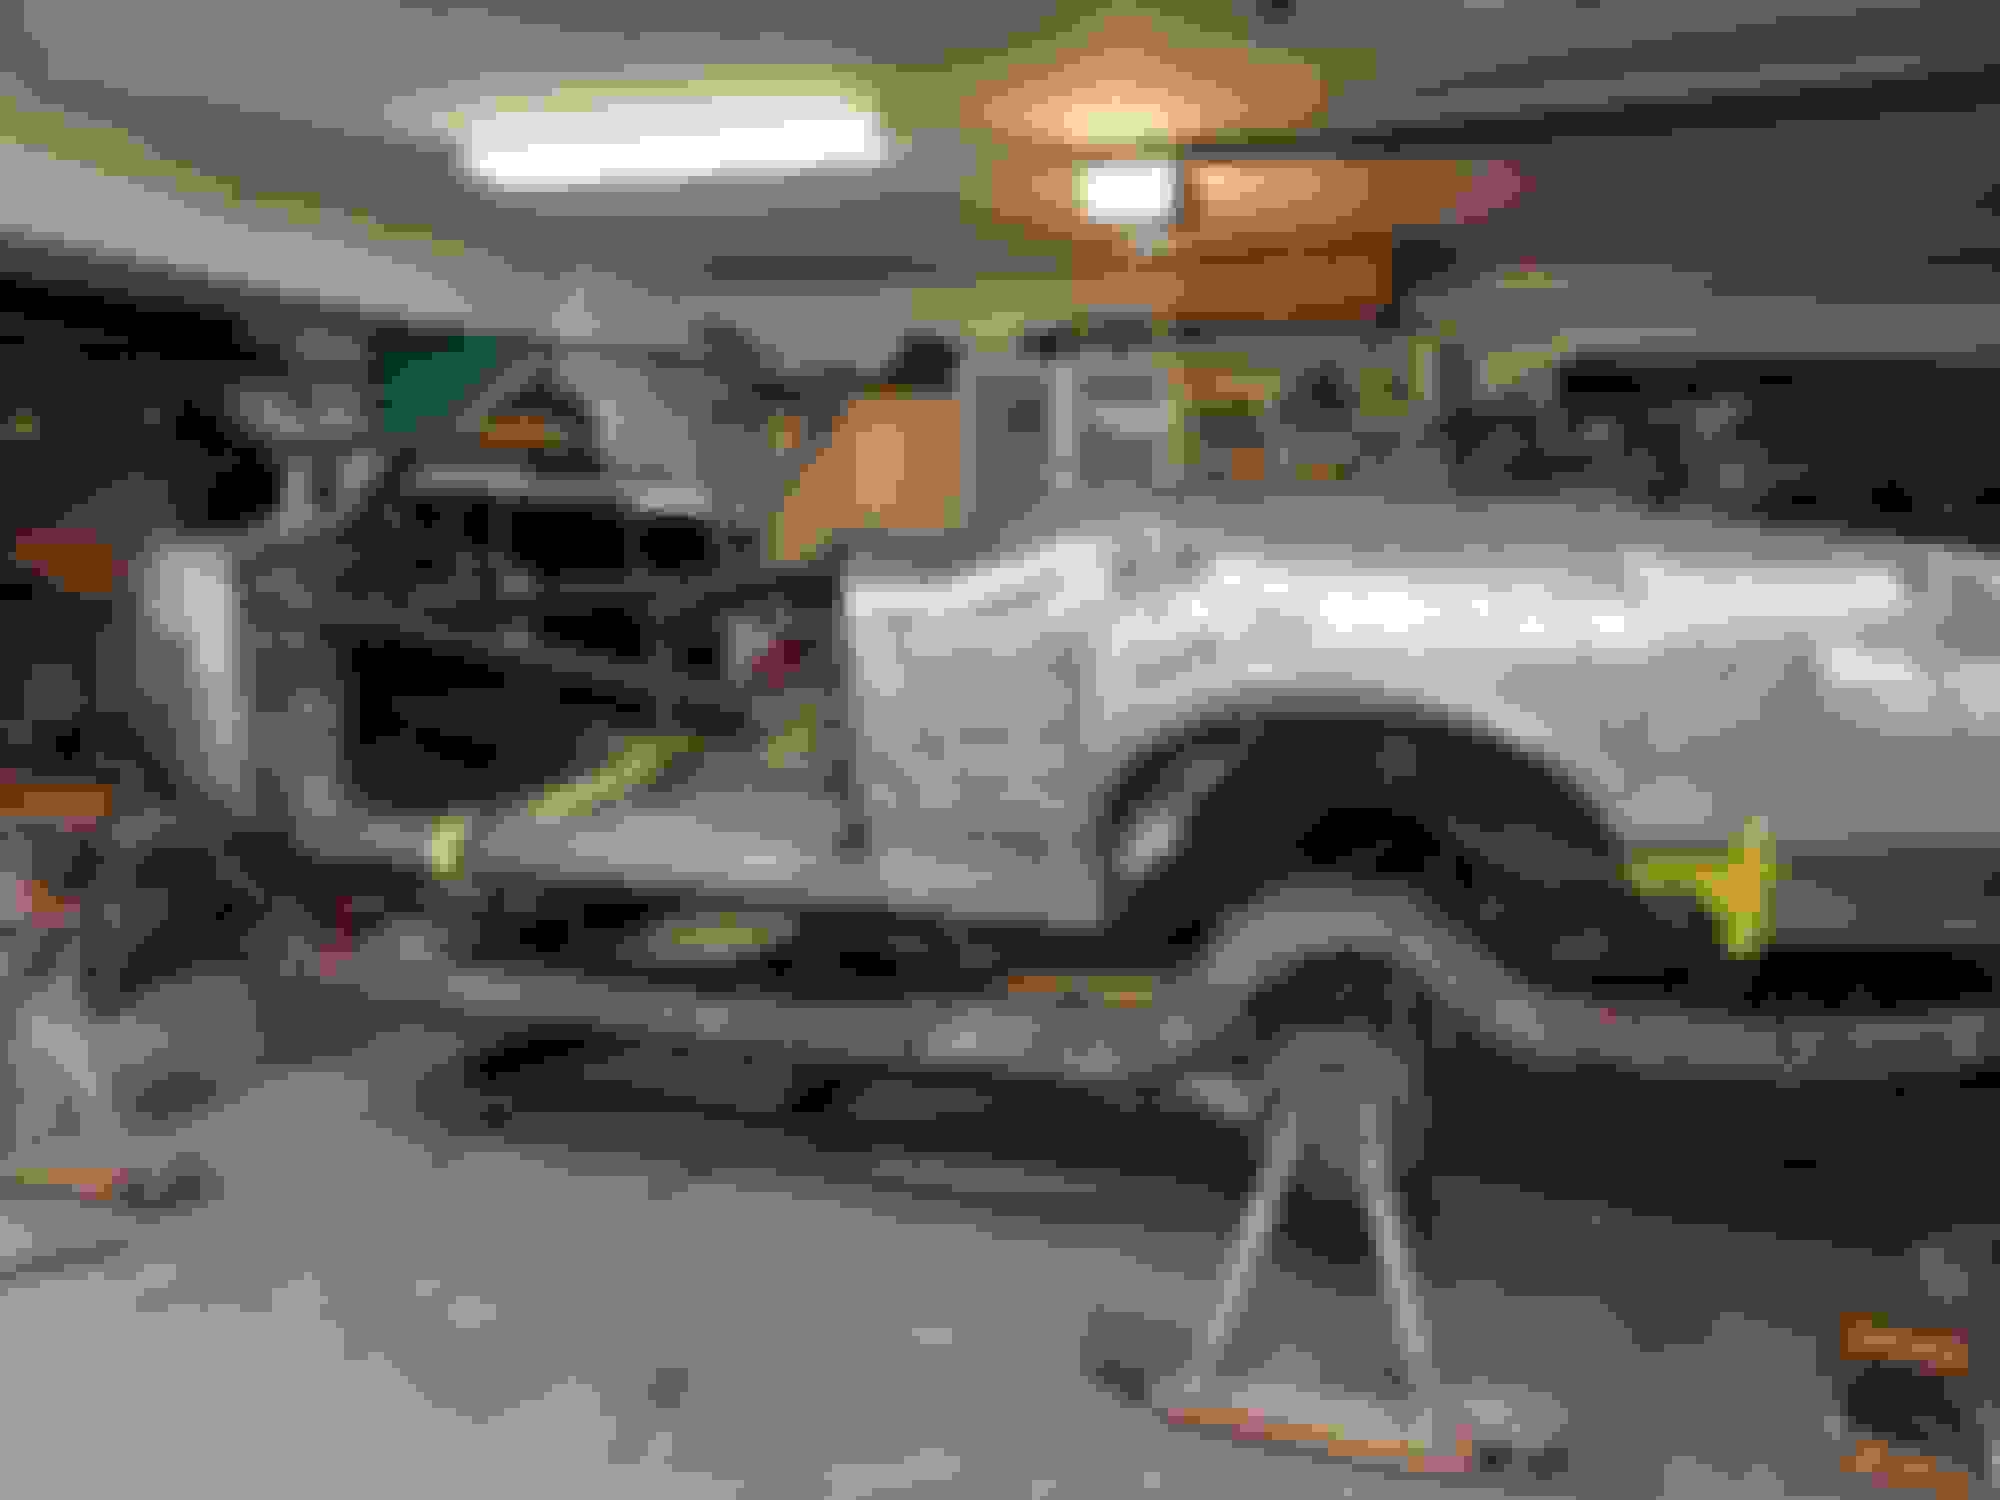
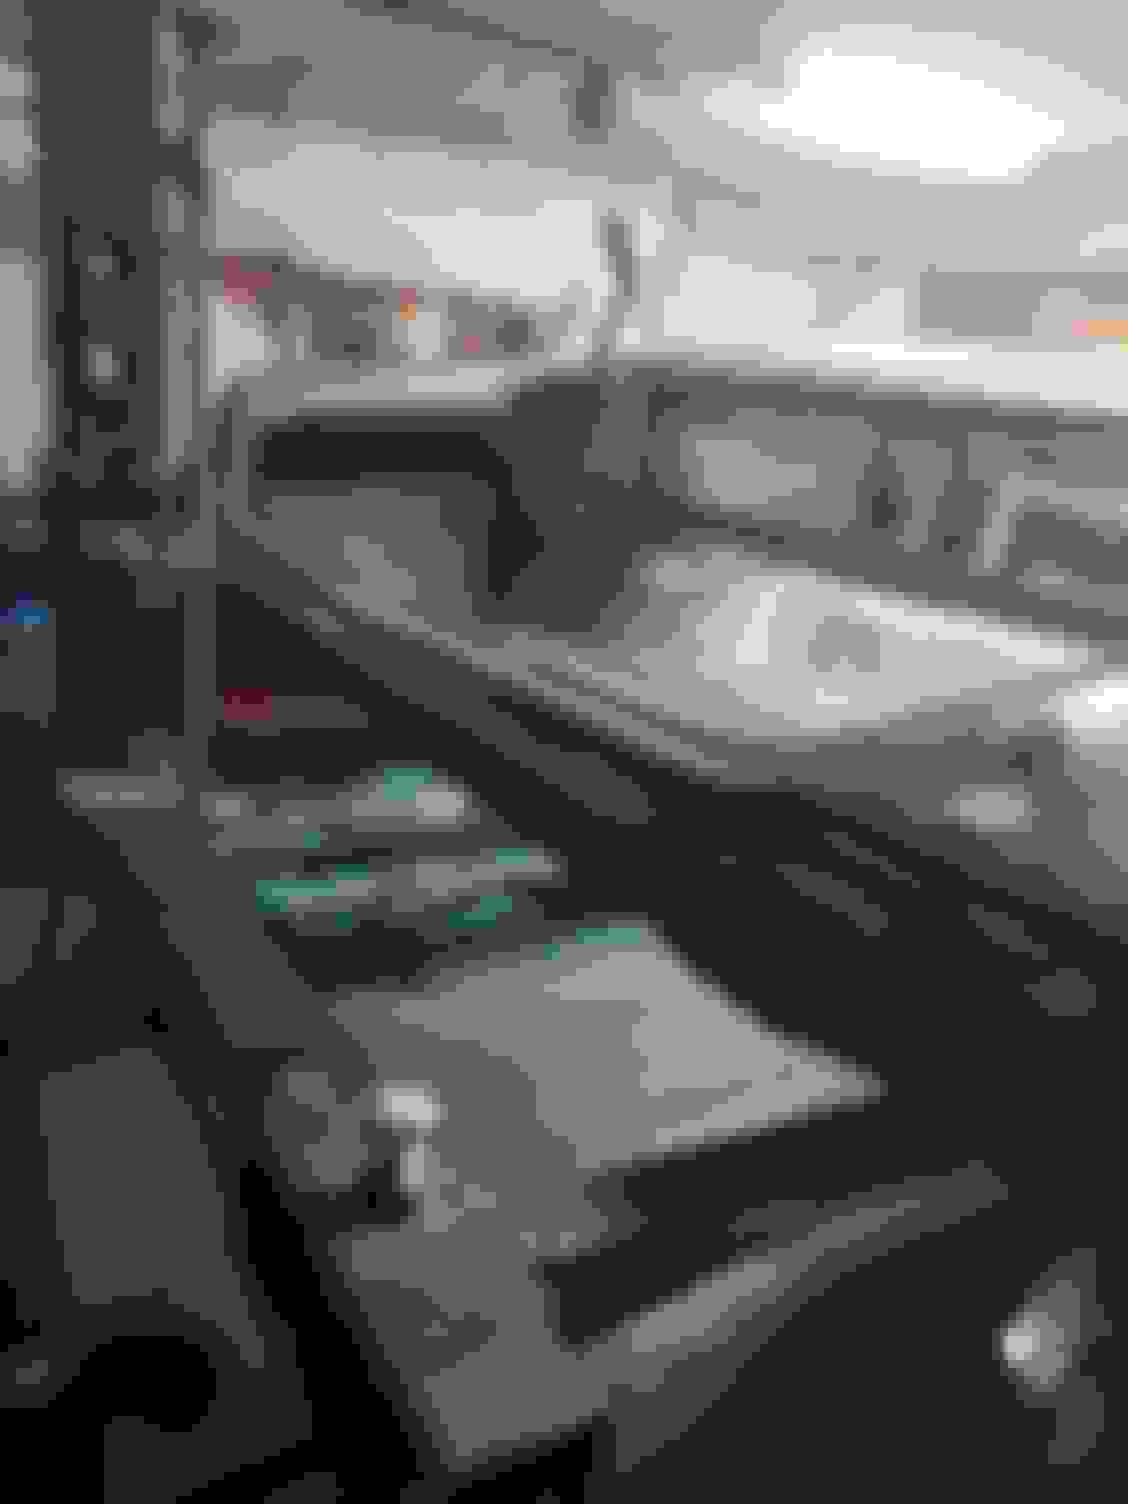
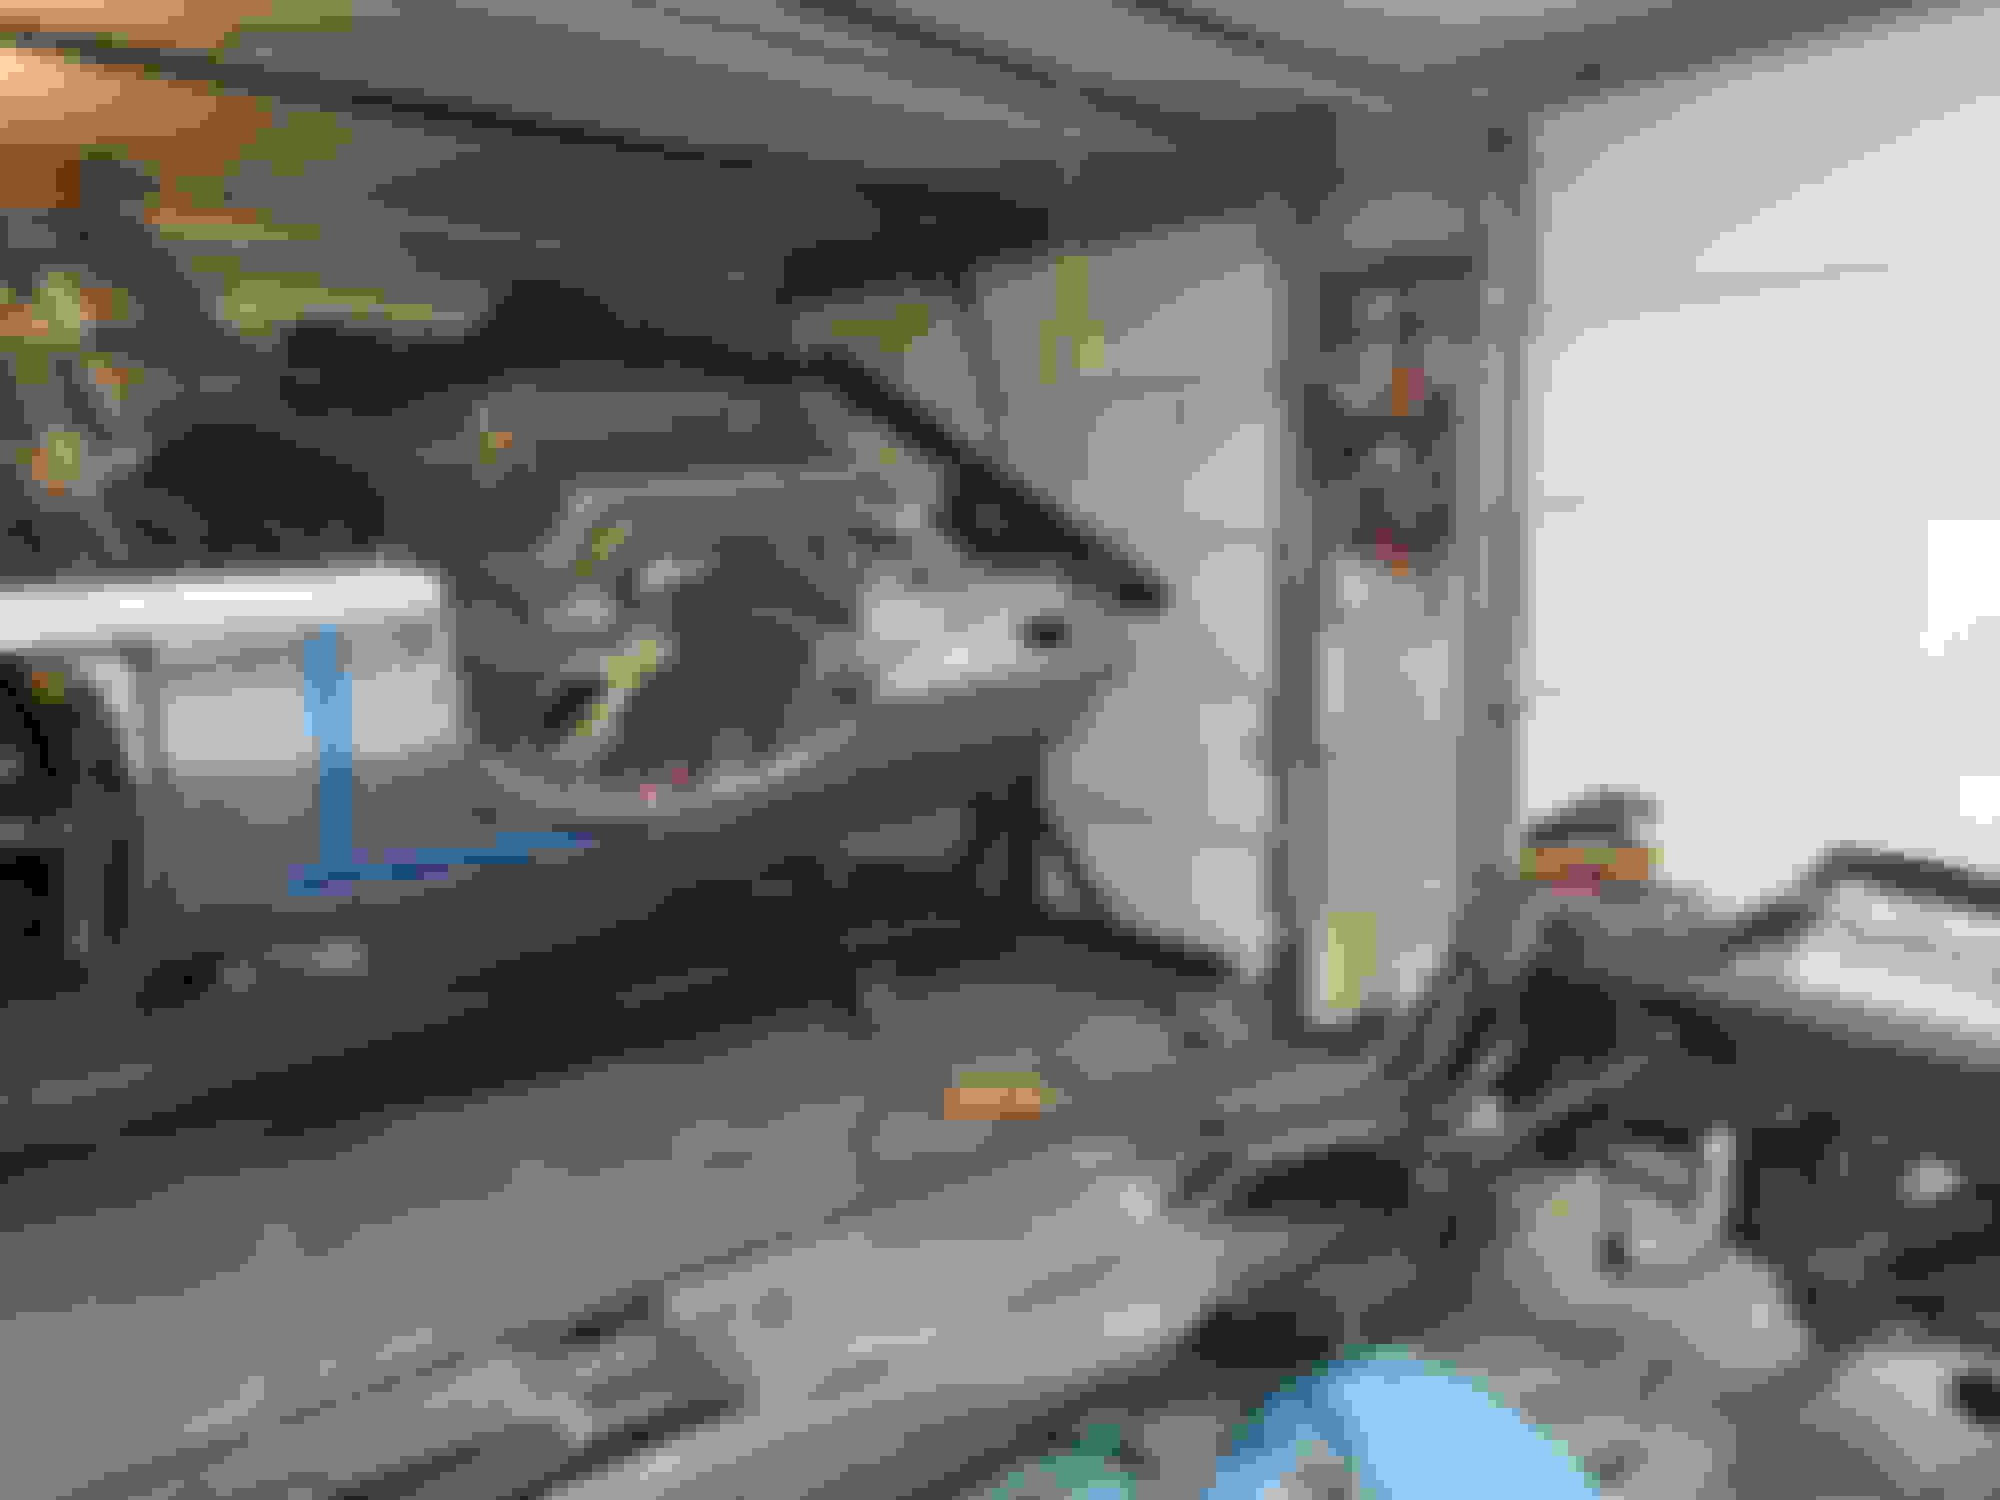
The new cross member has multiple mounting points which allowed me to extend the rotisserie arms wider so i could roll the frame in place leaving the rotisserie attached.
I lifted front with an engine hoist and was able to move the front of the rotisserie out of the way


tkcutlass is online now  
Old May 2nd, 2021, 05:58 AM
  #130  
Registered User
 
Phoenix8990's Avatar
 
Join Date: Dec 2018
Location: Asheville NC
Posts: 1,160
Looking good, when do you think you will be ready for primer?

Steve
Phoenix8990 is offline  
Old May 2nd, 2021, 07:17 AM
  #131  
Registered User
Thread Starter
 
tkcutlass's Avatar
 
Join Date: Jan 2020
Location: CT
Posts: 1,135
Originally Posted by Phoenix8990
Looking good, when do you think you will be ready for primer?

Steve
Thanks, Steve,
I am about a week away from the 1-year mark of the initial tear down.
I would love to have it primed by then.
With luck, I will have the frame attached today and have the rear braces welded in.
I have to replace the RH front cowl. If all goes well I will be priming by next weekend.

Thanks for the encouragement.

Tim
tkcutlass is online now  
Old May 2nd, 2021, 10:12 AM
  #132  
Registered User
 
Trophyblue442's Avatar
 
Join Date: Mar 2015
Location: Long Island, NY
Posts: 430
Looks good. Glad to see the trunk brace put to good use!
Trophyblue442 is offline  
Old May 2nd, 2021, 06:52 PM
  #133  
Registered User
Thread Starter
 
tkcutlass's Avatar
 
Join Date: Jan 2020
Location: CT
Posts: 1,135
Originally Posted by Trophyblue442
Looks good. Glad to see the trunk brace put to good use!
Thanks for providing the brace, I think the one I ordered is still stuck in the Suez canal.
tkcutlass is online now  
Old May 2nd, 2021, 07:15 PM
  #134  
Registered User
Thread Starter
 
tkcutlass's Avatar
 
Join Date: Jan 2020
Location: CT
Posts: 1,135
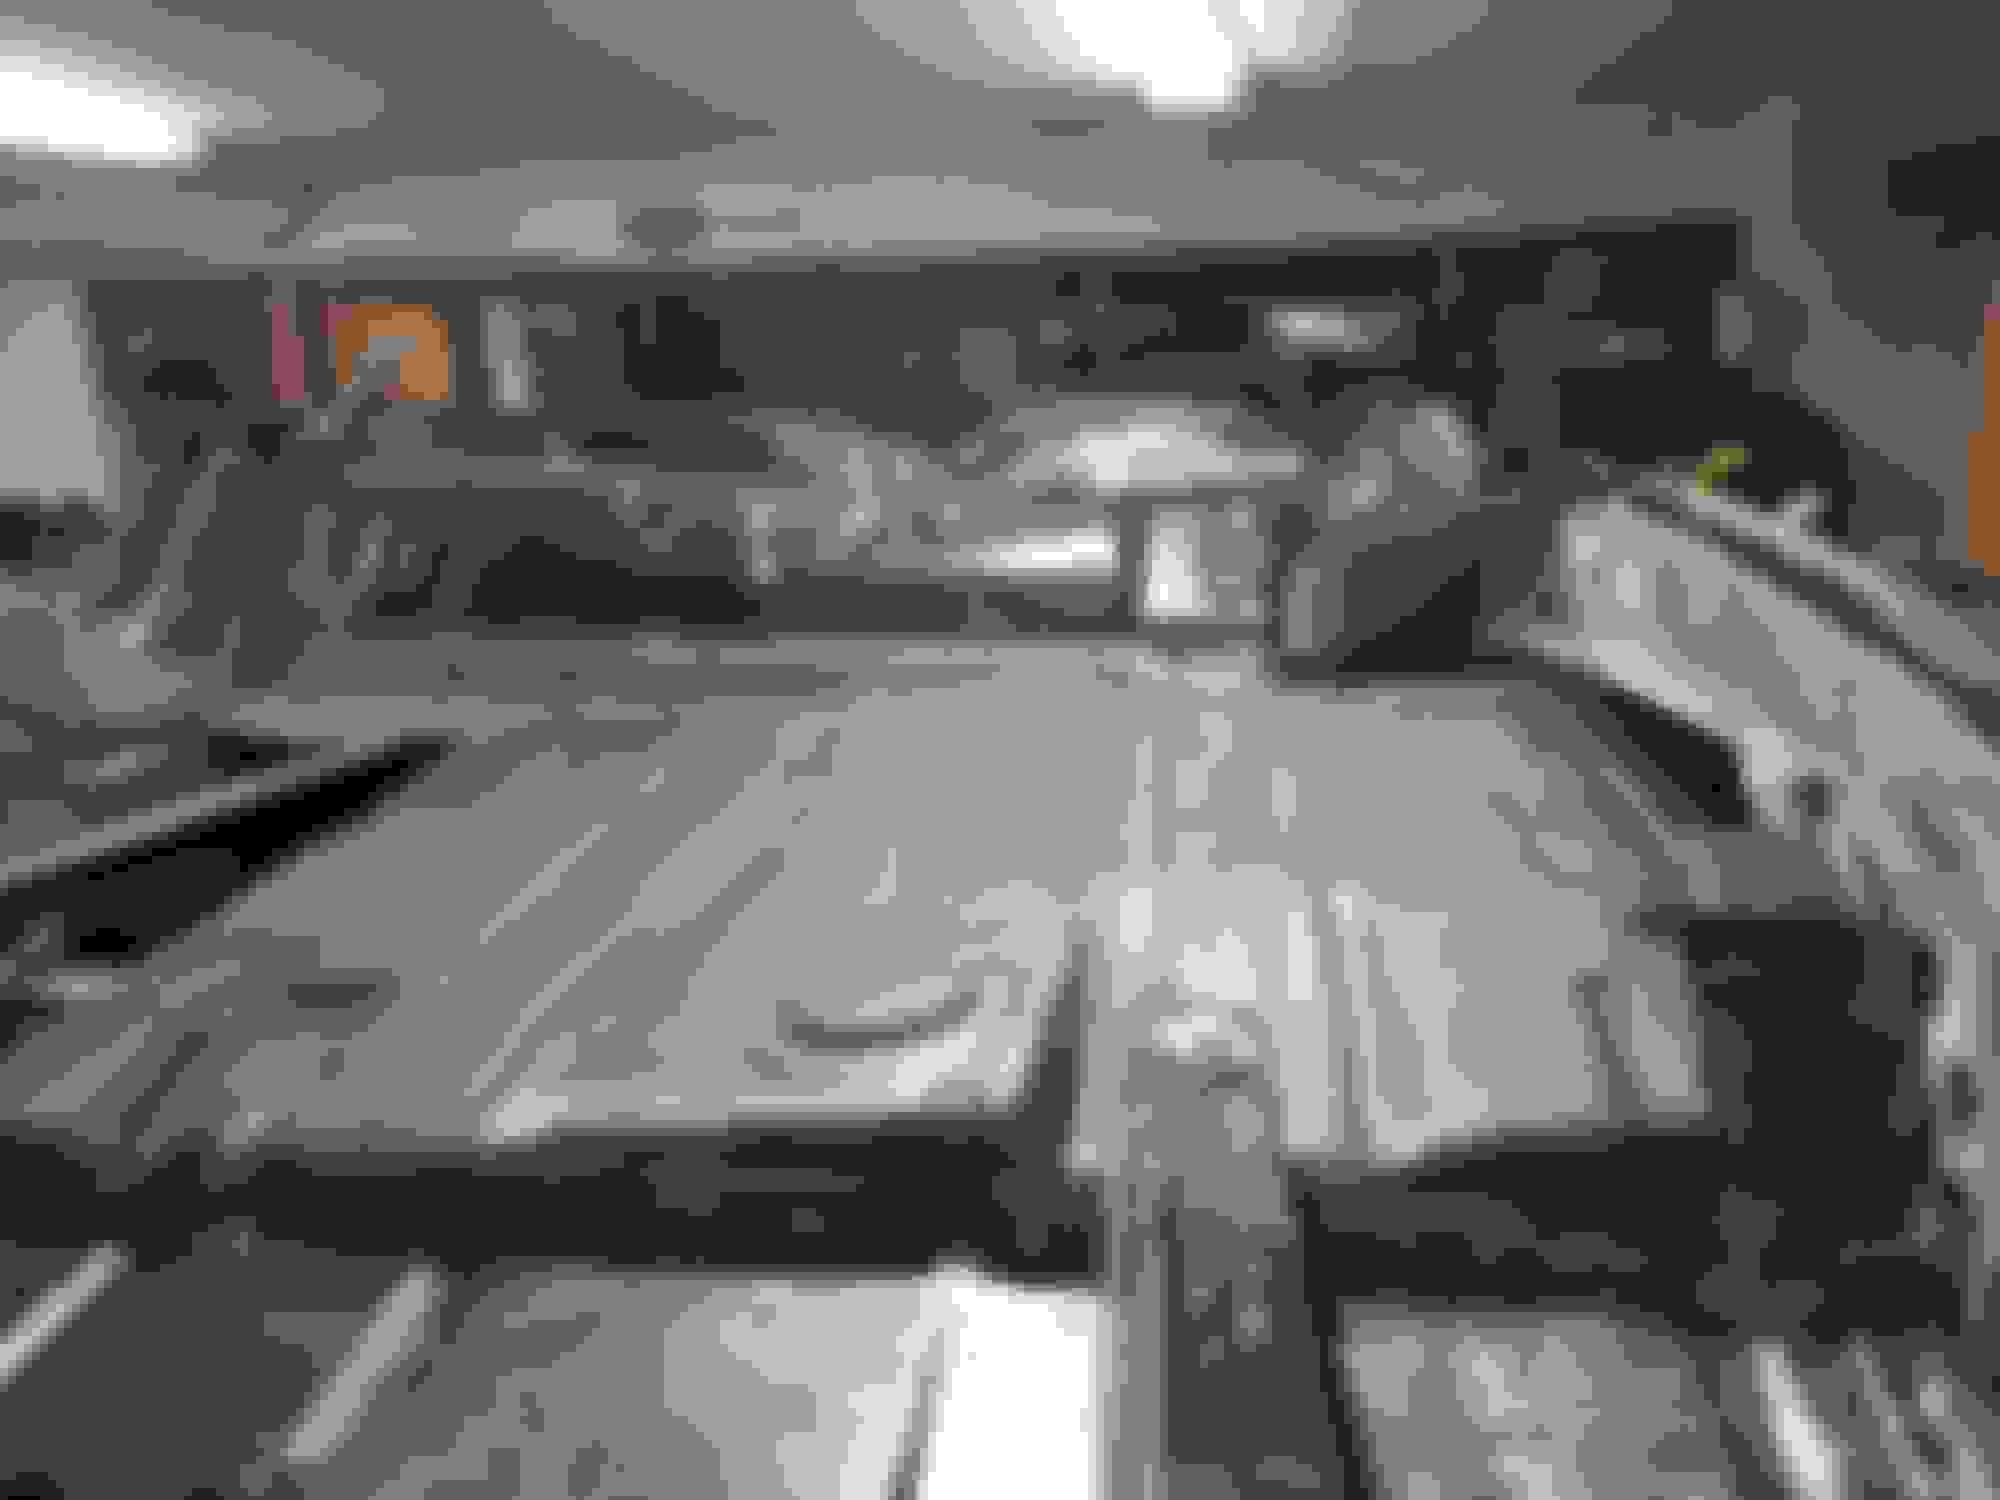
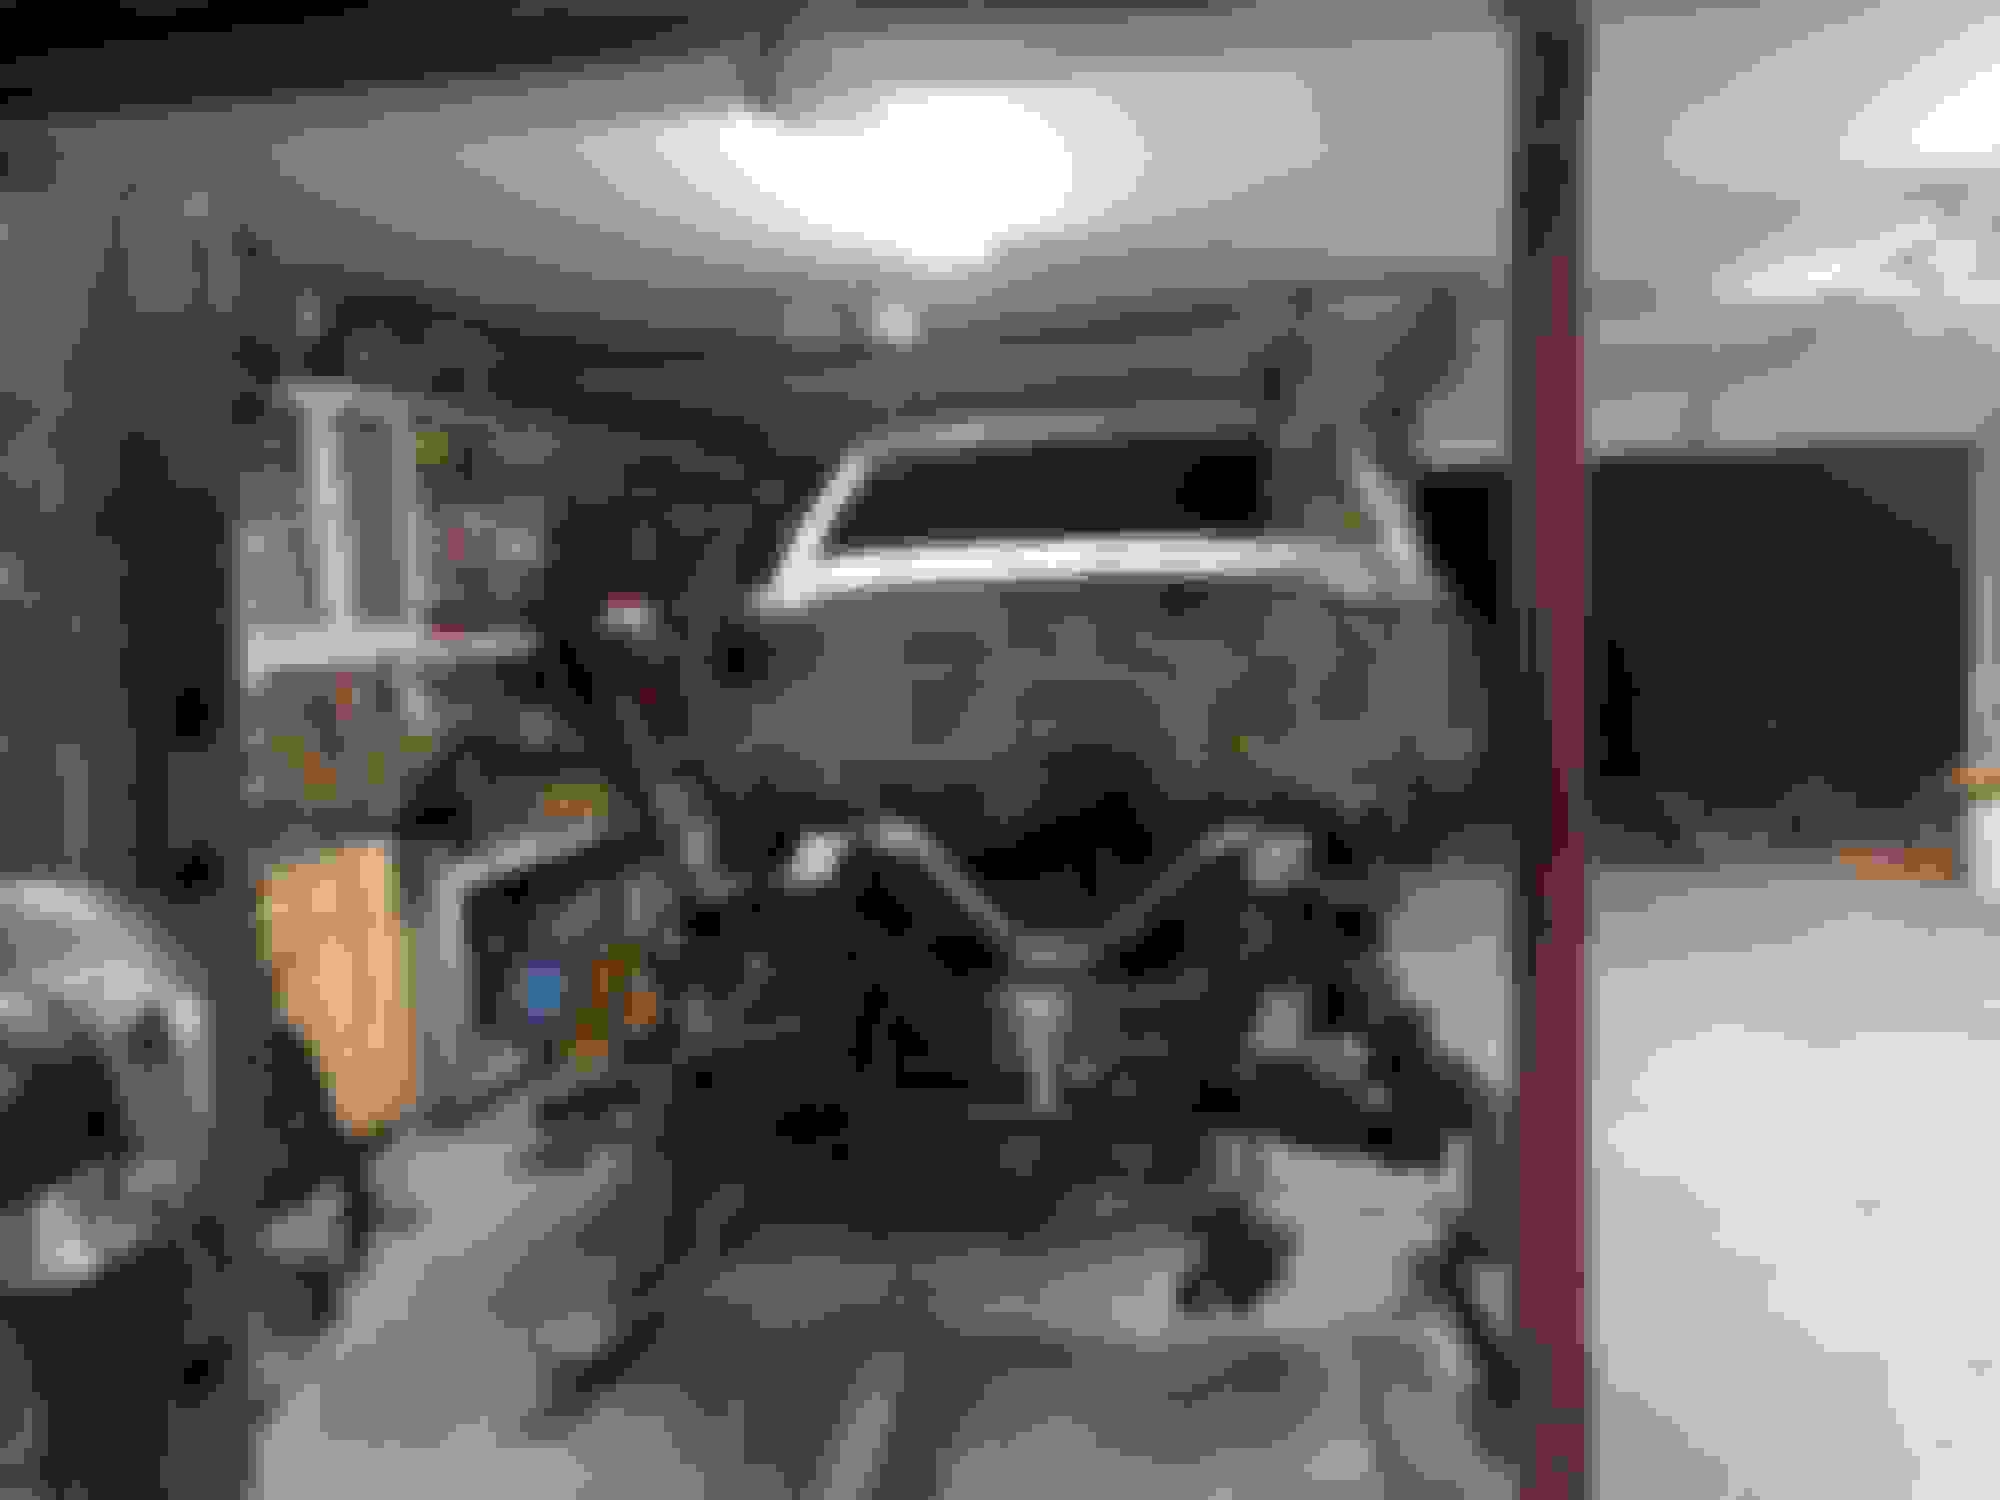
Little work today but big progress I managed to get all 8 frame to body mount bolts installed.
Normally probably not that big of a deal, however after repairing several body mounts on the frame, installing a new rear cross member, and welding a section of floor brace, I was very concerned about 1 or more of the 9 or so opportunities to out of tolerance.
With luck, I will weld the trunk braces in tomorrow.


tkcutlass is online now  
Old May 3rd, 2021, 06:07 AM
  #135  
Registered User
 
Phoenix8990's Avatar
 
Join Date: Dec 2018
Location: Asheville NC
Posts: 1,160
At first glance I thought you were lowering the body down onto the unpainted frame and thought OMG how can he be doing that, then remembered you had the frames stacked and took a closer look. Great progress and Looking good, amazing job you are doing.

Steve
Phoenix8990 is offline  
Old May 3rd, 2021, 09:31 AM
  #136  
Registered User
 
BackInTheGame's Avatar
 
Join Date: Jul 2009
Location: Colorado - Front Range
Posts: 2,378
Very cool! Fun to follow along with your progress!
BackInTheGame is offline  
Old May 3rd, 2021, 03:46 PM
  #137  
Registered User
Thread Starter
 
tkcutlass's Avatar
 
Join Date: Jan 2020
Location: CT
Posts: 1,135
Thanks, guys I appreciate the support.
tkcutlass is online now  
Old May 3rd, 2021, 08:18 PM
  #138  
Registered User
Thread Starter
 
tkcutlass's Avatar
 
Join Date: Jan 2020
Location: CT
Posts: 1,135
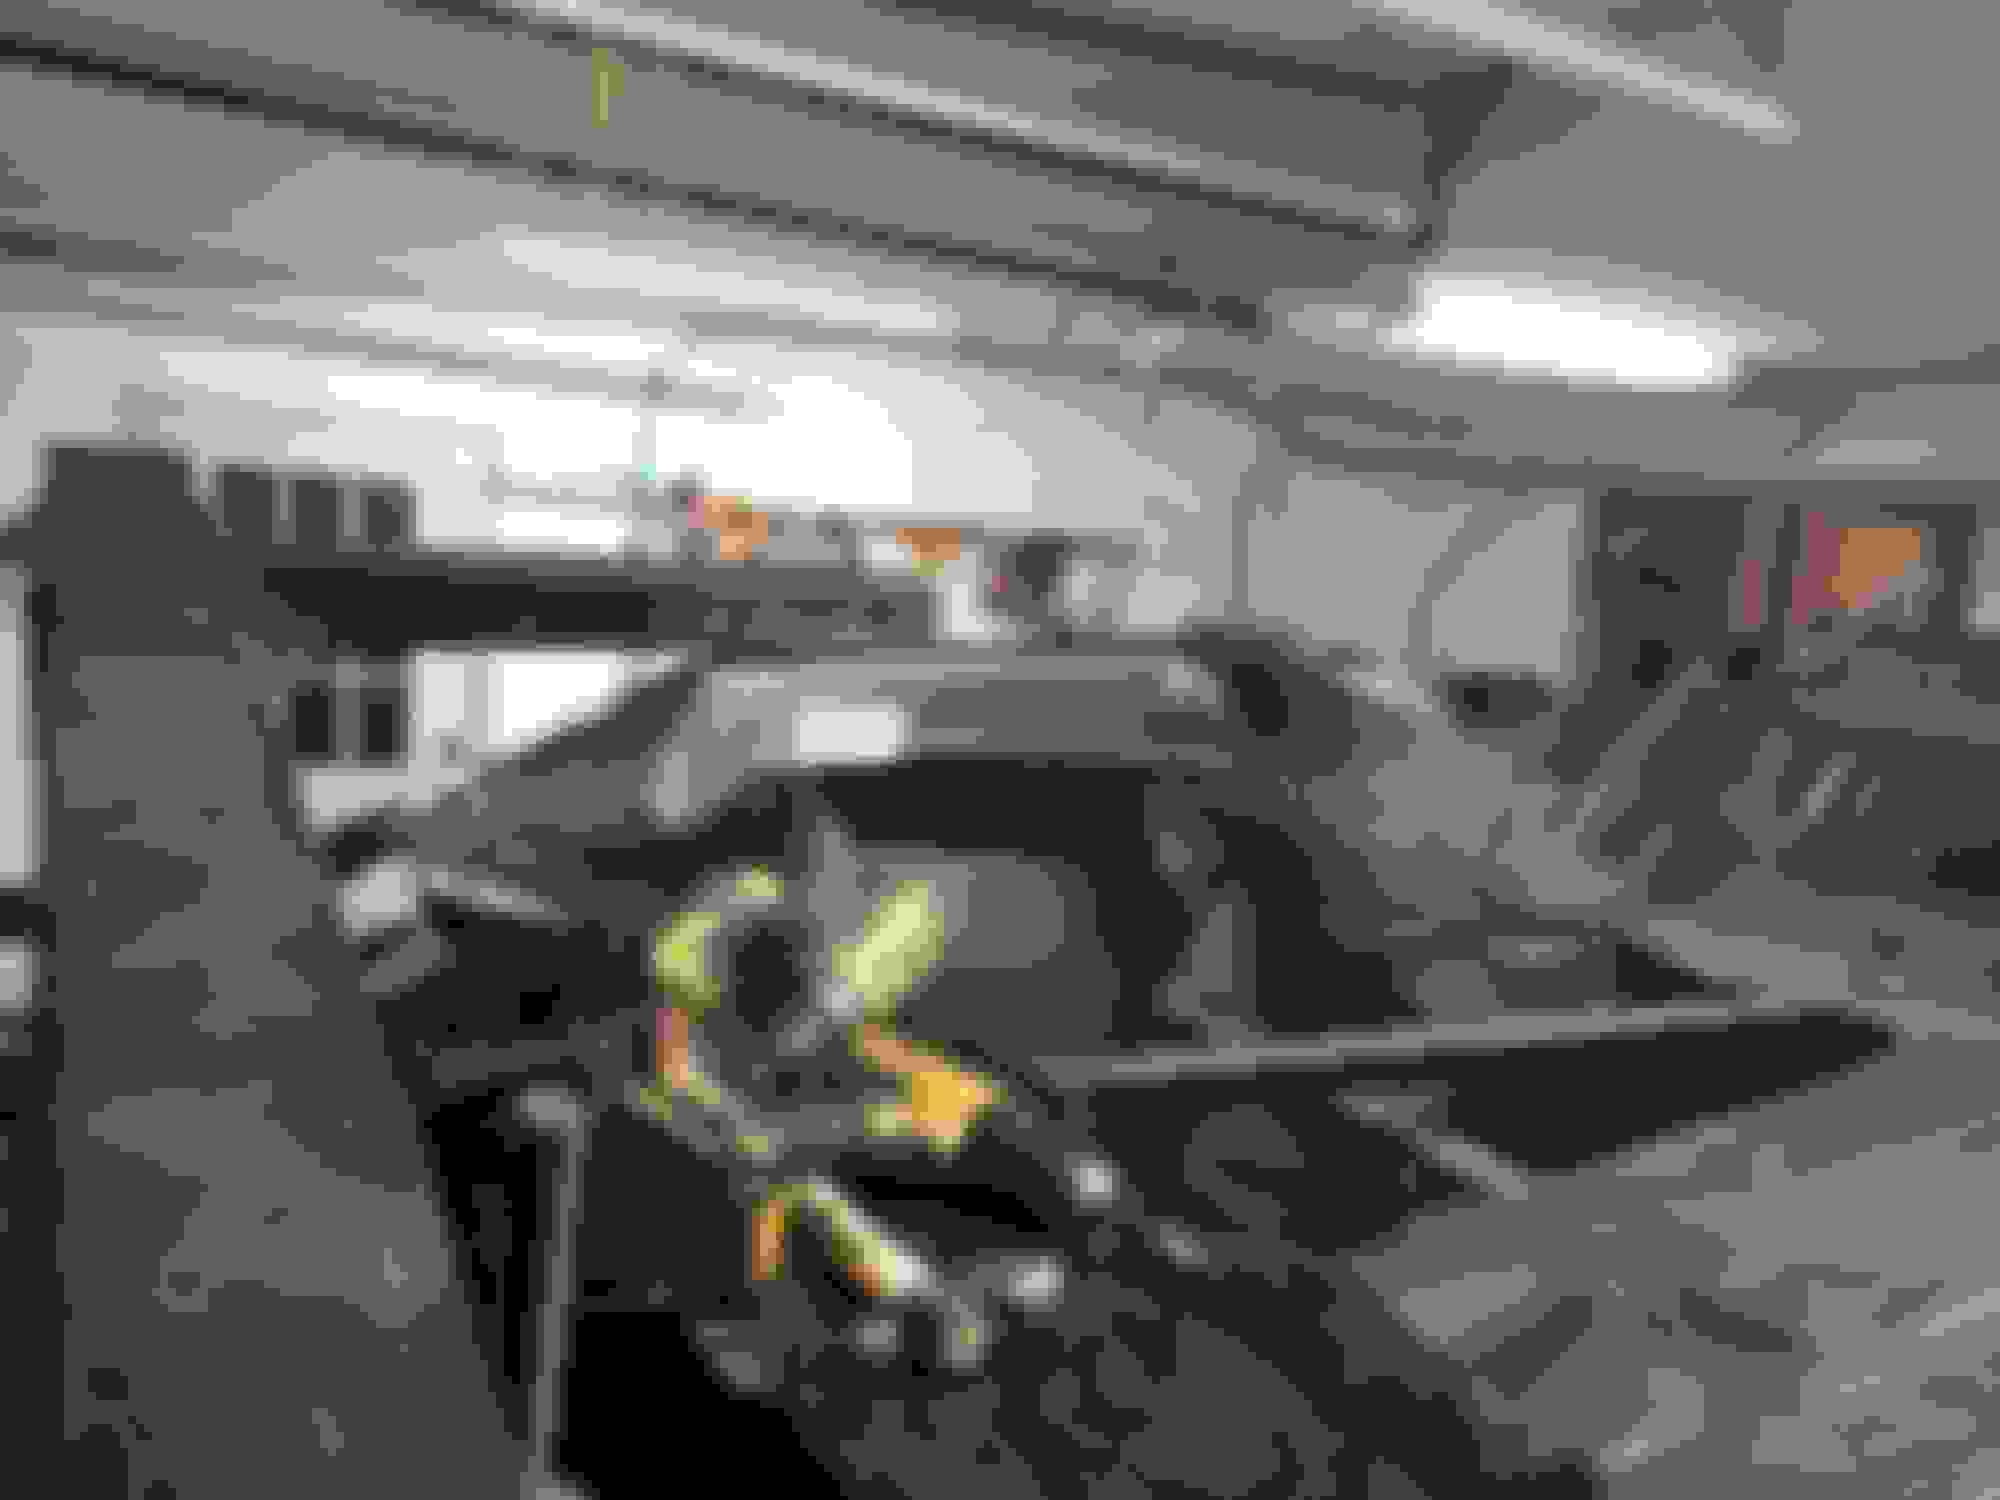
Removed the rotisserie and engine lift for better access.
Got the trunk braces tacked in.
Figured I'd take advantage of it being on the frame so I started removing the RH cowl.


tkcutlass is online now  
Old May 5th, 2021, 09:32 PM
  #139  
Registered User
Thread Starter
 
tkcutlass's Avatar
 
Join Date: Jan 2020
Location: CT
Posts: 1,135
Finished removing the cowl.
Cleaned up some rust and hit it with rust converter.
Looks like I may have a little work before installing the new cowl.


tkcutlass is online now  
Old May 9th, 2021, 06:40 PM
  #140  
Registered User
Thread Starter
 
tkcutlass's Avatar
 
Join Date: Jan 2020
Location: CT
Posts: 1,135
Even though you wouldn't be able to see it I couldn't leave the swiss cheese where the inner cowl meets the fender mount.


tkcutlass is online now  
Old May 14th, 2021, 05:35 PM
  #141  
Registered User
Thread Starter
 
tkcutlass's Avatar
 
Join Date: Jan 2020
Location: CT
Posts: 1,135
I got the cowl mostly wrapped up.
Next up a little grinding then back on the rotisserie.


tkcutlass is online now  
Old June 6th, 2021, 08:00 PM
  #142  
Registered User
Thread Starter
 
tkcutlass's Avatar
 
Join Date: Jan 2020
Location: CT
Posts: 1,135
Removed the body again. and welded up the trunk braces.


tkcutlass is online now  
Old June 7th, 2021, 04:46 PM
  #143  
72 Olds CS
 
RetroRanger's Avatar
 
Join Date: Jun 2011
Posts: 6,657
looking good

to hot to be doing any weleding IMHO tho !!!
RetroRanger is offline  
Old June 10th, 2021, 07:29 PM
  #144  
Registered User
Thread Starter
 
tkcutlass's Avatar
 
Join Date: Jan 2020
Location: CT
Posts: 1,135
Package from Right Stuff showed up.
Brake and Fuel lines going in


tkcutlass is online now  
Old June 10th, 2021, 07:42 PM
  #145  
Registered User
Thread Starter
 
tkcutlass's Avatar
 
Join Date: Jan 2020
Location: CT
Posts: 1,135
Removed the frame underneath cleaned and painted the rear,


tkcutlass is online now  
Old June 10th, 2021, 07:49 PM
  #146  
Registered User
Thread Starter
 
tkcutlass's Avatar
 
Join Date: Jan 2020
Location: CT
Posts: 1,135
Got the wrong control arm bolt kit (it was for the front)
Laid out the suspension parts for install. (waiting on correct bolt kit)


tkcutlass is online now  
Old June 10th, 2021, 08:24 PM
  #147  
Registered User
Thread Starter
 
tkcutlass's Avatar
 
Join Date: Jan 2020
Location: CT
Posts: 1,135
Prepped the last few suspension parts.


tkcutlass is online now  
Old June 20th, 2021, 07:26 PM
  #148  
Registered User
Thread Starter
 
tkcutlass's Avatar
 
Join Date: Jan 2020
Location: CT
Posts: 1,135
Got a few more pieces painted and installed the rear suspension.


tkcutlass is online now  
Old June 20th, 2021, 07:29 PM
  #149  
Registered User
Thread Starter
 
tkcutlass's Avatar
 
Join Date: Jan 2020
Location: CT
Posts: 1,135
Blasted the steering arms and started assembling the front suspension.


tkcutlass is online now  
Old July 16th, 2021, 01:06 PM
  #150  
Car Nerd
 
OldSoldier's Avatar
 
Join Date: Jul 2013
Location: Grapevine, TX
Posts: 174
tk, that looks like it is coming along nicely. I kind of wish that you'd continued on ole red, because that's even rustier than my ole red, ha! I never saw one worse, at least that I remember. I haven't posted it up here yet in detail because I don't want others to talk me out of it. I've already spent too much on parts to turn back now...

Good work sir!
OldSoldier is offline  
Old July 18th, 2021, 08:01 PM
  #151  
Registered User
Thread Starter
 
tkcutlass's Avatar
 
Join Date: Jan 2020
Location: CT
Posts: 1,135
I kind of wish that you'd continued on ole red
Good chance I will go back to that one at one point.
tkcutlass is online now  
Old July 18th, 2021, 08:30 PM
  #152  
Registered User
Thread Starter
 
tkcutlass's Avatar
 
Join Date: Jan 2020
Location: CT
Posts: 1,135
A few updates.
rebuilt steering box installed with most of the suspension installed.


tkcutlass is online now  
Old July 18th, 2021, 08:35 PM
  #153  
Registered User
Thread Starter
 
tkcutlass's Avatar
 
Join Date: Jan 2020
Location: CT
Posts: 1,135
More welding and patching


tkcutlass is online now  
Old July 18th, 2021, 08:45 PM
  #154  
Registered User
Thread Starter
 
tkcutlass's Avatar
 
Join Date: Jan 2020
Location: CT
Posts: 1,135
Decided to add a 455 to the mix


Stripped it and brought it to the machine shop
tkcutlass is online now  
Old July 22nd, 2021, 07:36 PM
  #155  
Registered User
Thread Starter
 
tkcutlass's Avatar
 
Join Date: Jan 2020
Location: CT
Posts: 1,135
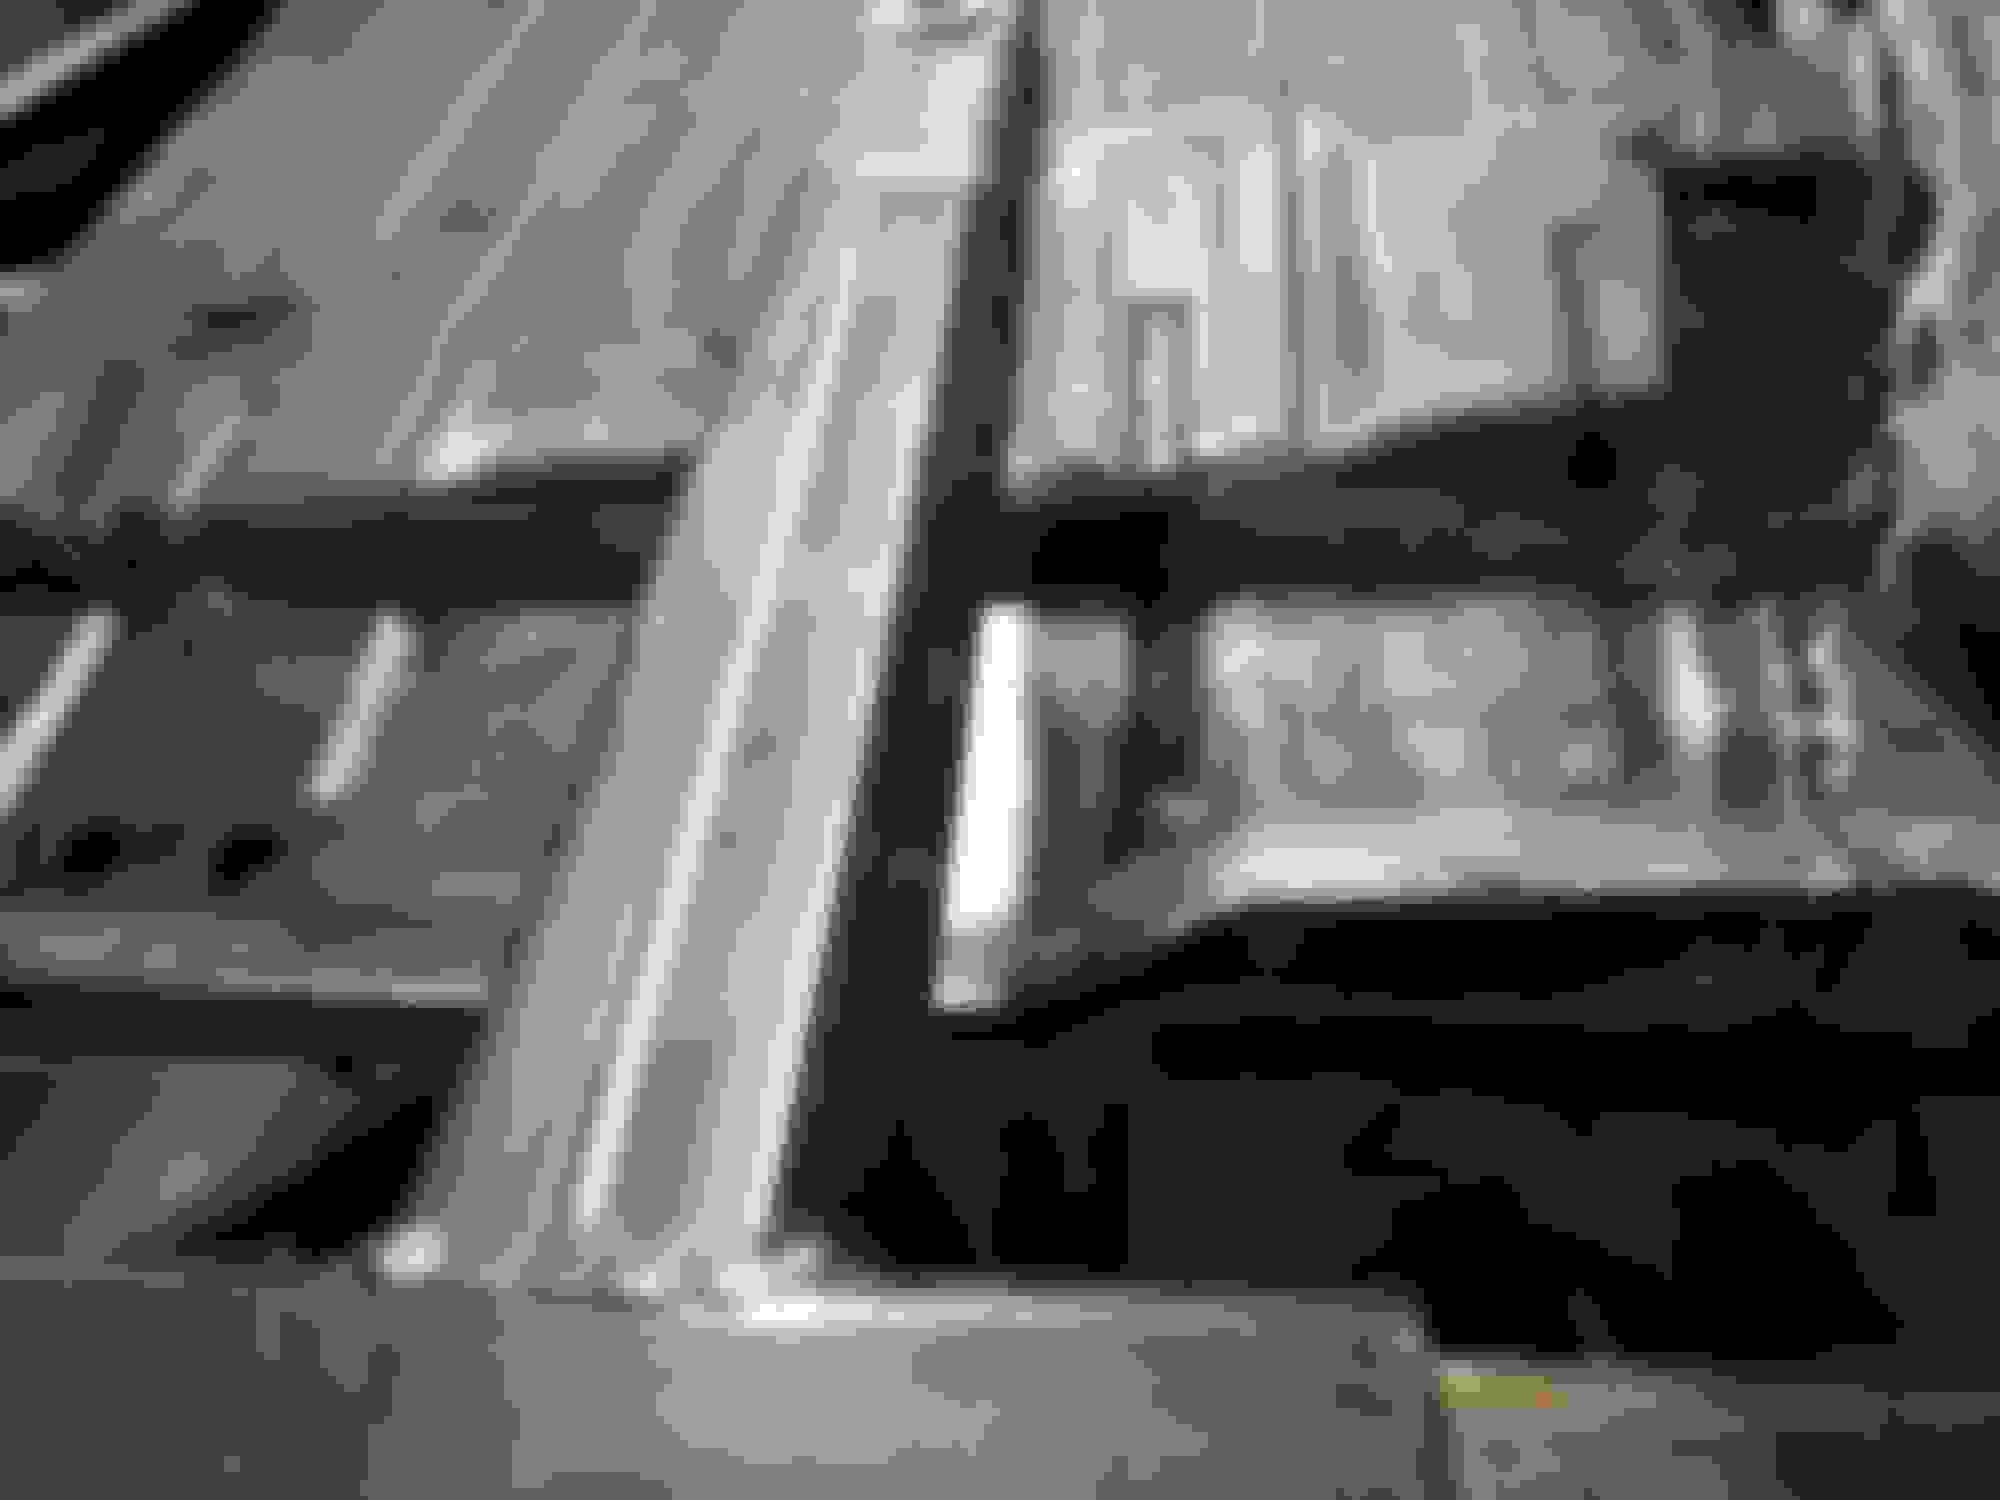
Tackled the trunk gutter I am pretty happy how it turned out the channel from rust repair helped tremendously but I had to fab a companion piece based on all the rot.


Channel from rust replace


fabbed companion piece


tkcutlass is online now  
Old July 23rd, 2021, 06:18 AM
  #156  
Registered User
 
Phoenix8990's Avatar
 
Join Date: Dec 2018
Location: Asheville NC
Posts: 1,160
It's coming along. Are you getting close to completing the metal work?

Steve
Phoenix8990 is offline  
Old July 31st, 2021, 09:53 PM
  #157  
Registered User
Thread Starter
 
tkcutlass's Avatar
 
Join Date: Jan 2020
Location: CT
Posts: 1,135
Originally Posted by Phoenix8990
It's coming along. Are you getting close to completing the metal work?

Steve
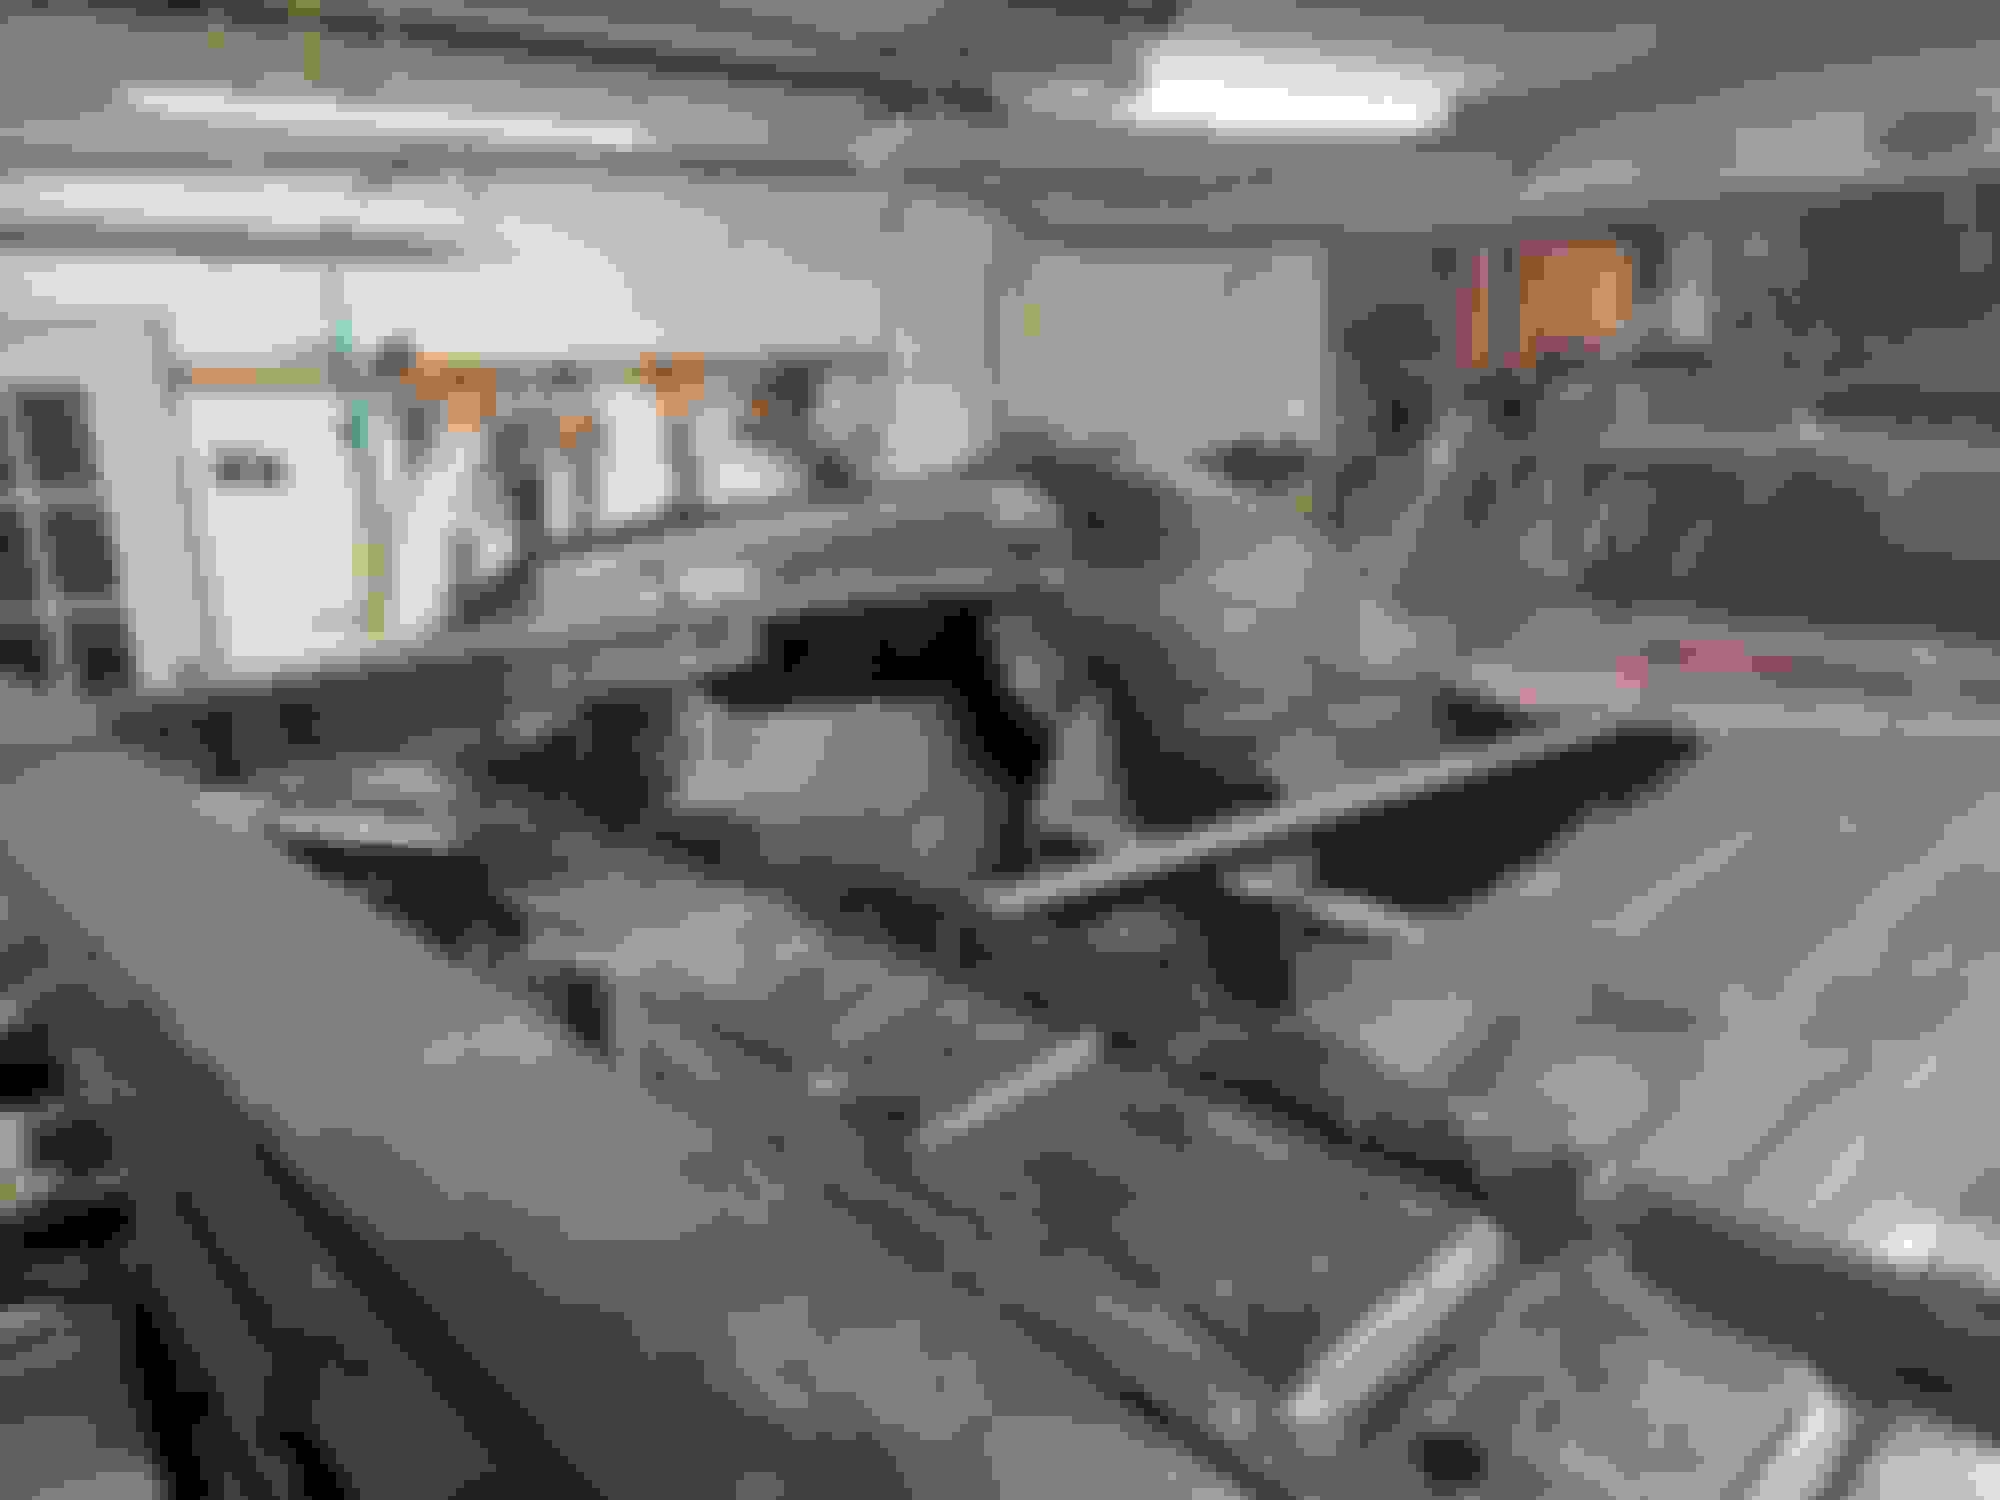
Getting closer, moved on to quarters and patched outer wheel wells.
Not sure about the shape and size of the edge on the outer wheel well, had to guestimate based on the edge of a rusted piece.
The bulge goes below the quarter panel, not sure if it should. Anyone with pics of the quarter to wheel well behind the tire.


Not sure about the bulge from the outer wheel well
tkcutlass is online now  
Old August 1st, 2021, 06:04 AM
  #158  
Registered User
 
Phoenix8990's Avatar
 
Join Date: Dec 2018
Location: Asheville NC
Posts: 1,160
It's a little late but I was told you could take the opposite wheel arch and they would fit. PS front to DS rear or DS front to PS rear. You could cut it out and it would fit properly. Needless to say, you are doing a great job. It's nice to have all the sheet metal equipment to fabricate and have the space o work in.
Steve.
Phoenix8990 is offline  
Old August 10th, 2021, 08:58 PM
  #159  
Registered User
Thread Starter
 
tkcutlass's Avatar
 
Join Date: Jan 2020
Location: CT
Posts: 1,135
Got a couple more patches in on the passenger quarter, realized I had the outer wheel well patch on the driver's side inverted. the rounded edge goes in front of the wheel, so I will be doing a lumpectomy on that lump on the drivers side.


tkcutlass is online now  
Old August 11th, 2021, 05:55 AM
  #160  
Registered User
 
Phoenix8990's Avatar
 
Join Date: Dec 2018
Location: Asheville NC
Posts: 1,160
How do you eat an Elephant? One bite at a time! WOW, you are getting there, I'm looking forward to seeing it in primer one of these days.
Steve
Phoenix8990 is offline  


Quick Reply: 70 cutlass supreme convertible my first frame off


All times are GMT -7. The time now is 02:31 PM.