When you click on links to various merchants on this site and make a purchase, this can result in this site earning a commission. Affiliate programs and affiliations include, but are not limited to, the eBay Partner Network.
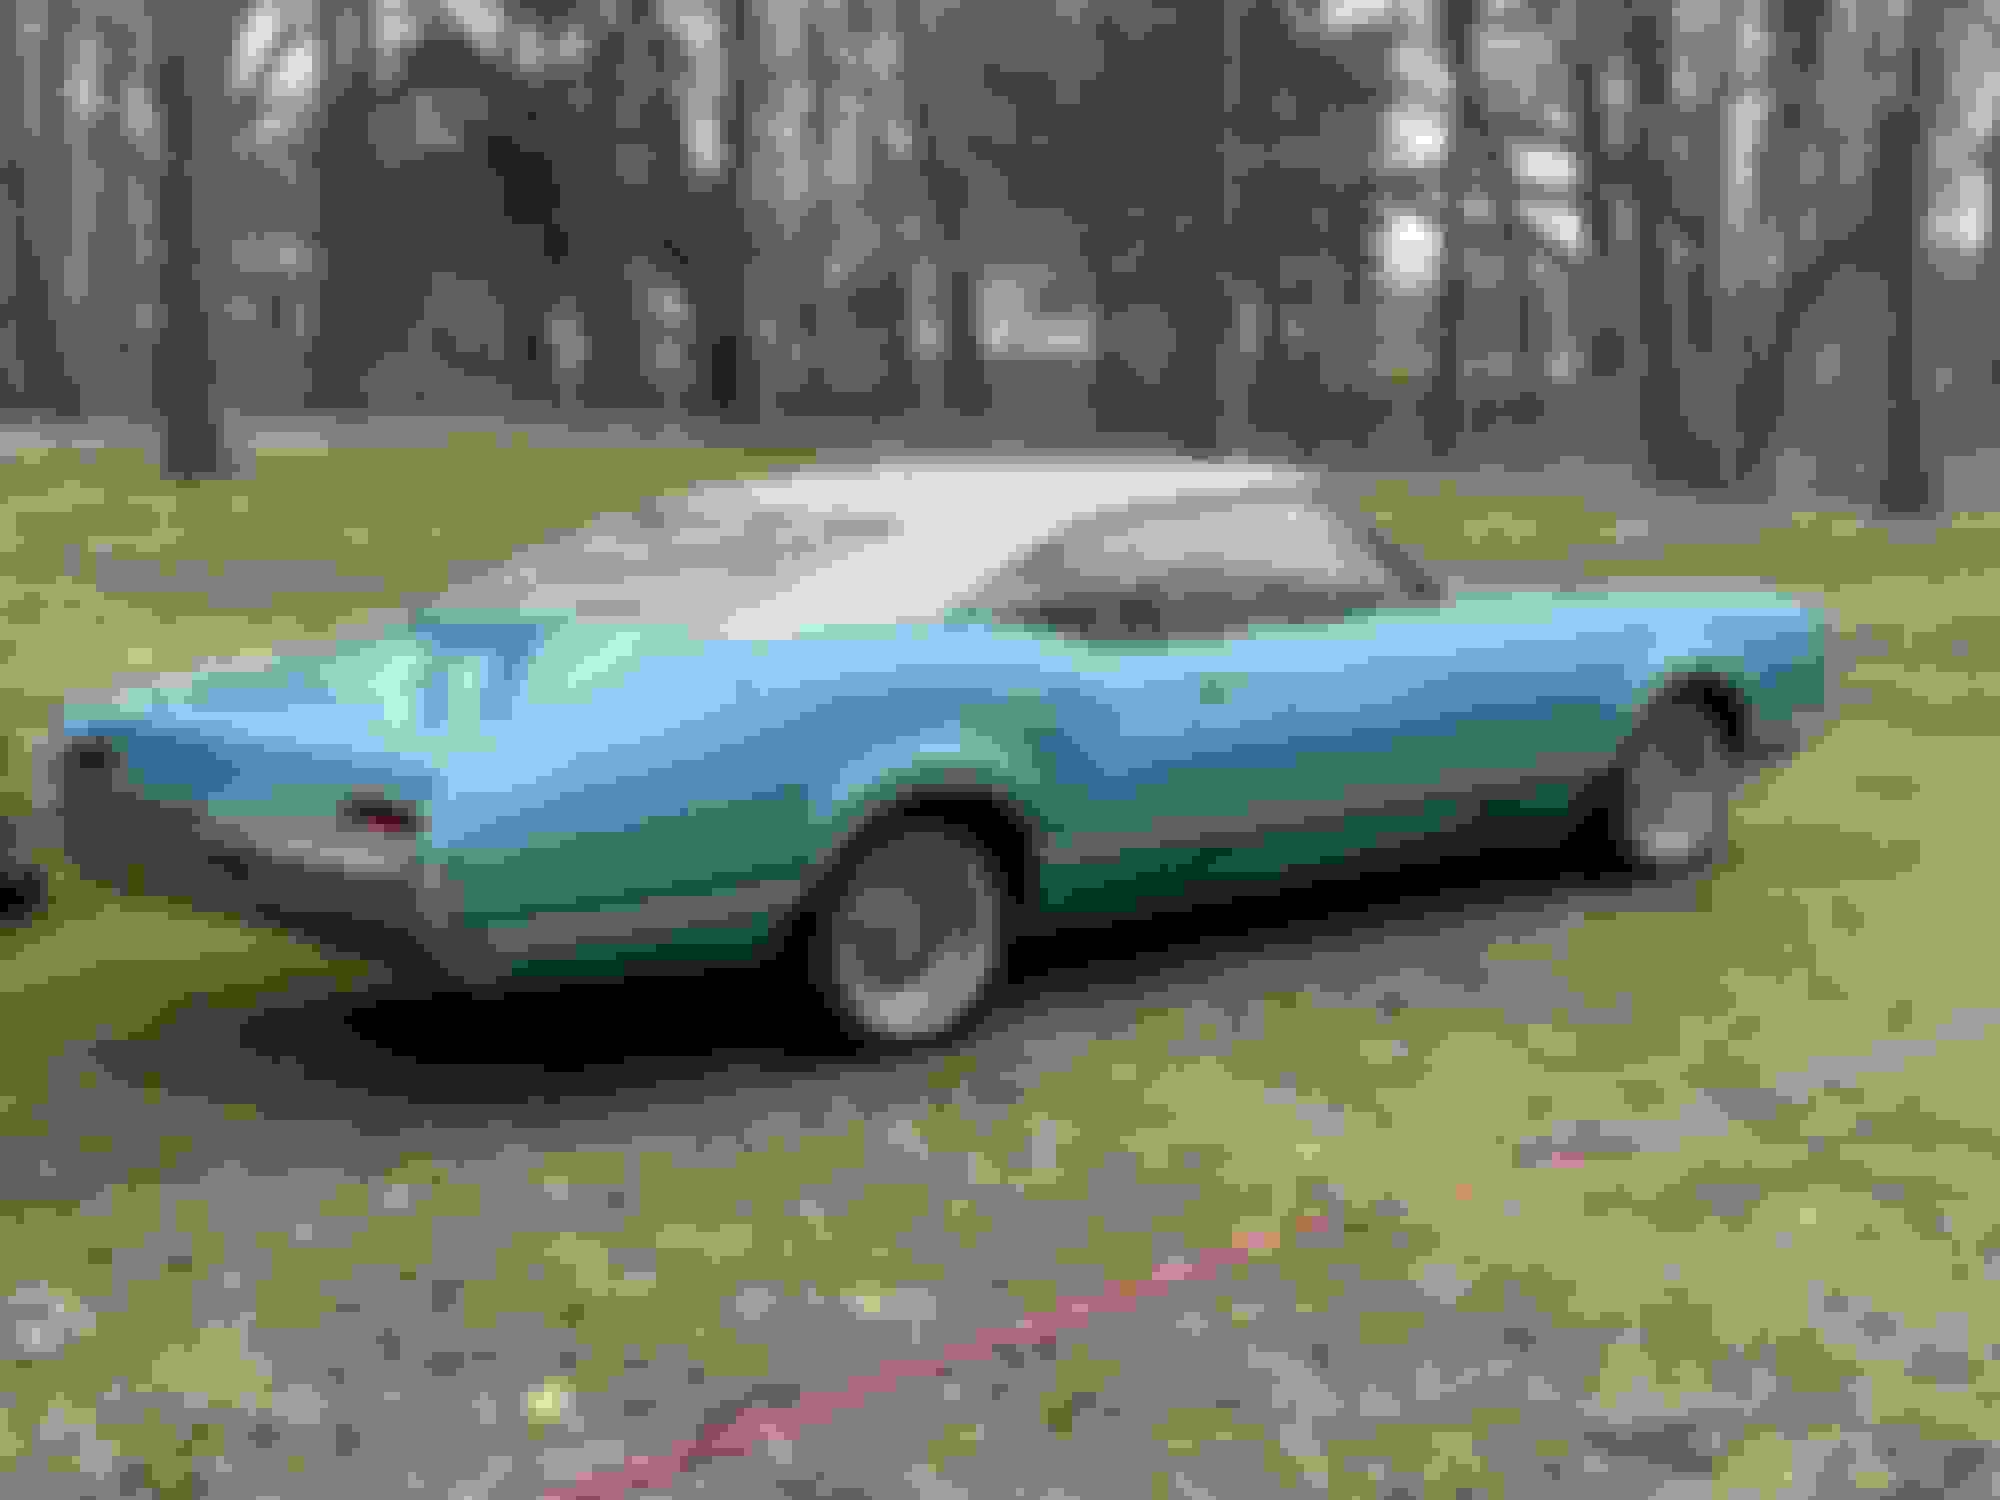
I have a 67 Delmont my grandfather bought new. In 68 after recovering from a stroke he drove it thru the garage door, out the back of the garage and into the pines behind the house. It was repaired and wasn't driven much, it currently has 71k on the odometer. My father always kept the car in great shape. The car was passed to me recently. I don't know the extent of the damage but the roof is showing some spider cracks in the paint. I want to remove the trim and take the roof down to bare metal and repaint with modern materials.
Does anyone out there know the proper process for removing the trim on these cars. Damaging this trim would be horrible as I can only imagine how difficult it would be to replace.
Very nice car. I once had a '67 Delta 88, basically the same car. The trim is mostly just pulled off carefully, but before you touch anything, buy one of these. It will show you how every piece of trim on every 1967 GM car is attached. They're available on ebay, and well worth the money.
There are special tools to remove the windshield, rear window, and body trim mouldings. You can find them at parts stores and even Harbor Freight.
Windshield. Slip the blade between the glass and the moulding, then hook the clip with the points on the tool and pry it toward yourself to release the retainer clip.
Body mouldings. Slide it behind the moulding near its mounting clips and pry it off the clips. These plastic ones are wide enough to spread prying force over a larger area which reduces possibility of kinking the moulding. Also, if it slips, not as likely to damage paint as a screwdriver would.
The FB manual will show the mouldings, clips, and if there are any screws or bolts holding the clips to the car body. Worthwhile investment as Jaunty pointed out.
Anybody notice this is a 425 car?😎
Last edited by rocketraider; April 21st, 2024 at 01:48 PM.
Thanks, I'll check it out. The battery is in need of replacement, there may be a clamp on the bottom I can't remember???
There is no clamp on the bottom. The hold-down is a two-piece affair that has a vertical rod with a J-hook on the bottom that catches a flange on the battery tray and at the top goes through a loop in the end of a metal bracket that sits across the top of the battery. The bracket at the other end is fastened to the car's frame with a bolt.
Here's a '67 with the battery hold-down in place. You can see it in the lower right of the photo.
Fusick sells the top bracket. I don't know if they have the vertical piece, but they're pretty generic, and you can likely get a simple rod threaded at one end and with a J-hook at the other end that will work. You'll also need the bolt the holds the top bracket to the frame in front of the battery. Should not be too hard to find something at the hardware store.
Here's a hook rod available at Autozone for all of $3.50. Comes with two, but you need only one.
 April 21st, 2024, 08:58 AM