When you click on links to various merchants on this site and make a purchase, this can result in this site earning a commission. Affiliate programs and affiliations include, but are not limited to, the eBay Partner Network.
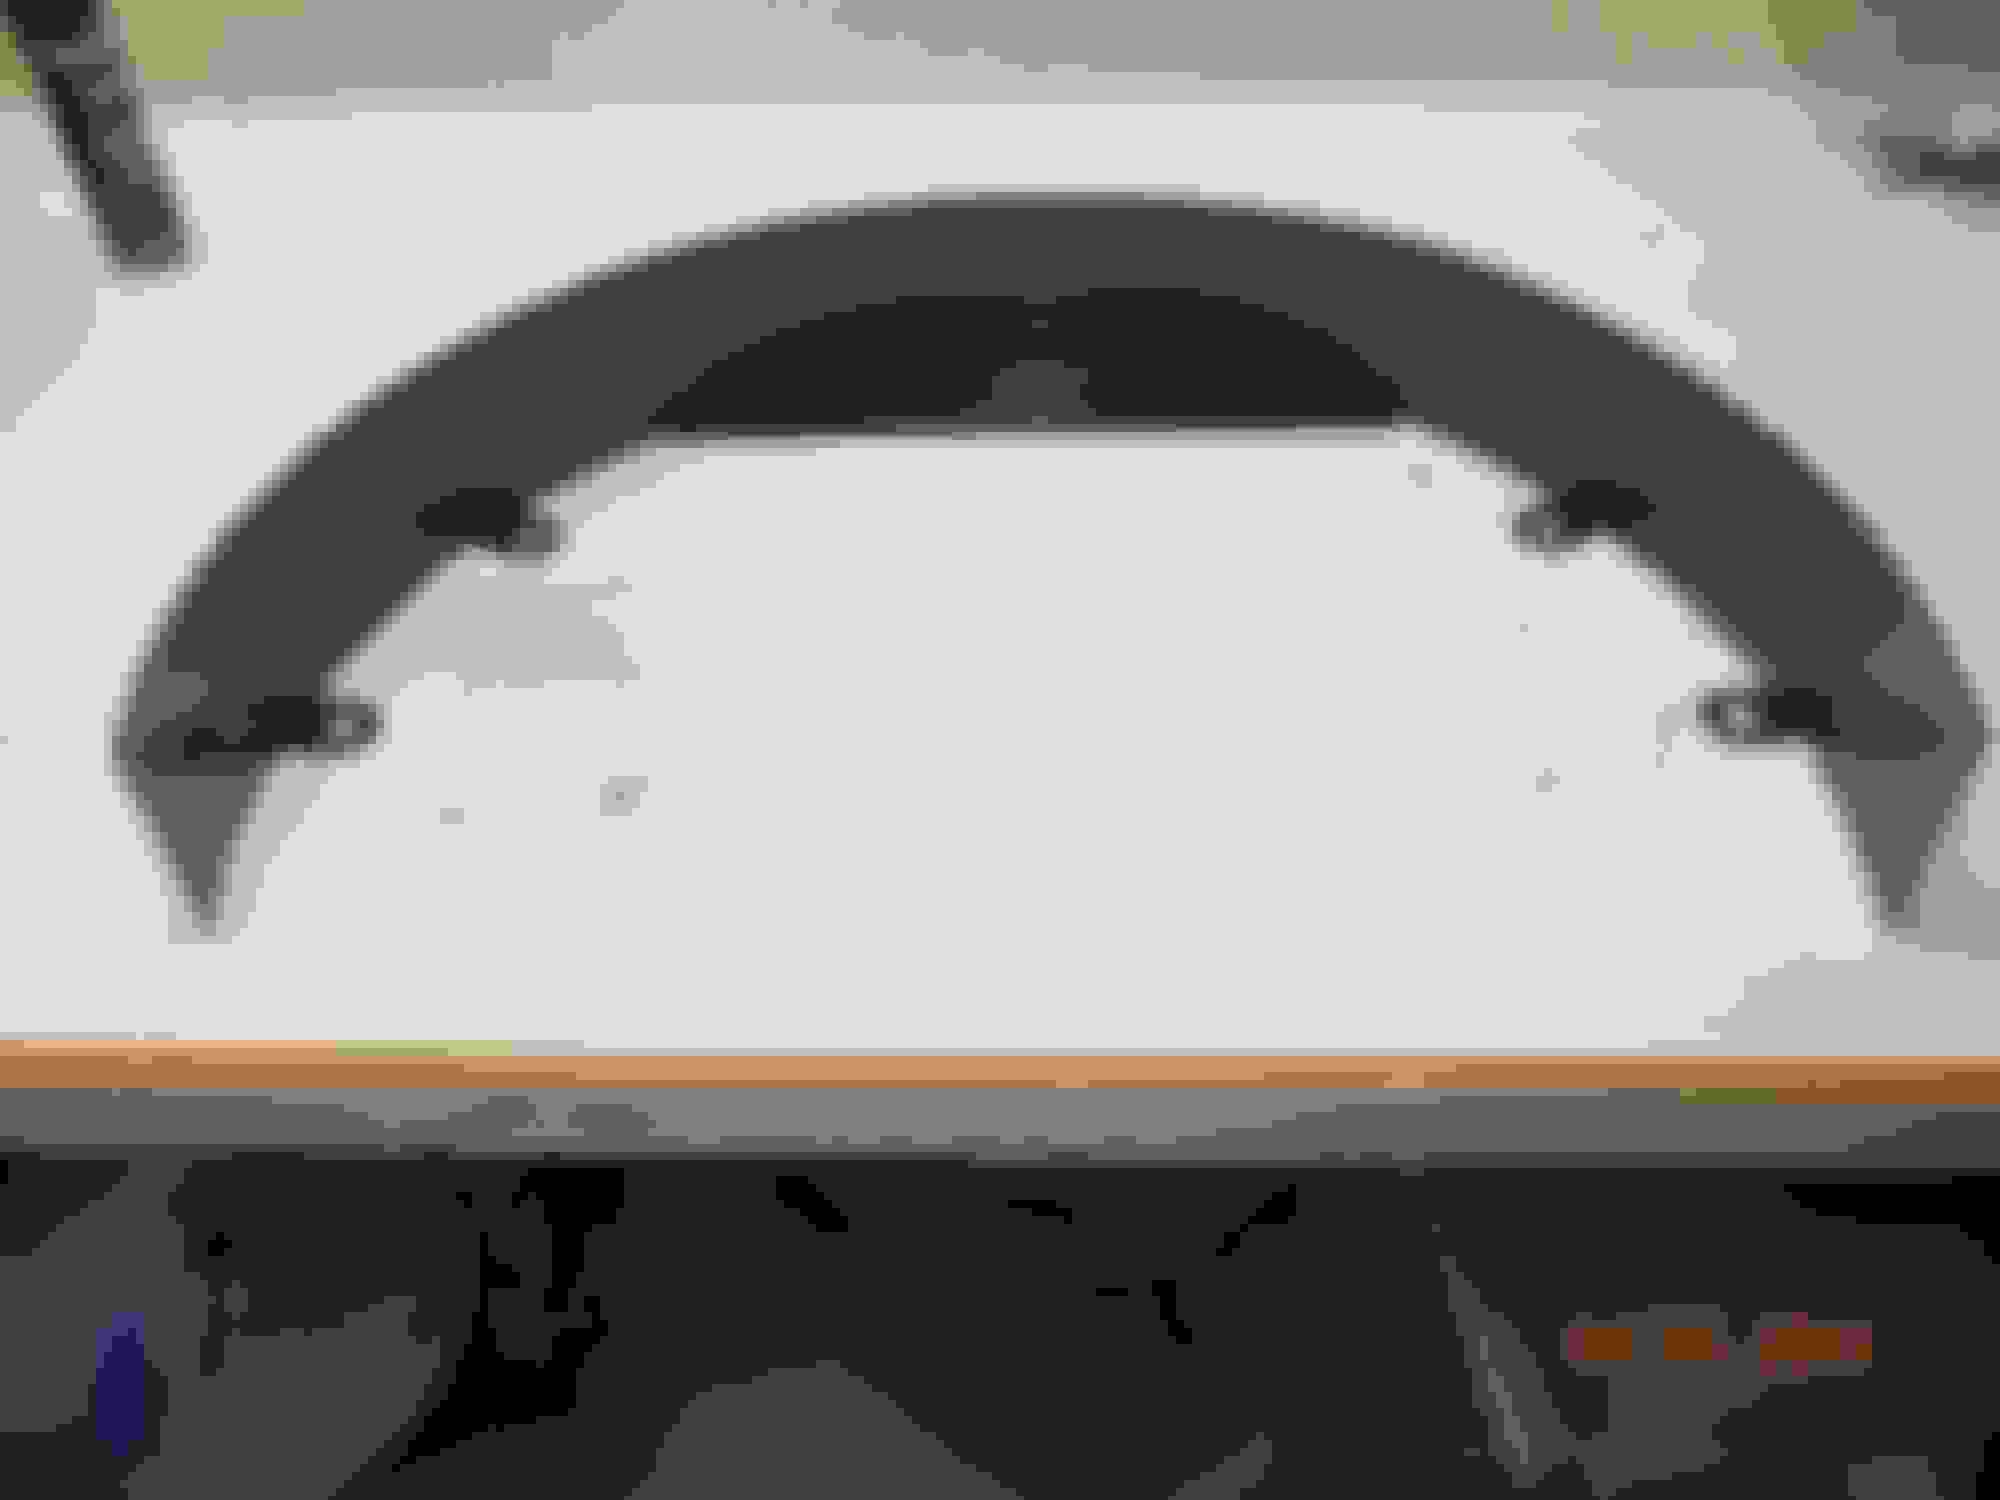
I found last year that in very hot weather, in slow moving traffic such as a parade, the temp gage was climbing too high with the a/c on. I didn’t have a fan shroud, but a Flexlite fan positioned close to the aluminum radiator core had kept the temp well in check, in normal conditions. I found that fan shrouds work best with the center This is the stock shroud and the sections with the mounting tabs are flexible. I chose black rather than chrome since I knew I had to cut it. I traced the arc of the shroud on to a 2x4 and cut it with my saber saw. Shroud can be re-positioned by removing the screws, shifting the shroud and putting screws in a new location on the jig. Shifting the jig in the clamp jaws makes it easier to cut around the arc This was the first concept it, didn't work. I had to cut out the section between the two mounting tabs to clear the lower section of the core. Finished at last Shroud is attached with plastic threaded fasteners through the radiator core.
line of the fan blades even with the edge of the shroud, i.e., the blades half in and half out. I found a universal shroud that showed promise, it was 3 inches wide but I only needed it to be 1.5 inches wide so I had to cut it to fit. Holding the material while cutting it was going to be a problem. I made a jig from wood, drilled some holes through the section I was removing and screwed the shroud to it. After using a small abrasive wheel to remove the extra material, I mounted the modified shroud to a piece of plywood, aligning it with a 20-inch circle I had put on the plywood. The fan is 18 inches and that provides the recommended 1-inch clearance between the blades and the shroud. The shroud didn’t cover the entire radiator area, so I used the cutoff material to splice on two pieces to provide extra coverage and formed the added pieces to fit the 20-inch circle. I made two mounting brackets to secure the added pieces and sprayed the shroud with a Titanium color paint. I will have to wait for hot weather to see if the problem is solved. I did have to remove my a/c condenser and shim it out enough to provide clearance for shroud fasteners; this may reduce the efficiency of the a/c unit but probably not enough to be a problem.
 May 14th, 2022, 10:07 PM