When you click on links to various merchants on this site and make a purchase, this can result in this site earning a commission. Affiliate programs and affiliations include, but are not limited to, the eBay Partner Network.
Gonna assess what is up with everything and start posting in here. I removed myself from ROP about 7 months ago. I am not on Facebook, so I can't join Andy's group or the ROP group over there. I haven't posted much on here over the years as I always had 80s Cutlaii. Now that I have a true "classic" Olds, here I am! Glad to see some of you who used to frequent ROP are still over here...
Yes, that's the factory color combo (sorry droldsmorland, no triple black) and yes, originally a console/floor shift car. Fortunately, that was all saved and it is in my possession. I need to do some resto on those pieces and they will all go back in place. I also have the original SS rims with caps/retainers (gonna sell the old school Centerlines w/rubber).Resto on the SS rims to come too. Those are still in my buddy's attic. Gonna get together with him this weekend and get the rest of the miscellaneous.
Originally, it was a 350/TH350 car. He had pulled the original 350 and put a 403 together with the #6 heads (worked to bigger 2.00" intake valves and fully rebuilt). Unfortunately, blew a head gasket and got the chocolate/green milkshake in the oil pan. Right now, the 403 is sitting in there with the intake and valve covers off. It still has the ceramic coated Hooker headers hooked up to the dual exhaust. All the bracketry is removed along with the radiator and top plate. A/C box is untouched. Again, fortunately, I have all these components.
The plan is to pull the 403, put in the warmed over 455 that's in the silver car and finish the interior. I would need to acquire BBO bracketry OR modify late model SBO bracketry and change to a Sanden R4 style instead of the old A6. I would like it to look like a stock 455 factory install, but using the old axial style compressor seems like a step backward if I'm gonna go through all the trouble. Opinions?
Anyway, the main objective will be to get it roadworthy and finish the interior (I want working A/C, because, well Florida)
This is just the project I have wanted for a lonnngggggg time.
That's quite a cool color combo. I don't think I've ever witnessed a 70 Code 19/B with a gold interior. Sharp!
As long as you don't mix-match big and small block accessory brackets, the 350s will bolt up to the 455.
Call one of the old car specialty suppliers...Class Air or Vintage Air. They may have the conversion t to adapt the A6 to R4. If you are concerned with factor correct then A6.
Nice!! You can get a-6 compressors as a rebuilt unit. That's what I did and converted to R134. It is ok but I think using a newer axial compressor might have been a better way if I had it to do all over....
Nice!! You can get a-6 compressors as a rebuilt unit. That's what I did and converted to R134. It is ok but I think using a newer axial compressor might have been a better way if I had it to do all over....
Anyone have a known good source for rebuilt A6 compressors? I don't think having the original rebuilt will matter. It's getting a 455 anyway...
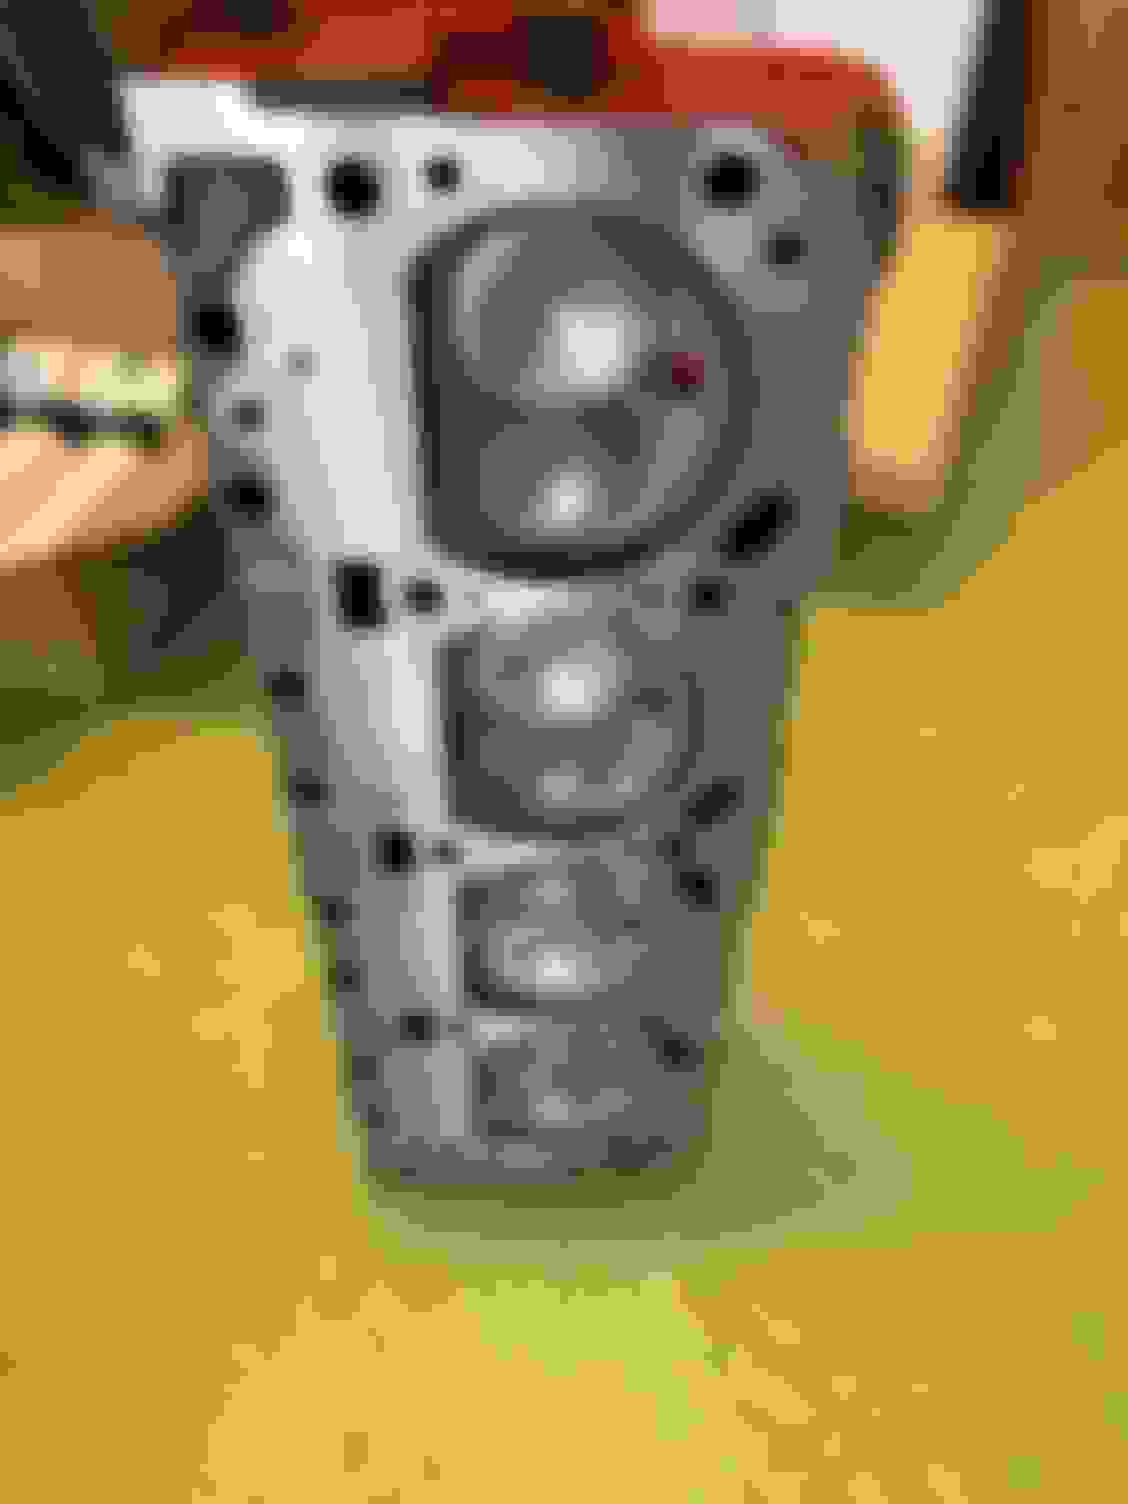
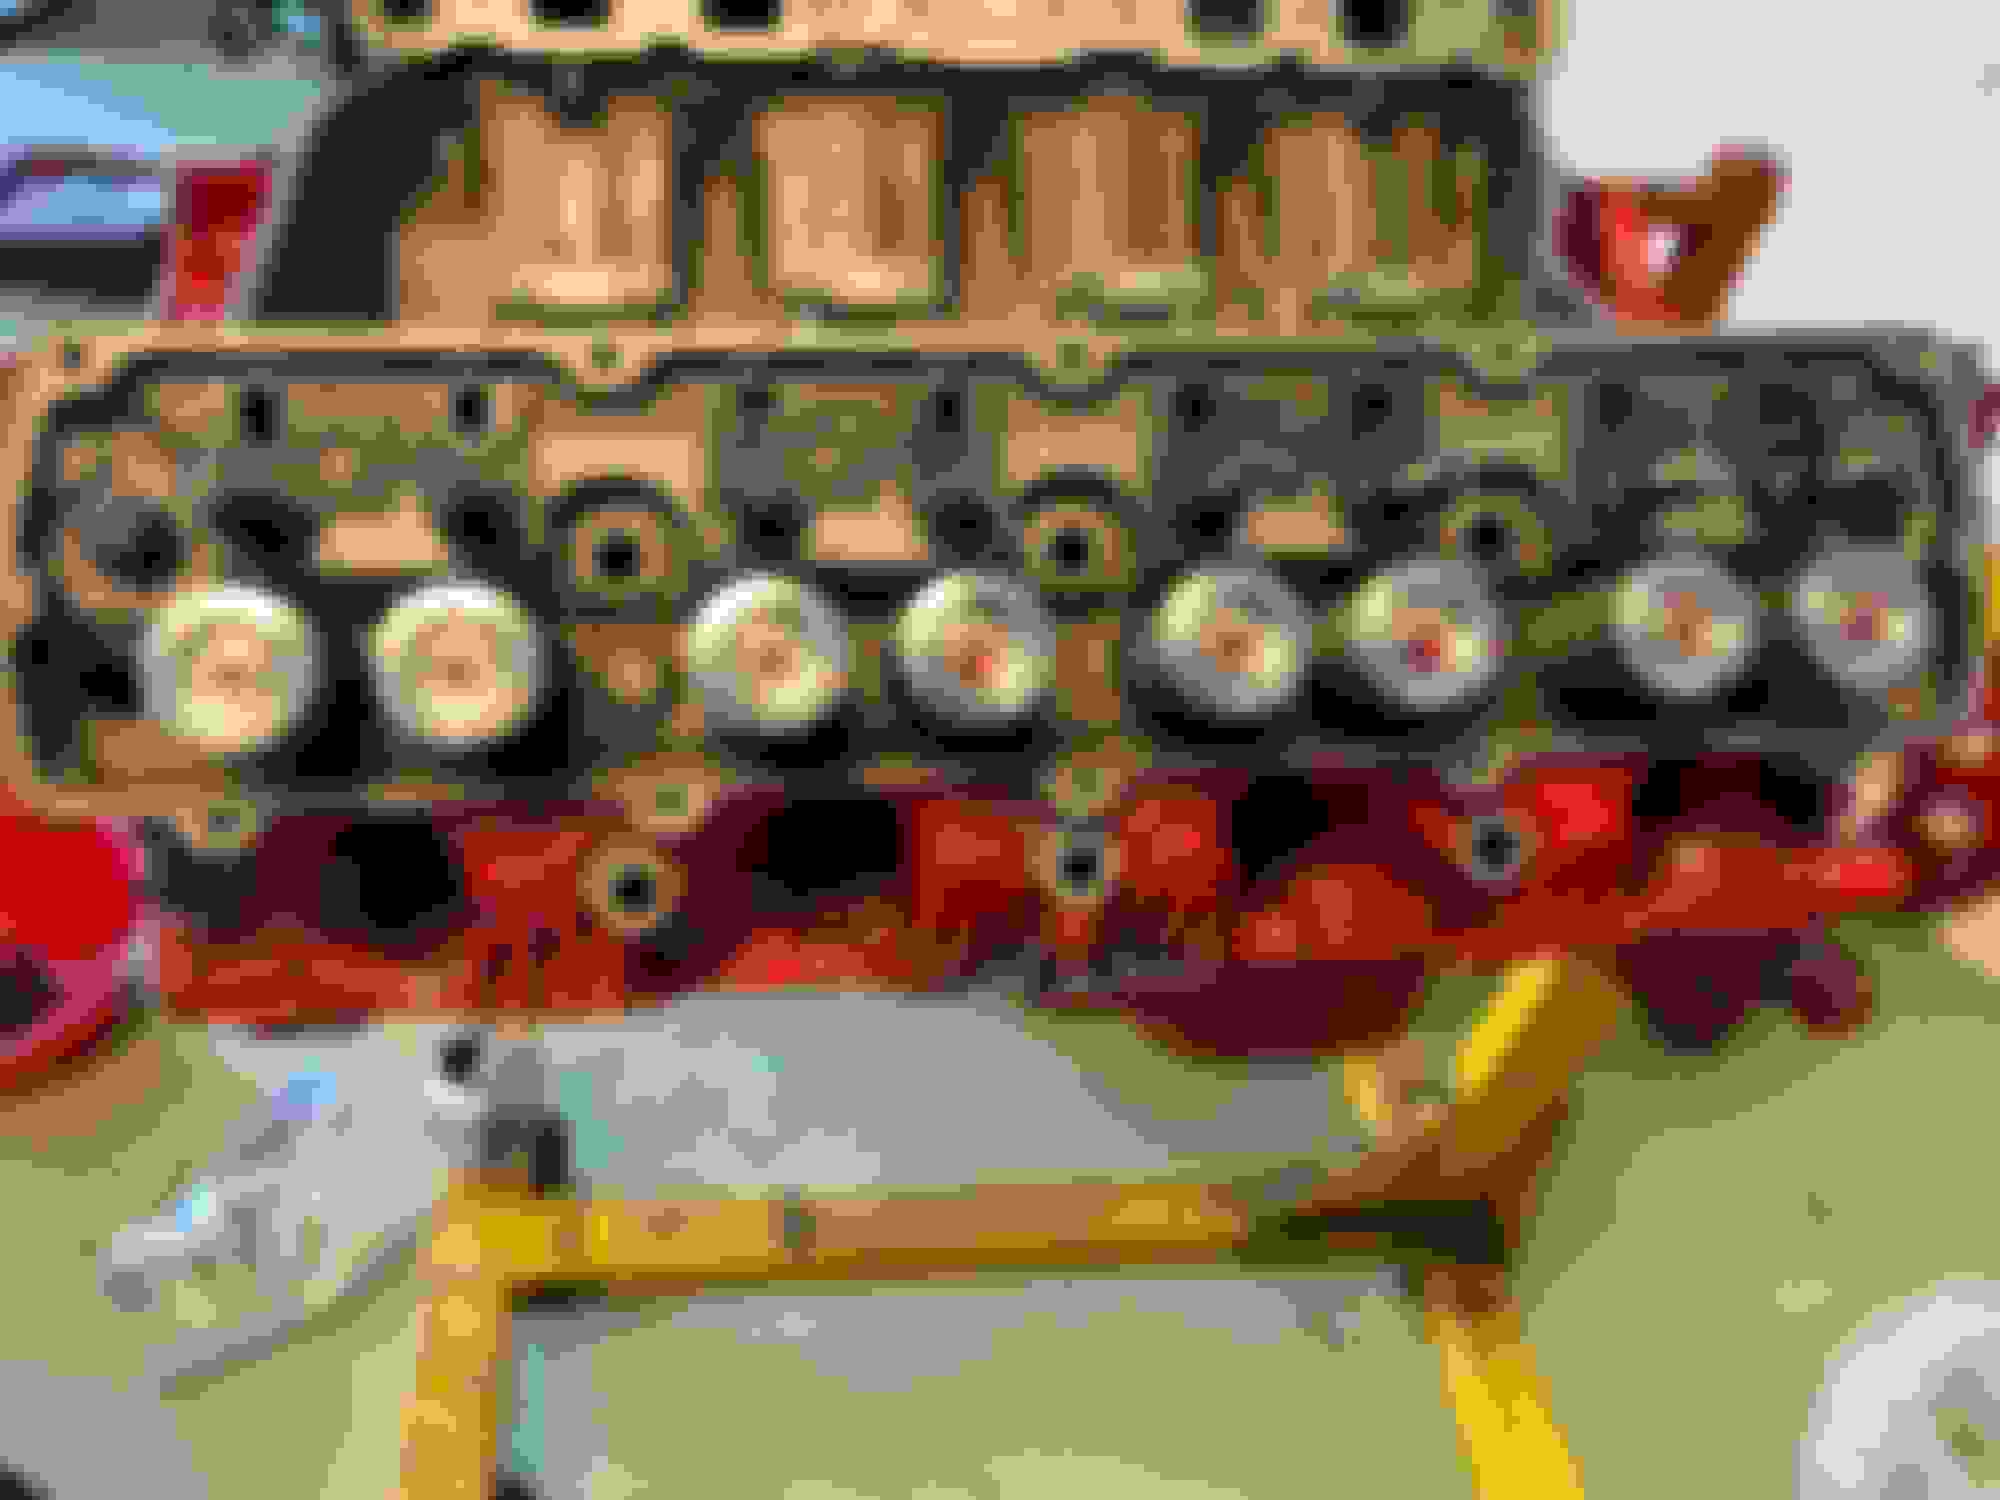
Finally gonna post in here again. Progress! I have the 455 that was originally built for the silver car now rebuilt after a spun rod bearing and some other issues. Mark Remmel to the rescue. It's going into the '70. Mark got the shortblock done in August along with refreshing the heads. I have been gathering parts and finally have the heads on and valvetrain adjusted over this past weekend. Cam came in 1� advanced with the timing set at 4� advanced. Just about perfect for me. All rockers adjusted to 1/2 turn past seat. Next up is to get the intake, valve covers and oil pan blasted and completely clean and finish assembly. I will head to Mark's shop in the next coupla weeks for a dyno session to get the new Brawler carb and Progression Ignition distributor tuned. Then back home to get cleaned and painted. I have 4 cans of the Olds 1970 blue. Can be seen in the background of the cylinder head pic below.
Been a few months for this thread. I've done a bunch of fixing wiring, underhood cleanup/rerouting and interior stuff. I also got the new rims/tires on and new shocks on 4 corners. I removed and disposed the gas tank as it was full of rust, rusty gas, watery gas, and the filler neck was about to rust off. I also located all of the parts to put the interior center console back in with a new shifter cable. I REALLY didn't realize how slowly this was going to go. However, here it is in pics with captions...
Then, when I got it:
After A LOT of scrounging, questions on here, cursing, finagling, etc. to get the original console and shifter back in. This required a new shifter cable.
Above, I also removed the underdash added on crap gauges and aftermarket tach. I fixed a bunch of interior hacked up wiring back to original. The wires hanging out will be dispositioned and tucked away.
Removed these busted up pieces
...to put this piece in after I paint it (thanks to rickw30!)
How's this for NASTY?
I have identified the replacement tank, pump, sender, etc. to complete the fuel system by Tanks Inc.
Before: underhood hackery...
After
Trans fluid drained, cleaned up, new filter and some major dents beat back out of the pan.
Going to put in a universal drain plug for future fluid drain capabilities without the mess.
New trans cooling lines from Inline Tube
Hopefully, I won't have to tweak on them much.
Recent outside pic after a rinse:
Next is the red 455 install. Awaiting the headers to arrive on Wednesday March 13th. Install will be the weekend of the 16th.
Last edited by rfpowerdude; March 11th, 2024 at 10:29 AM.
Thanks! I love the black over gold too. Then again, my Alma mater is UCF so I may be a little biased😎
Original colors are gold vinyl top over Galleon gold paint over gold interior. It was painted black 30 years ago with a black vinyl roof put on. The car belonged to my office mate at the time and they did a great job at the paint shop. There are now some rust issues that will eventually get fixed when I do a frame off and do it up right. For now, it is just going back together completely mechanically correct and will be driven for a little while before getting blown apart for the final resto.
Update from over the weekend.
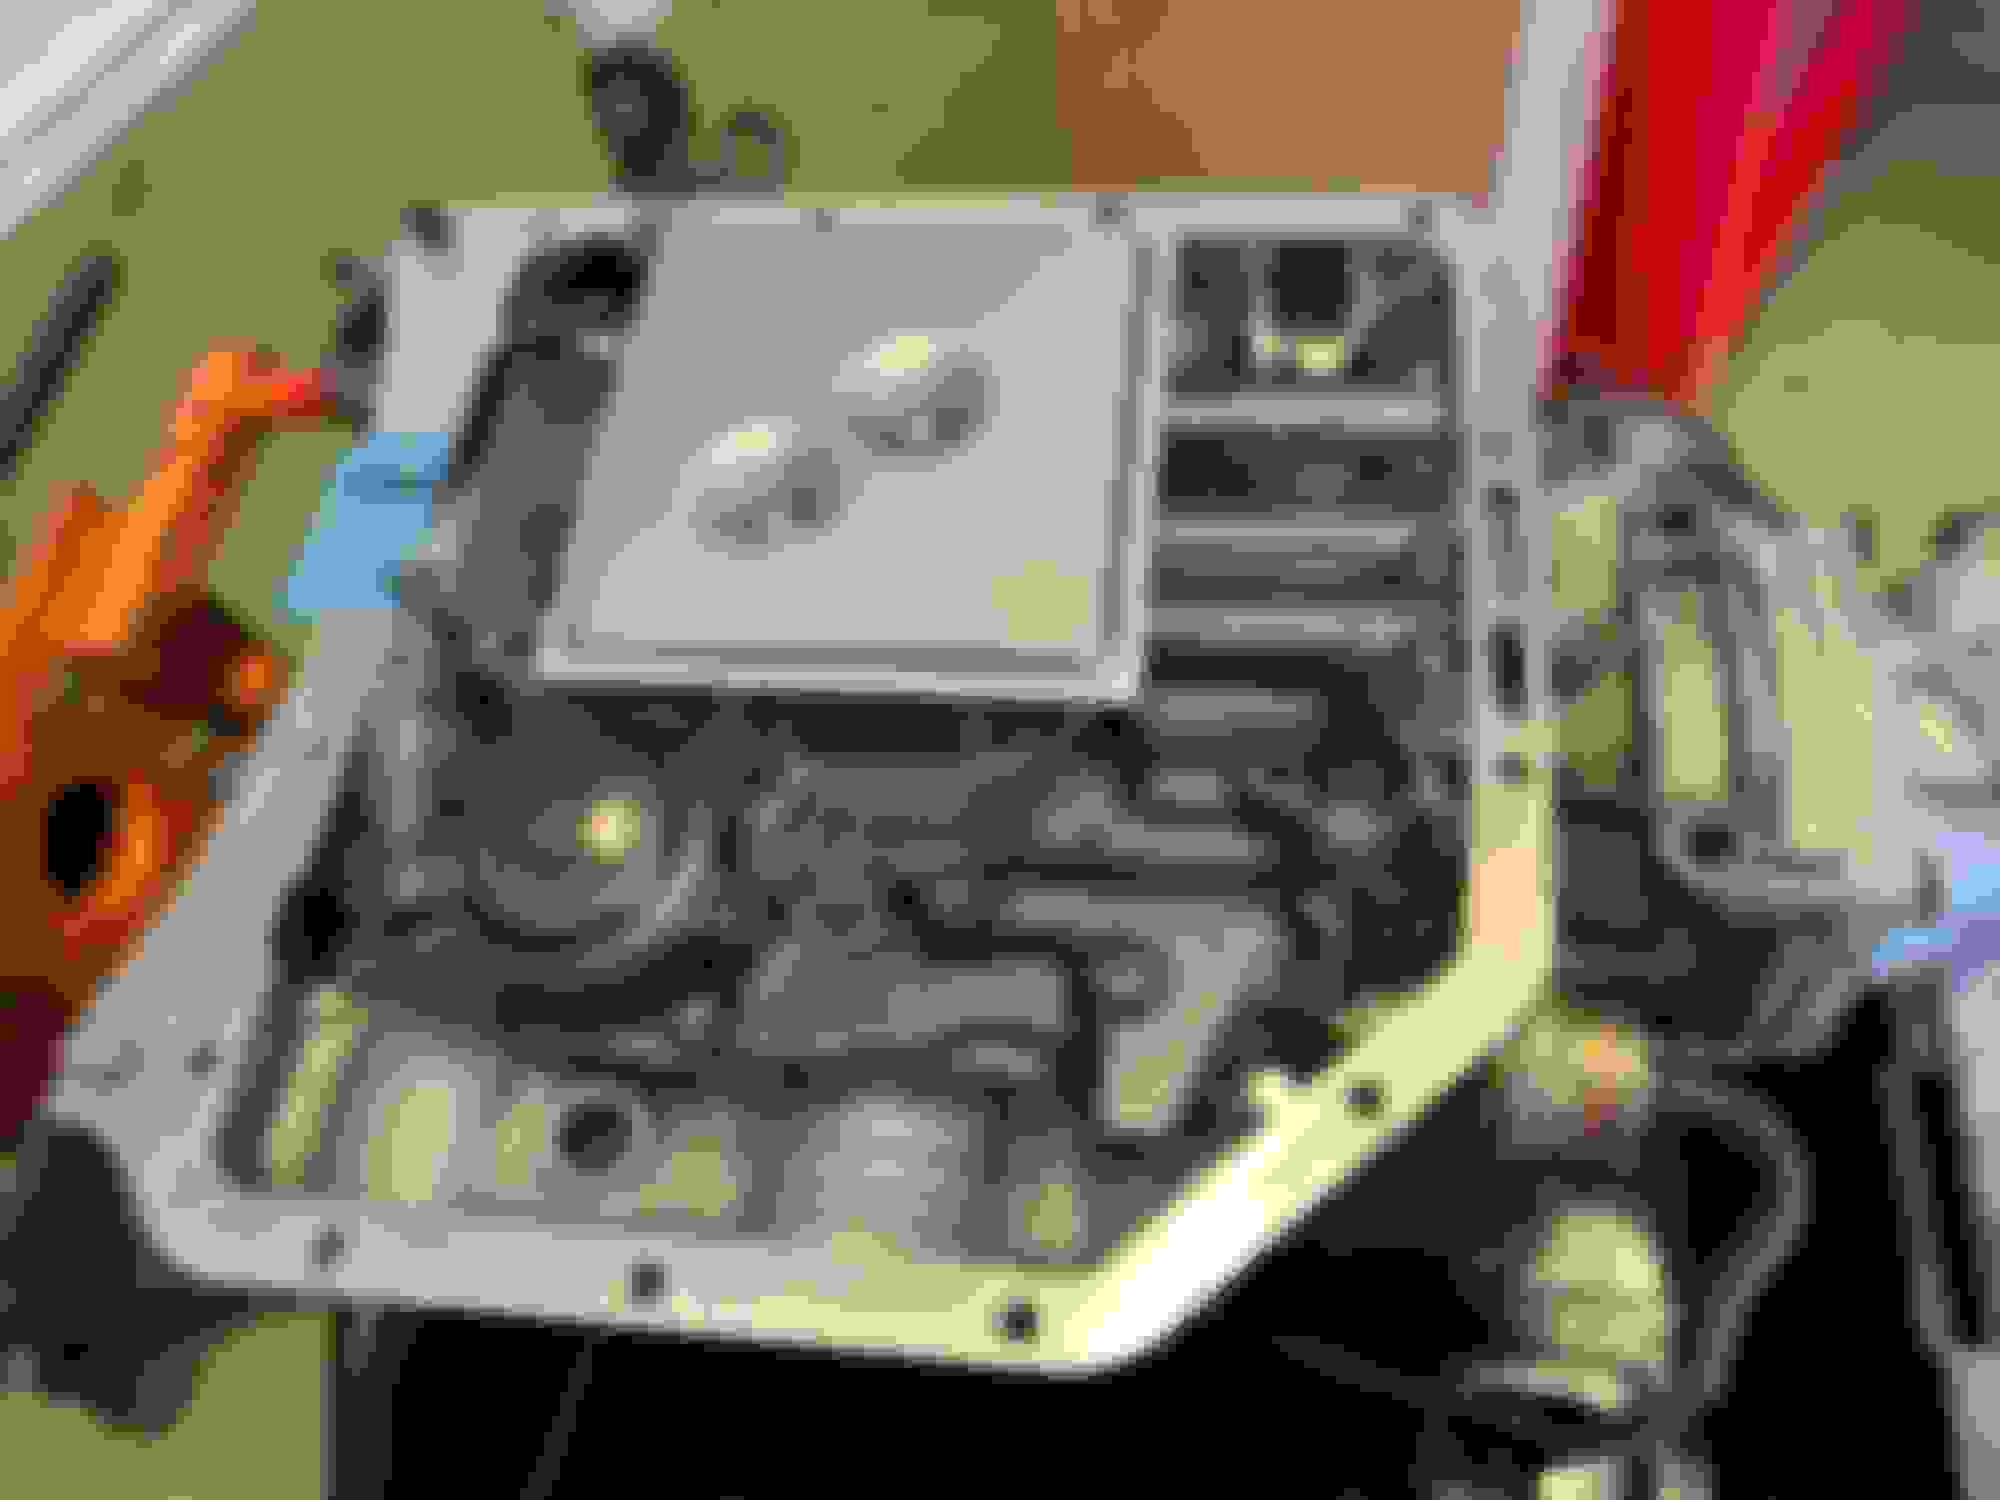
Preparation for mating these two together. Bracketry test fit to make sure I am not missing anything.
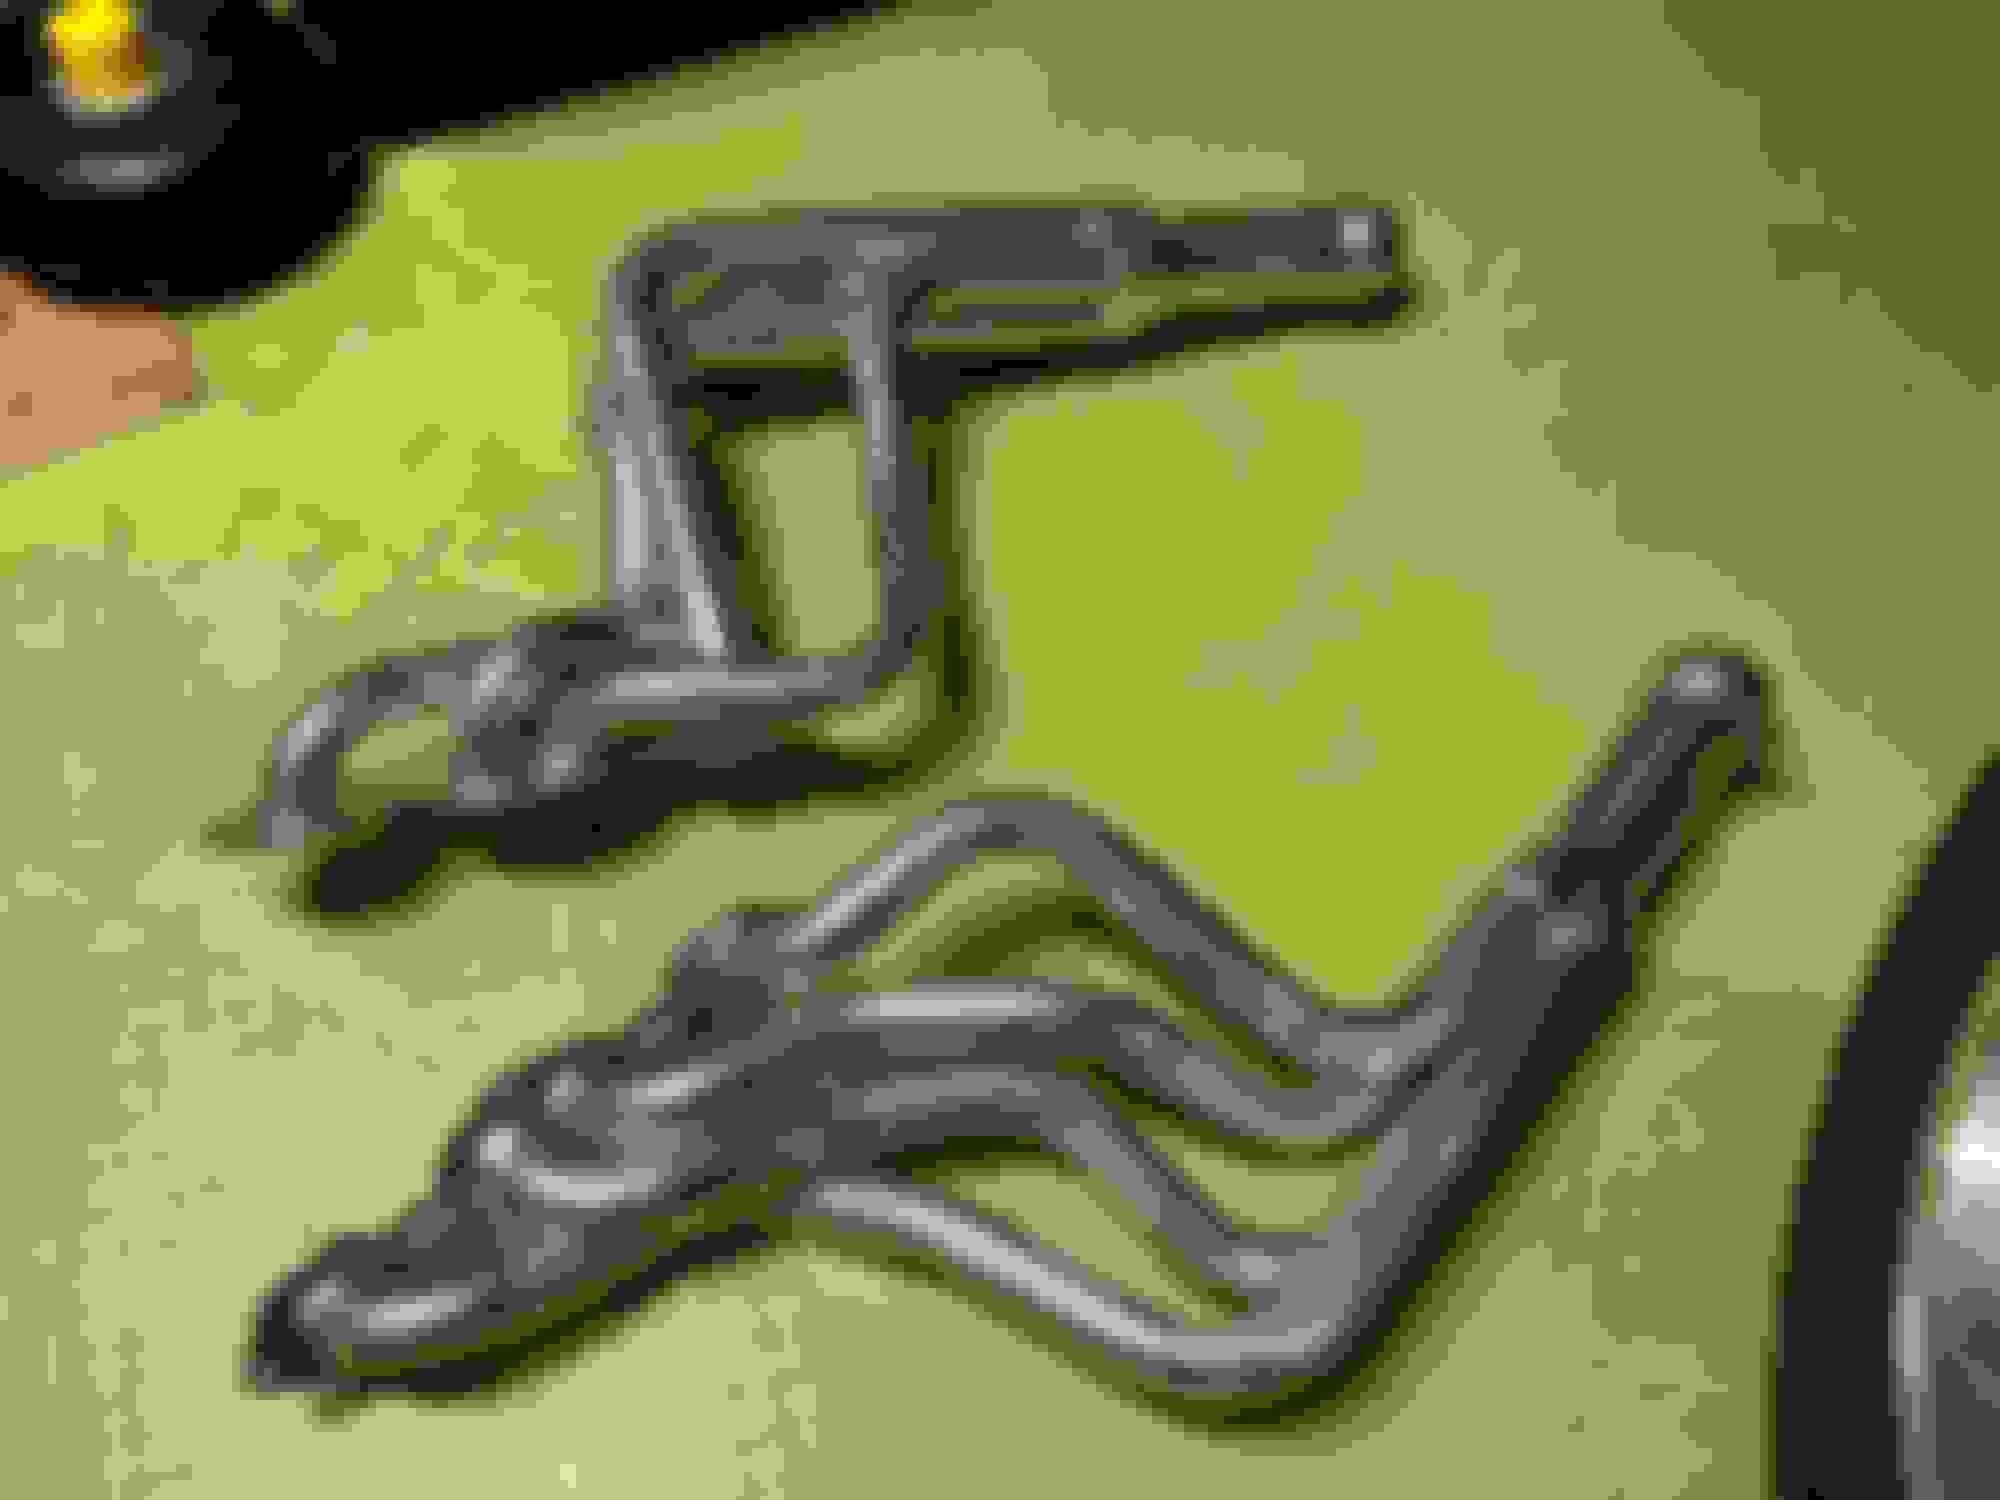
Hedman Headers to be installed with the engine/trans.
Mated and part way in. Yes, I pulled the oil filter right after this pic along with the filter housing to make the headers easier to get in.
On the mounts! With headers hanging in there with one or two temporary bolts.
I made my first SS braided hose end to get ready for the fuel supply from the hard line. I already installed a hard line to -6 AN adapter on the fuel line under the hood.
Braided line assembly is a PITA without the right tools so a coupla days before, I bought this:
Made it very easy.
Since I noticed the brake master cylinder was empty in the front reservoir and only a little in the rear reservoir, I went around and started to breaking the bleeder screws loose. Started by going around to each with a wire brush followed by soaking in Aerokroil. Then the last one (driver side front), I saw this:
See anything funny about the first wheel/brake pic?
Yes, it is missing the brake bleeder nozzle due to someone breaking it off at some time in the past. <Sigh>. So I have now ordered a new Raybestos wheel brake cylinder. Let's see what else I can break off while trying to replace the cylinder.
Question about the second pic. Is that long nut looking extension that is at the wheel end of the brake hard line supposed to be there or is that some sort of line repair from the past?
And, yes, I know literally everything should be replaced in the brake and suspension systems due to age, wear and general crustiness. I will do that once I get this thing basically back together and running again. Probably going with a complete Stage5 UMI setup front and rear ($$$$$$$).
And here is random Florida lizard hanging out greeting guests at the Burger King drive thru.
Got the new Tanks, Inc. tank with new sender and in tank pump. Awaiting some weather pak connectors to make up a quick disconnect system for the sender and pump.
I have a Mr. Gasket return style regulator for carbed apps that will be plumbed in.
I'm surprised you didn't lay the headers in, then drop the engine on top of them. I always do that.
^^x2^^ Easiest hassle-free.
Originally Posted by rfpowerdude
Got the new Tanks, Inc. tank with new sender and in tank pump. Awaiting some weather pak connectors to make up a quick disconnect system for the sender and pump. I have a Mr. Gasket return style regulator for carbed apps that will be plumbed in.
Did the work to get the offending pieces off of the exhaust. Since it had a small block with Hooker headers before and now has a big block with Hedmans, the exhaust does not line up and runs past the headers toward the front. And it is all 100% welded front to back so I get to do all of this work under the car.
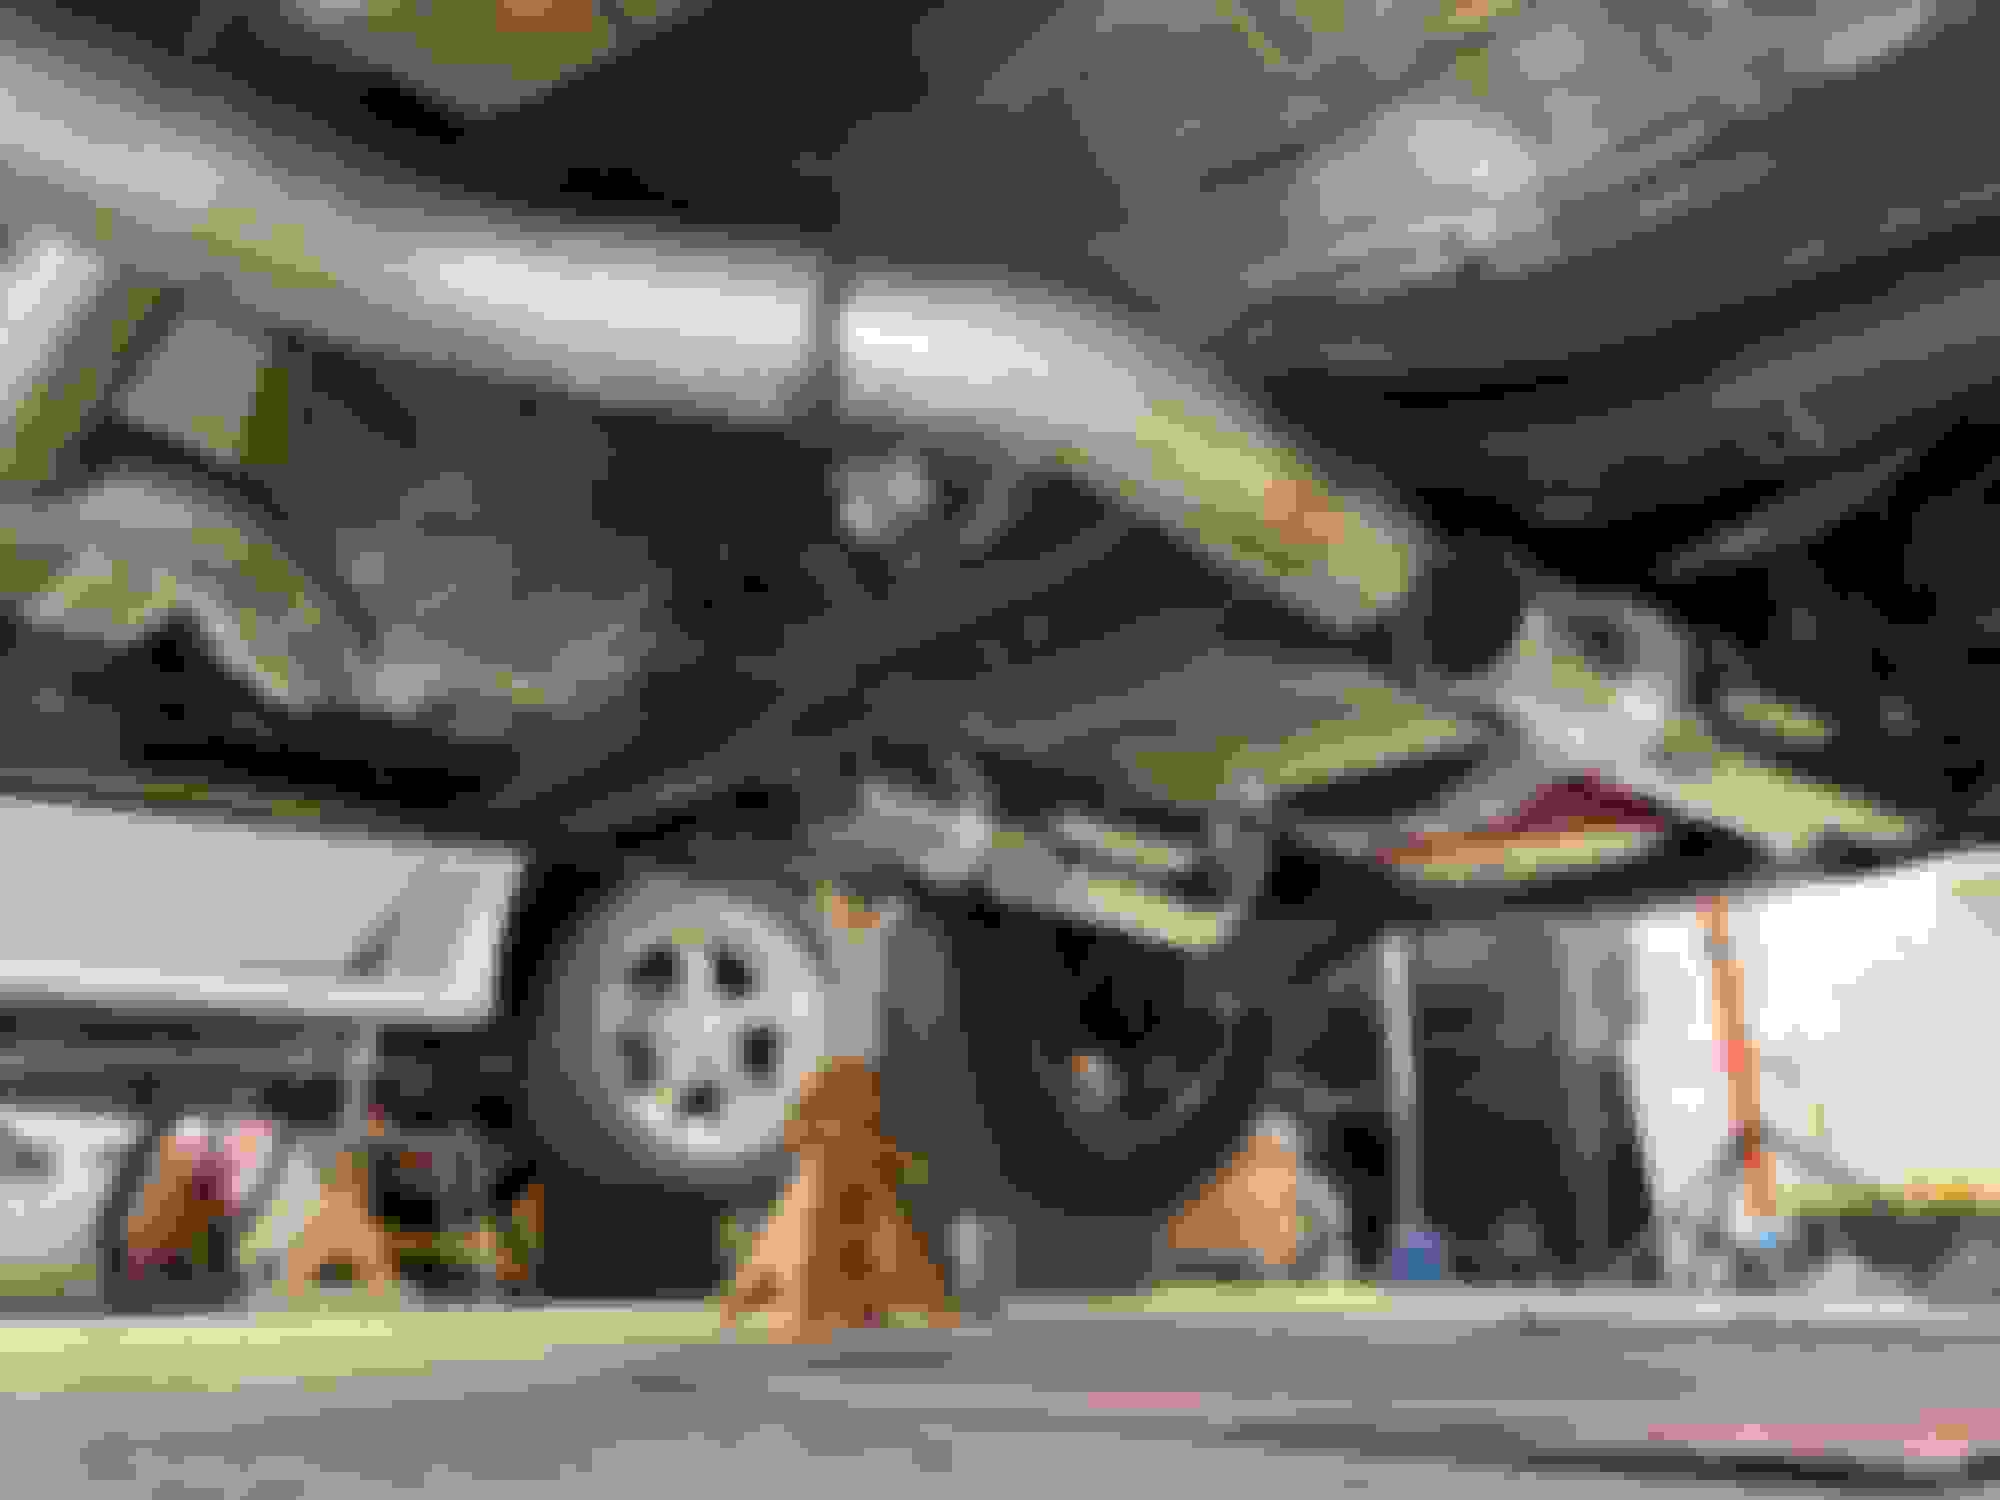
Now I have put the car back on the ground so I can finish under the hood and have it running with open headers until I am 100% finished with the drivetrain. Then I'll finish the exhaust last.
Back on the ground.
I am hoping to have all of the last of the new pieces this week. Radiator and gauges and I should be able to have it move under its own power again (albeit, with open headers).
 March 22nd, 2020, 03:25 PM