When you click on links to various merchants on this site and make a purchase, this can result in this site earning a commission. Affiliate programs and affiliations include, but are not limited to, the eBay Partner Network.
All good So the only issue is we have no idea if this fits the same size opening, though it appears that it might. I'm going to try and repair the existing one before ordering new and replacing the wire end connectors on the harness to fit.
Just note that because of the temperatures involved, solder is likely to not work. Spot weld or a really good crimp. I'd just pop two of the terminals out of the plastic shell and plug them in individually. Nothing modified irreversibly.
One more comment before calling it a night. Is requiring the engine to be running for blower to work normal behavior for a 67? If so, I'd be curious how that's accomplished. Of course the circuit diagrams will be of no help... My 66 blower works without the engine running, just ignition ON. If it's not normal behavior, then this would be a clue as to what's wrong with your HI speed, assuming tests in post 75 don't leave us more confused.
One more comment before calling it a night. Is requiring the engine to be running for blower to work normal behavior for a 67? If so, I'd be curious how that's accomplished. Of course the circuit diagrams will be of no help... My 66 blower works without the engine running, just ignition ON. If it's not normal behavior, then this would be a clue as to what's wrong with your HI speed, assuming tests in post 75 don't leave us more confused.
I can't believe that would be the case. The fan should run in ACC or ON. I'll get out and run the tests in #75 soon, then it's off to brave the crowds for a while.
Start car, plug everything in, set fan to HI. No blower?
Test for 12V at black/red.
Test for 12V at black/orange.
Unplug purples and black/red. Test for continuity between black/red relay terminal and purple-blower relay terminal.
Started the car - no blower. 12V at black/orange was steady. 12V at black/red was erratic - and checking at the back of the alternator as well, the same fluctuating readings were occurring. Probably saying I need a new alternator. There was no power coming from the blower motor purple wire connection. At this point I quit running the engine as I've blown a head gasket. Add one more thing to the list.
I'm going to order in a new relay. For all the time and effort we've put in, there is still no power going to the blower motor. Something inside that relay isn't right. They're cheap. And in a few hours I'll be at my friend's house scavenging heater box relays, and maybe I can fix the resistor later today.
Definitely have an alternator problem. Relay tested good. I always get a voltage regulator when ordering an alternator, they're cheap too. I shop from the comfort of a couch.
Good call on both the alternator and the regulator. I found an NOS GM relay online, so I'll take the Chinesium quality doubt off the table when it's installed. I'm going to take the current relay apart and see if there is anything obvious I can see wrong. Tomorrow is engine tear down for a re-gasket effort that's been on the schedule for a while. I'm hoping to not have to pull the whole motor. I don't have the space at the moment.
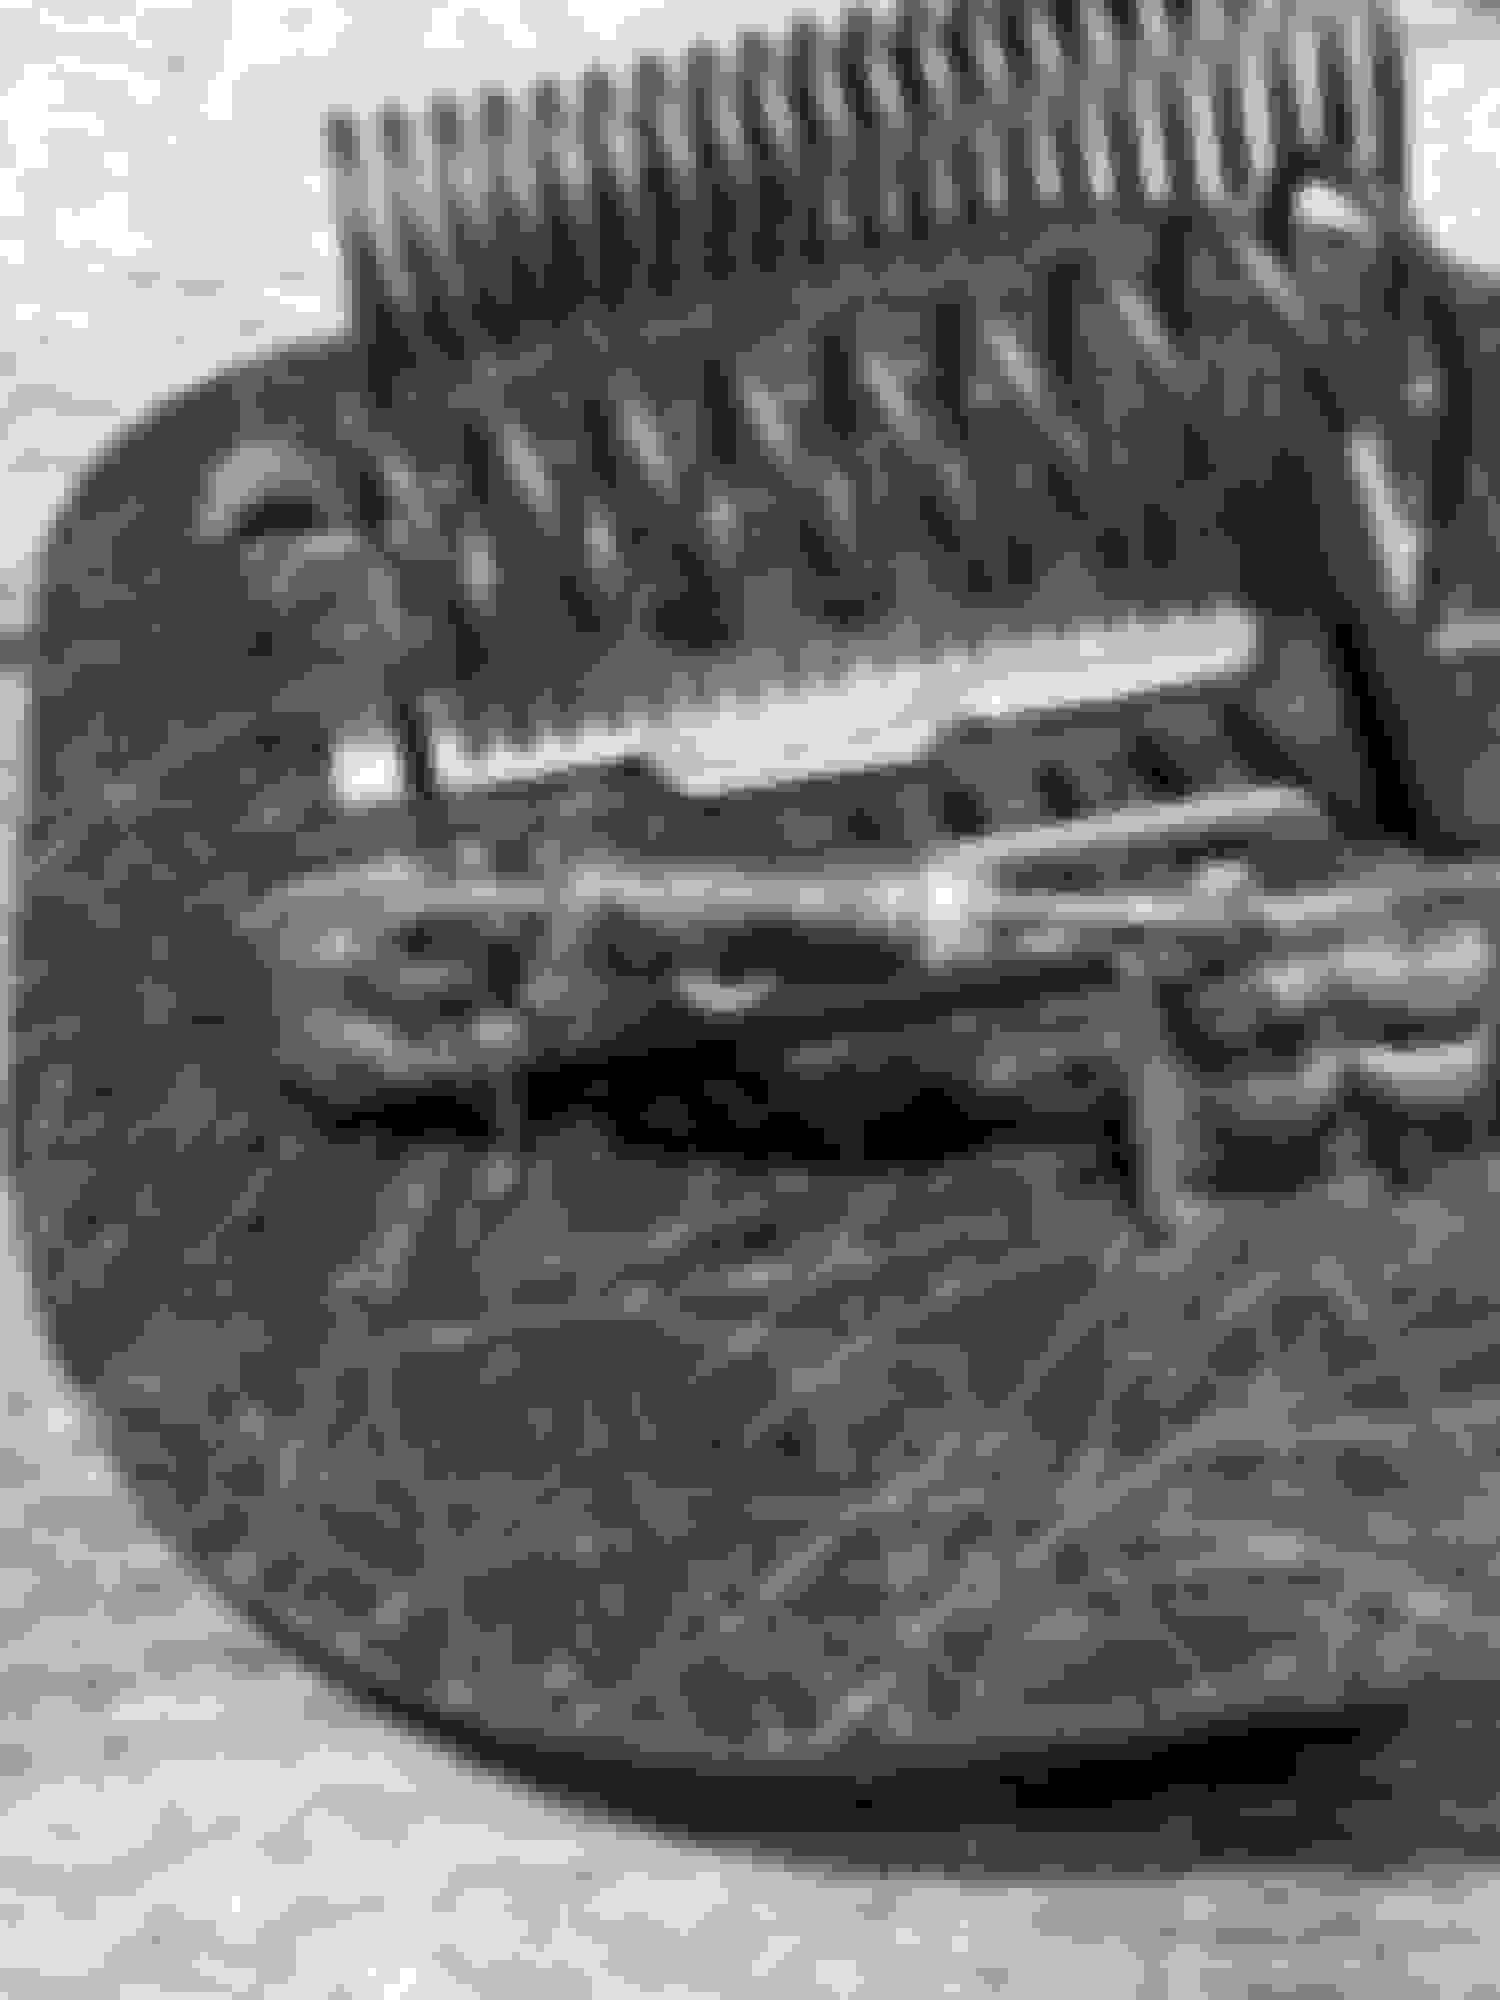
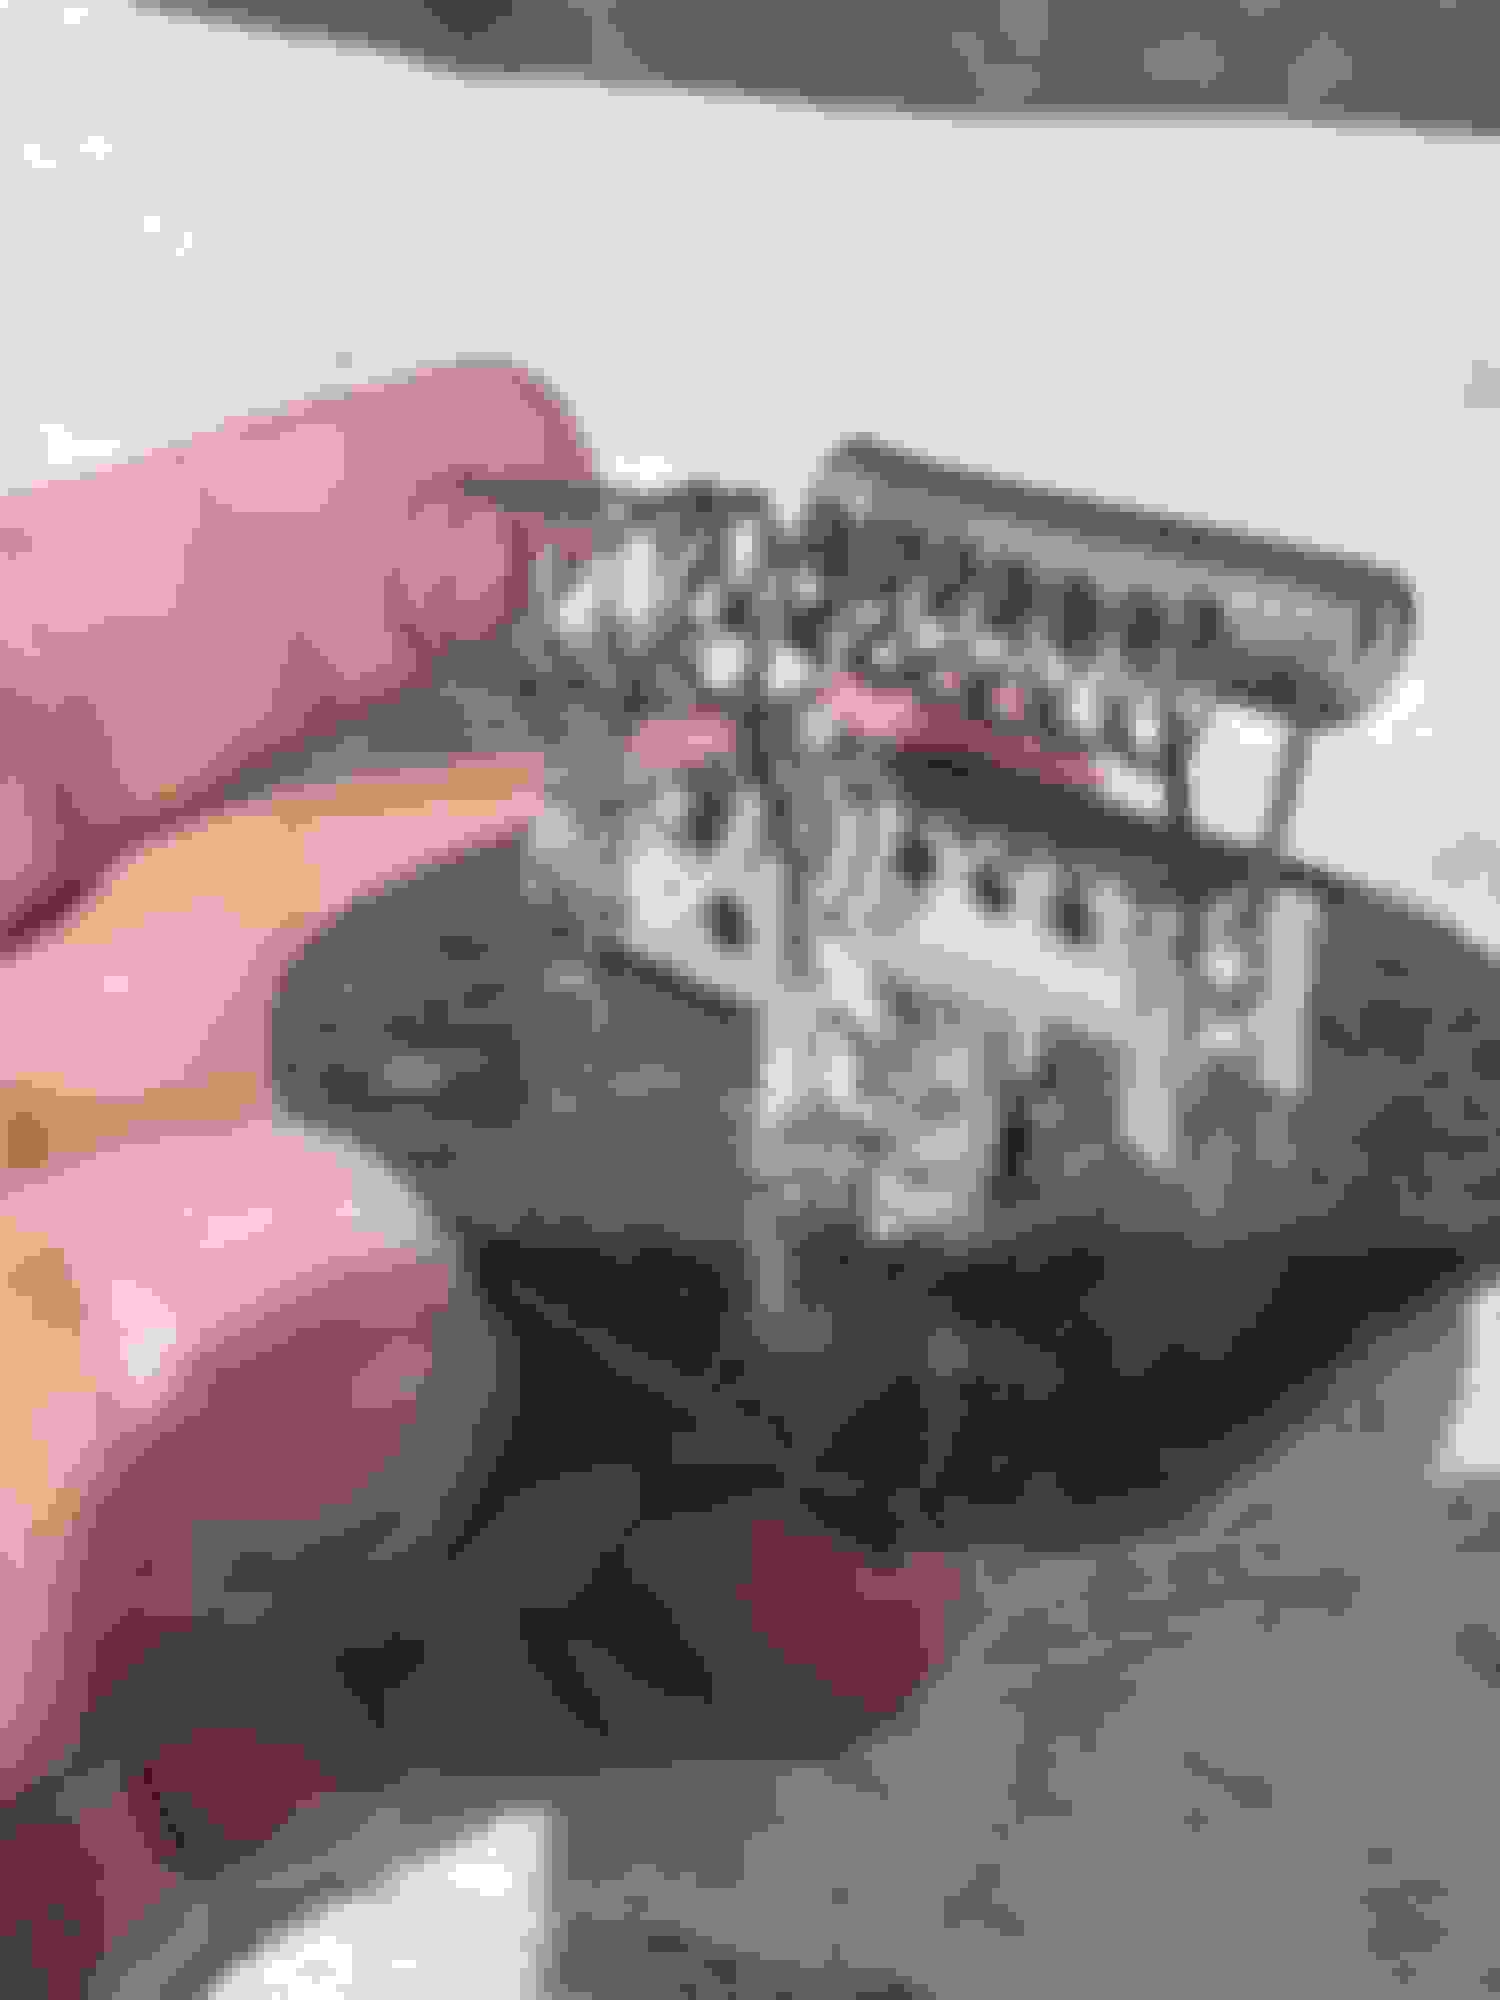
Baby steps today. I had the opportunity to try and fix the resistor when I was gifted an old Chrysler resistor that I was free to tear up. As carefully as I could, I removed the dead thermal fuse from mine, then scavenged a piece of the alternate resistor, snipping off pieces until it read .4 ohms resistance. Then I formed it into the correct shape and sort of attached it to the posts where the fuse was. These parts are super super fragile, and the aluminum tabs that crimped these wires in place snap off at the slightest push. Anyway, I got the wires as tightly installed as possible in the correct locations, then buried the wires together with a blob of solder. I knew it wouldn't be a great connection to the bracket, but if the solder would harden around the wires and the base aluminum, it could hold. Once cooled off, I tested good continuity and resistance across the whole piece. I'm going to add some supporting epoxy in some areas to solidify the connecting posts and to ensure the wires don't decide to walk away from each other. It's ugly, but it meets the requirements of 1966...
Dead fuse
Pried out as gently as possible
Replacement coil from a Chrysler cut to size for proper resistance
***EDIT*** Quick update - after letting the epoxy dry a bit, I installed the resistor and I now have the lower speeds on the AC/heater fan. Hi still does not work, but the new relay is on the way.
Last edited by BSiegPaint; November 24th, 2023 at 04:28 PM.
Nice! I looked into that Dorman resistor. The holes appear to be a little farther apart than the stock part, by maybe 0.2", but could work by drilling another hole in the resistor plate. For someone wanting to try it.
Last edited by mike 66 toro; November 24th, 2023 at 04:47 PM.
Nice! I looked into that Dorman resistor. The holes appear to be a little farther apart than the stock part, by maybe 0.2", but could work by drilling another hole in the resistor plate. For someone wanting to try it.
There is also a pigtail connector for that resistor and a number of others with the same post configuration. For me, at least, I question the amount of wire length I have in the factory harness to make the Dorman resistor fit well - but this could alleviate that issue:
 November 23rd, 2023, 09:15 PM

 So the only issue is we have no idea if this fits the same size opening, though it appears that it might. I'm going to try and repair the existing one before ordering new and replacing the wire end connectors on the harness to fit.