When you click on links to various merchants on this site and make a purchase, this can result in this site earning a commission. Affiliate programs and affiliations include, but are not limited to, the eBay Partner Network.
Trying to get back into the swing of things after a holiday week… My clock wasn’t working, and I wanted to quickly restore what I had rather than do a quartz replacement right off the bat. This clock was completely stuck, and nothing moved.
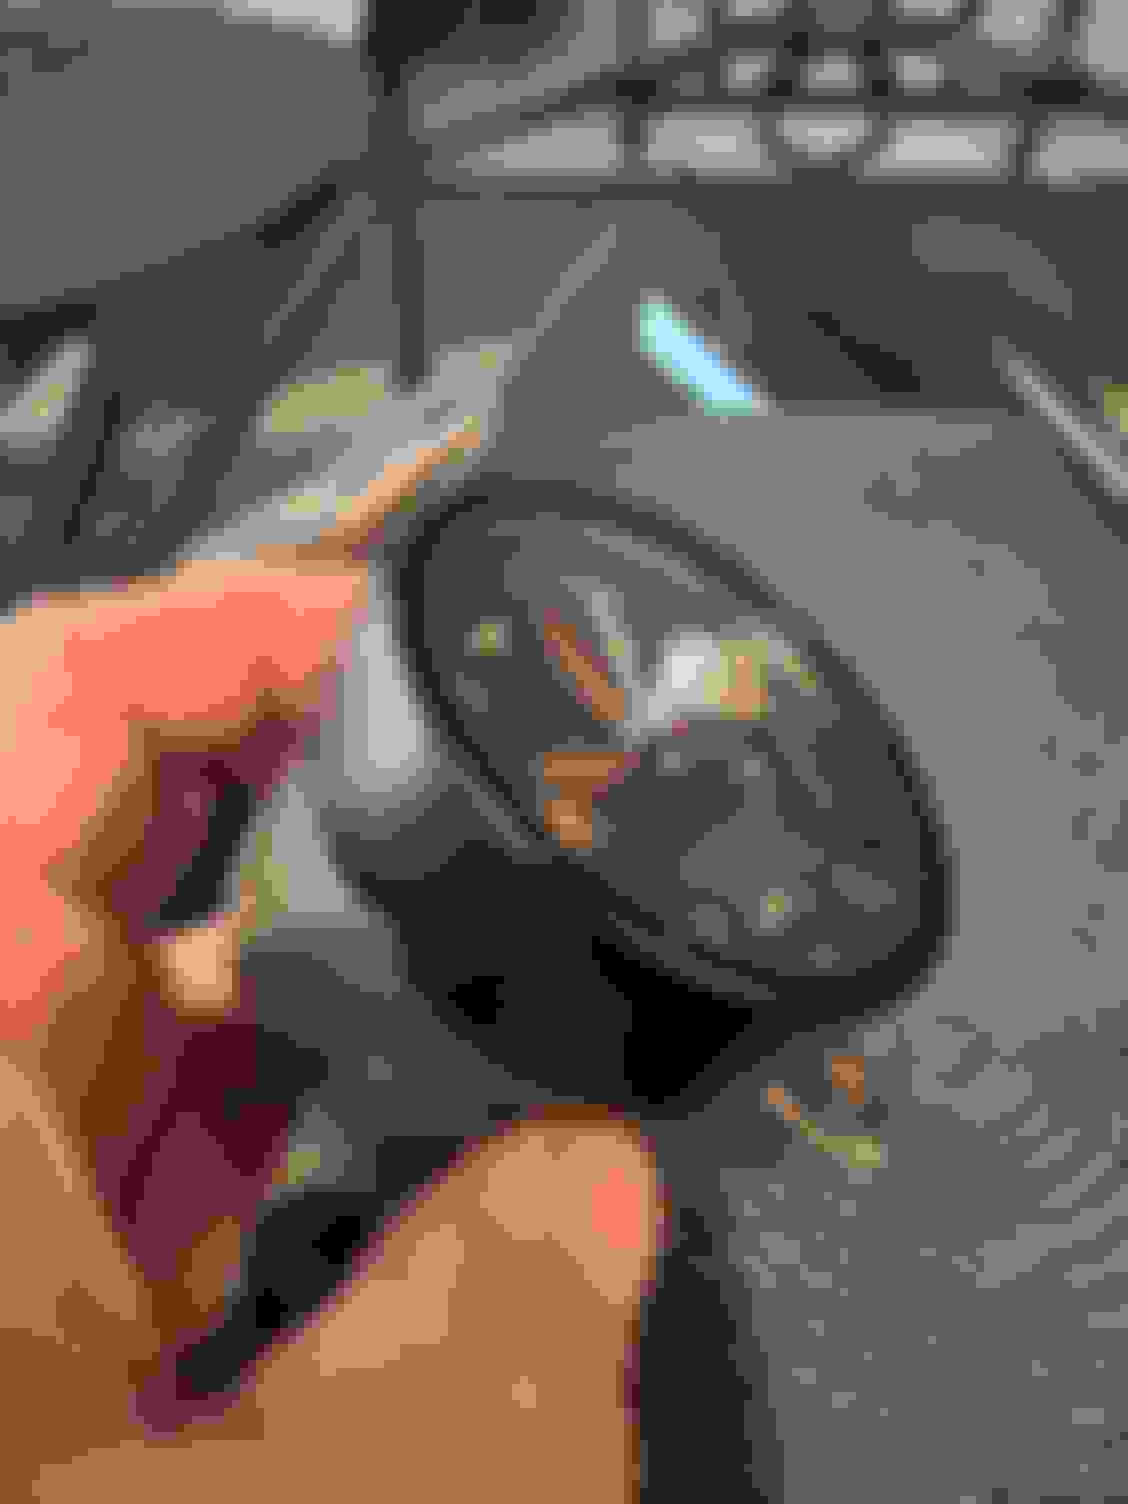
First, the screw **** would not let go for anything. I rigged up a small cup with just enough Evaporust in the bottom to dunk the stem and nothing else. I waited 24 hours, and the **** unscrewed with only finger pressure.
I took stock of the mount locations and the front cover pinch points, marking them on the metal case. These clocks go back together one way.
First, I removed the rear power post and washer, Then, using a flat screwdriver, I pried the three pinch points up to release the front cover. When these were loose, the clock mechanism fell from the case.
The cover slides off easily, and the lens pushes backwards and out without much force. Again, watch the location of the tabs and be careful not to break them. Removing the lens is the only way to get a good plastic polish on it.
Clean the clock face with a soft cloth. I only used water to remove years of caked on dust.
Now I turned to the inner workings, which were all stuck. I sprayed everything with fast evaporating electronics cleaner, then used Boeshield as a protectant and lubricant on the smaller gears and connection points. It only took a couple minutes for everything to free up.
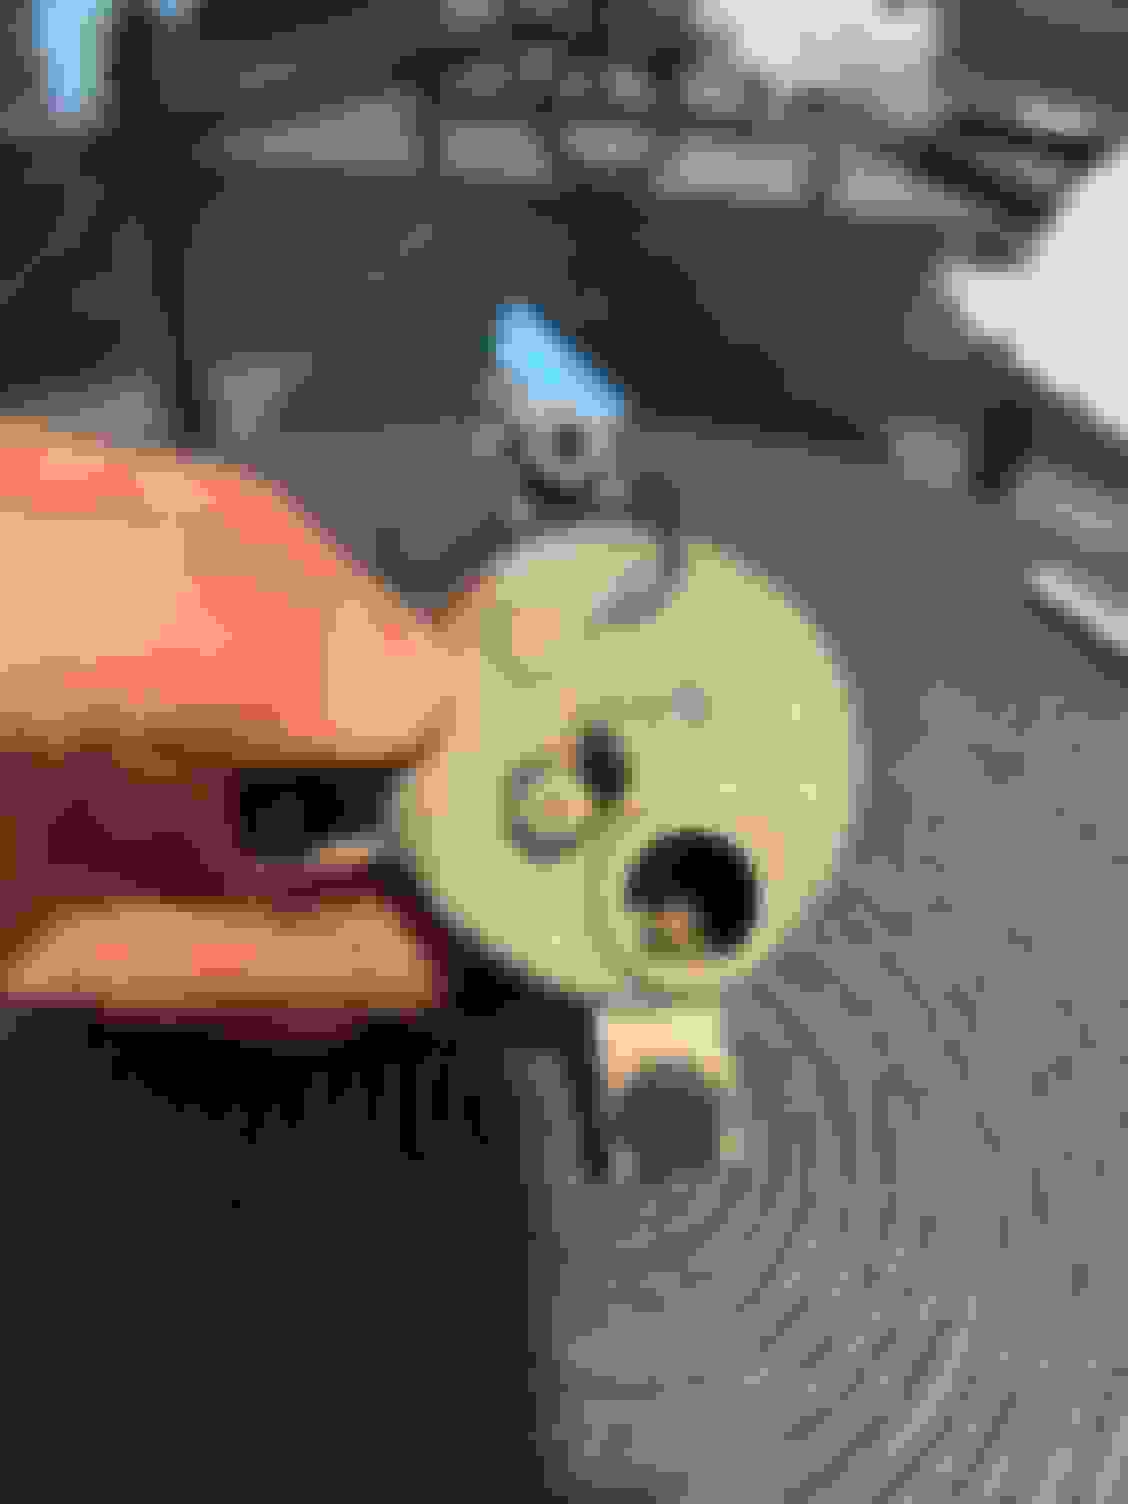
Circled are the contacts that always burn out and leave the clocks inoperative. Every minute these contacts touch and spring back to create 60 more seconds of movement. The mechanism to the left of the circle is easily moved to separate these contacts and watch the second hand move. Once the contacts were close to each other, I inserted a fine metal file and polished the contact surfaces. The second pic shows these contacts apart from each other.
Once these were cleaned, I added some dielectric grease to the points and reassembled the clock.
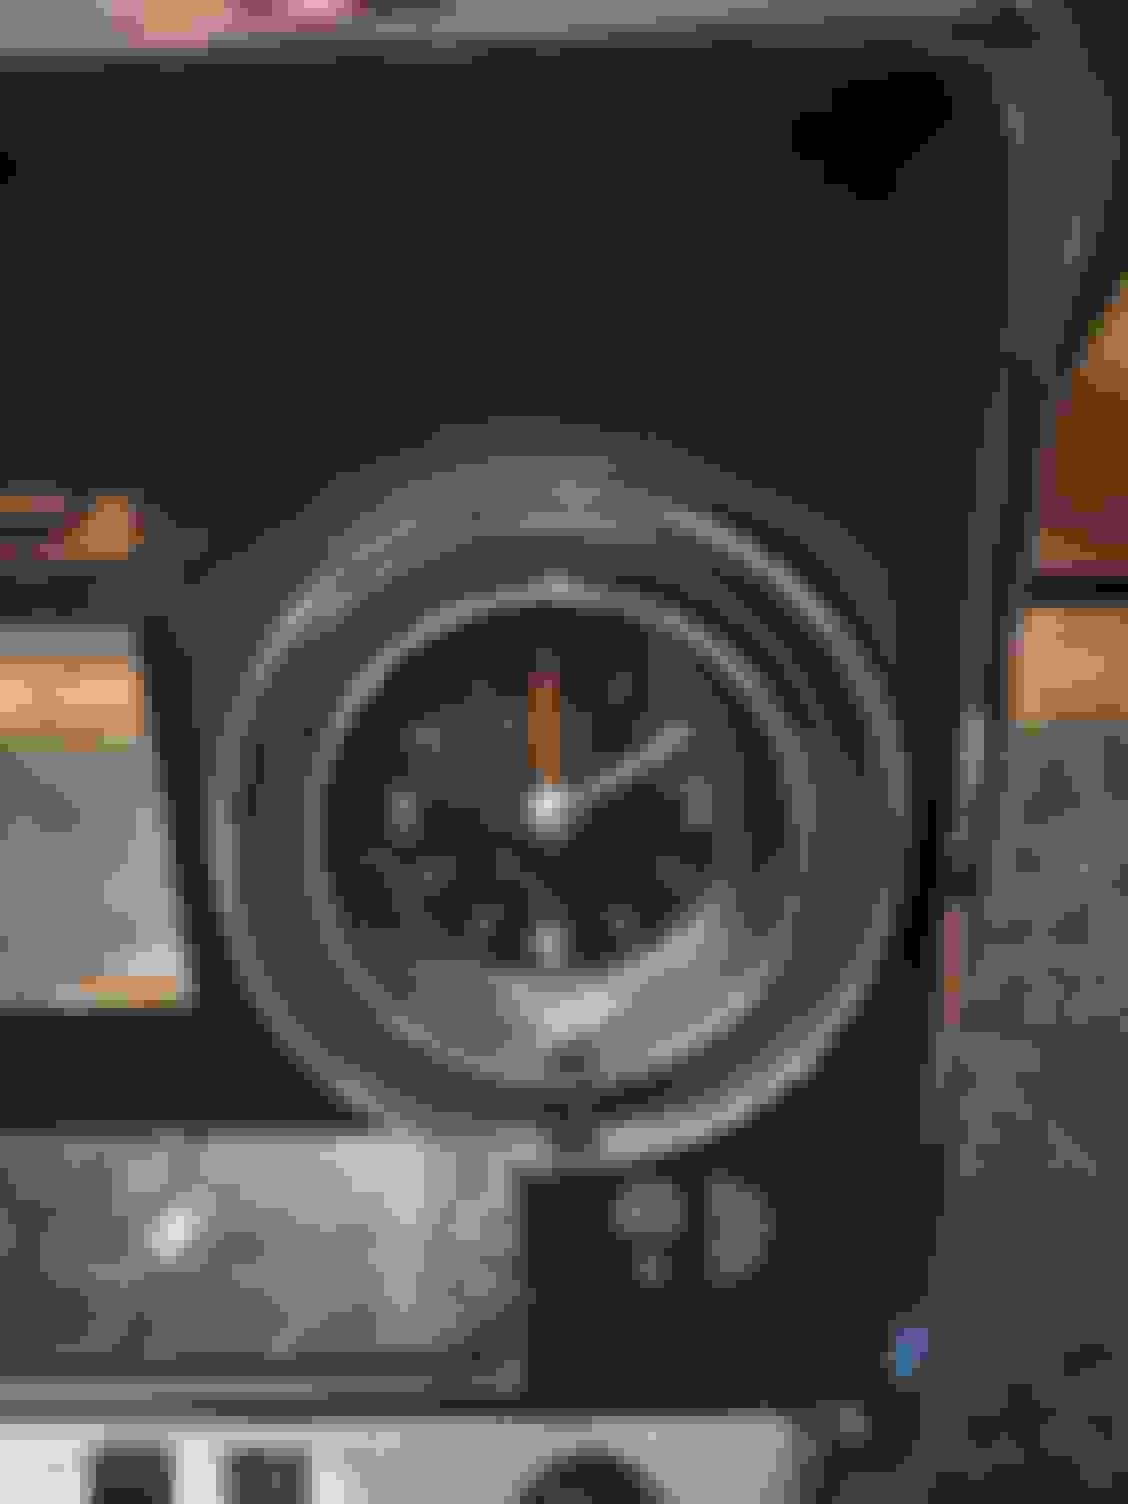
Lens back in the proper position, cap centered back onto the clock face, pinch points pressed back with the same screwdriver blade, then the adjustment **** screwed back on with finger tight pressure. Ready to install!
Last edited by BSiegPaint; December 31st, 2023 at 01:52 PM.
Good job and tutorial! Need more of this stuff in forums and club magazines and websites.
When I was editor of Mid-Atlantic Olds Club's newsletter I always tried to include some technical or hands-on tidbit. Hard to believe it's been 25 years since I did that job.
TickticktickticktickticktickTUNK! Or maybe this if you like your ticktick a little heavier and louder...
Great article and tutorial on 'how to'! I would like to see the prequel on how the clock was removed from the dash cluster...or a written description, at least. Thanks for an informative and useful description!
Great article and tutorial on 'how to'! I would like to see the prequel on how the clock was removed from the dash cluster...or a written description, at least. Thanks for an informative and useful description!
That's a great suggestion, and I was fortunate to actually have the entire dash assembly out as one piece, with the goal of learning about and repairing each switch, as well as restoring the full painted surface on the cluster. I think complete removal may be the best way to attack any part of this, maybe other than the headlight switch. Two screws up top and four bolts on the bottom, after dropping the steering column (three bolts). The clock is only held in by three little bolts from the back side, with a light and a power wire attached. It would be uncomfortable to get to those without pulling the whole assembly, but it may be possible. I'm painting parts later today, and if all goes well, I'll post up some pics of the back side where this attaches.
That's a great suggestion, and I was fortunate to actually have the entire dash assembly out as one piece, with the goal of learning about and repairing each switch, as well as restoring the full painted surface on the cluster. I think complete removal may be the best way to attack any part of this, maybe other than the headlight switch. Two screws up top and four bolts on the bottom, after dropping the steering column (three bolts). The clock is only held in by three little bolts from the back side, with a light and a power wire attached. It would be uncomfortable to get to those without pulling the whole assembly, but it may be possible. I'm painting parts later today, and if all goes well, I'll post up some pics of the back side where this attaches.
My Son and I are refurbishing his '69 Toronado and the clock is one of the items that will have to be addressed, though other aspects are priority until we get there. We've already repaired the headlight switch though still had an issue with panel lighting. Curiously, he had to do an exhaust repair (some welding) and for some unfathomable reason the panel lights restored after that repair, spontaneously. We had puzzled over wiring and possible panel circuit board breakage, likely ground issue somewhere, to no avail. It was our next move to attempt dash removal and attend clock repair as well. I can only guess at this point that it was indeed a ground issue somewhere that the exhaust repair inadvertantly remedied. May never know exactly. In any event if we can avoid removing entire dash for clock that would be ideal and preferrable, obviously. This vehicle may be old and of little value to most, but it's been an incredible memory making project that I hope my Son will cherish long after I'm gone, given I was 15 when it first appeared. We flew to Alberta from NS to acquire it, and drove it back (over 5000kms) to it's new home (a story in itself). It's a Wildrose Bluenoser now and I hope he has it for his children too. Thank you, and all others on this site, for being there and appreciating the fine machines of ages passed.
On my two '66's, I've had several dash problems over the years - radio swap, clock replacement and repair, new hoses for headlight switch, etc. I've dropped the dash, but never had to totally remove it - maybe the particular issue wasn't as easy to deal with, but I didn't have the additional hassles of fully removing and re-installing the dash.
I agree - excellent write-up including the pictures.
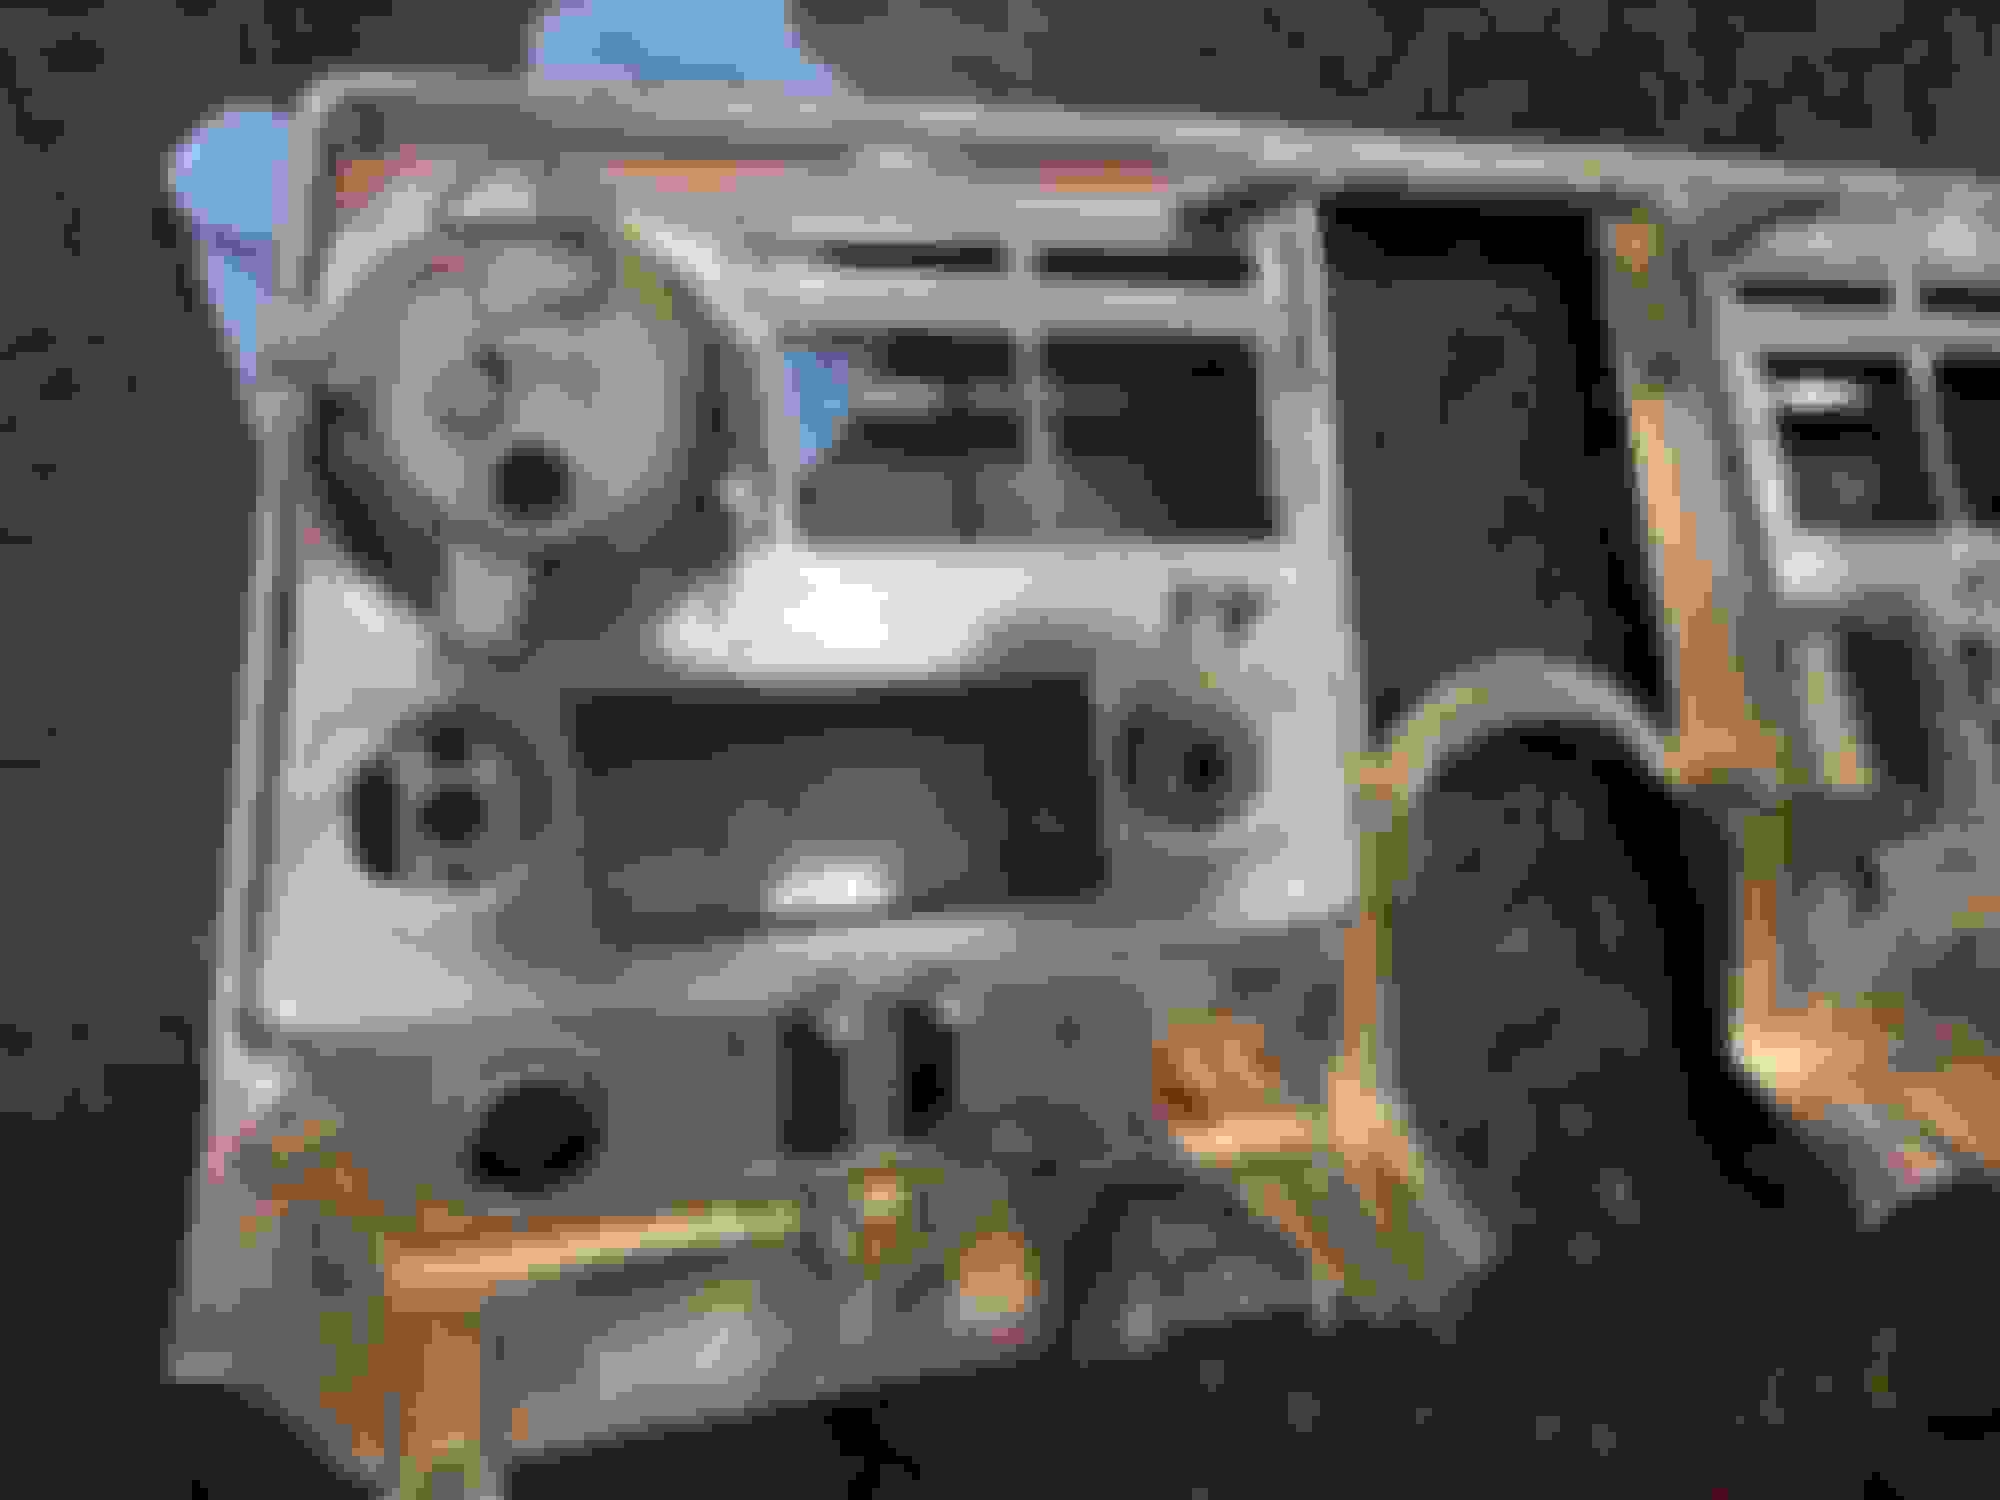
Here are a few follow up pics that may help as well. This is the back side of the gauge panel, showing the three upper left attaching points for the clock, then the clock installed.
Here is the overall view of the back side, showing some of the lower brackets that mount to the dash structure. This whole panel may be able to slide out just enough to remove the three screws holding in the clock.
Hi, Both my clocks are in '72's, one a Ninety Eight and the other a Toronado. I'm pretty sure the one in the Toronado works but not the Ninety Eight. After what you showed, I'll be able to repair it myself now. Thanks again!
Nice write-up! I did the same a couple months ago. It ran good for a while but seems gummed up and doesn't keep running, even if you manually force a self-wind. Oh well, I still got the satisfaction of learning about how it works.
 December 31st, 2023, 01:49 PM