When you click on links to various merchants on this site and make a purchase, this can result in this site earning a commission. Affiliate programs and affiliations include, but are not limited to, the eBay Partner Network.
Well it was time to start on my next restoration after I finished the 67 Chevelle--so I chose my next favorite car---the 1971 Oldsmobile 442. I found one that need some loving in Pennsylvania and had it towed to Colorado where I would bring it back to life.
I began by taking the body off the frame in December of 2018 and worked for a few months on the frame and suspension. The frame has been sandblasted and repainted with Eastwood's Chassis Ceramic black paint and epoxy primer. I've had good luck with this product on other restorations.
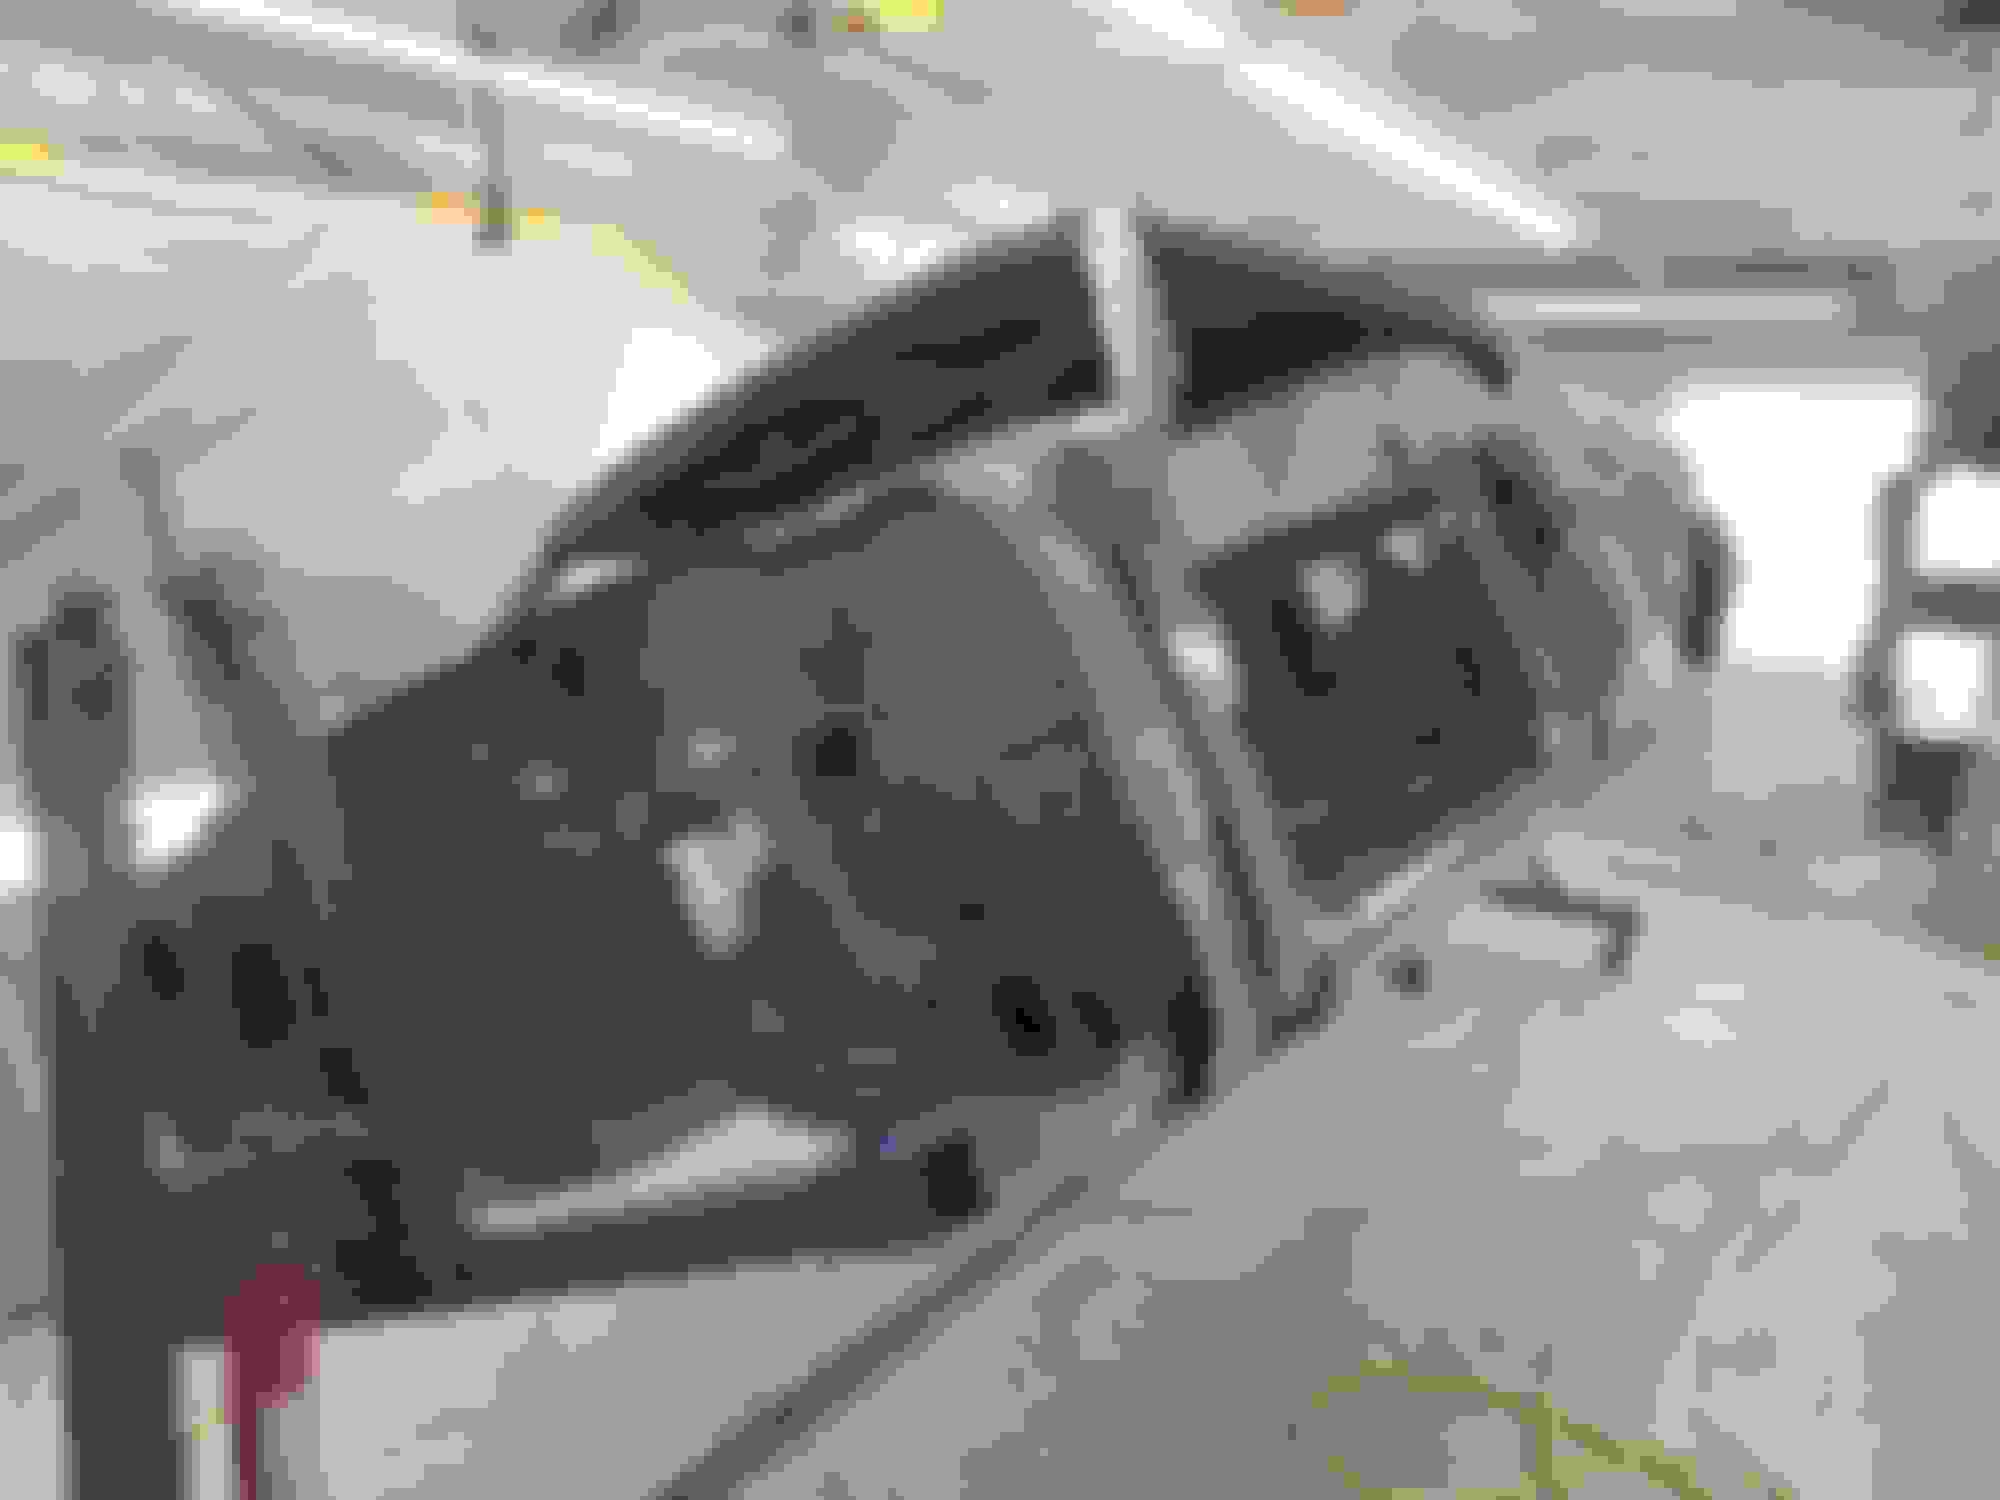
I will begin to show pictures of the progress I've made in the last year and a half. The body took significant work to repair the rusted rear floor pan, the rotted trunk panels, and both rear quarter panels. Thankfully I was able to cut out and weld in all new sheet metal for these areas.
I finished the paint work in June of this year and have now begun the reassembly of the car. This is my favorite part...watching the car come back together. The car was originally green with white interior so I wanted to stay with that theme but utilize the new base coat/clear coat paint products. I settled on Bottle Green and Ice White from the 2013 Chevrolet line mostly used on truck and Avalanches. The color is rich with metallic and gleams in the sun. I'm happy with the choice.
The paint is all cut and buffed and now all the chrome and stainless trim is on along with the emblems and external lighting. Headliner is in and upholstery is on order.
The engine is the latest big project and is being refreshed and built by an awesome engine shop called Vortec Pro in Colorado Springs. Mark Jones is a master when it comes to perfecting engine builds and squeezing every ounce of power out of a build. He's already began on my Rocket 455 and I'm excited to see him work his magic on yet another engine for me. More to come.... Let's see what I bought.... The car arrives from PA. I have lots of work to do....
Thanks Otto---it has been fun so far....here are more pics....starting to show the frame and body separation...and the work beginning.... Interior was a total mess..... Trunk pans were rotted and in bad shape.... Frame is on the rotisserie and ready to be blasted.... Freshly painted frame... Pulling the car off the frame.... Frame blast is underway....
Last edited by 442Dude; September 4th, 2020 at 03:50 PM.
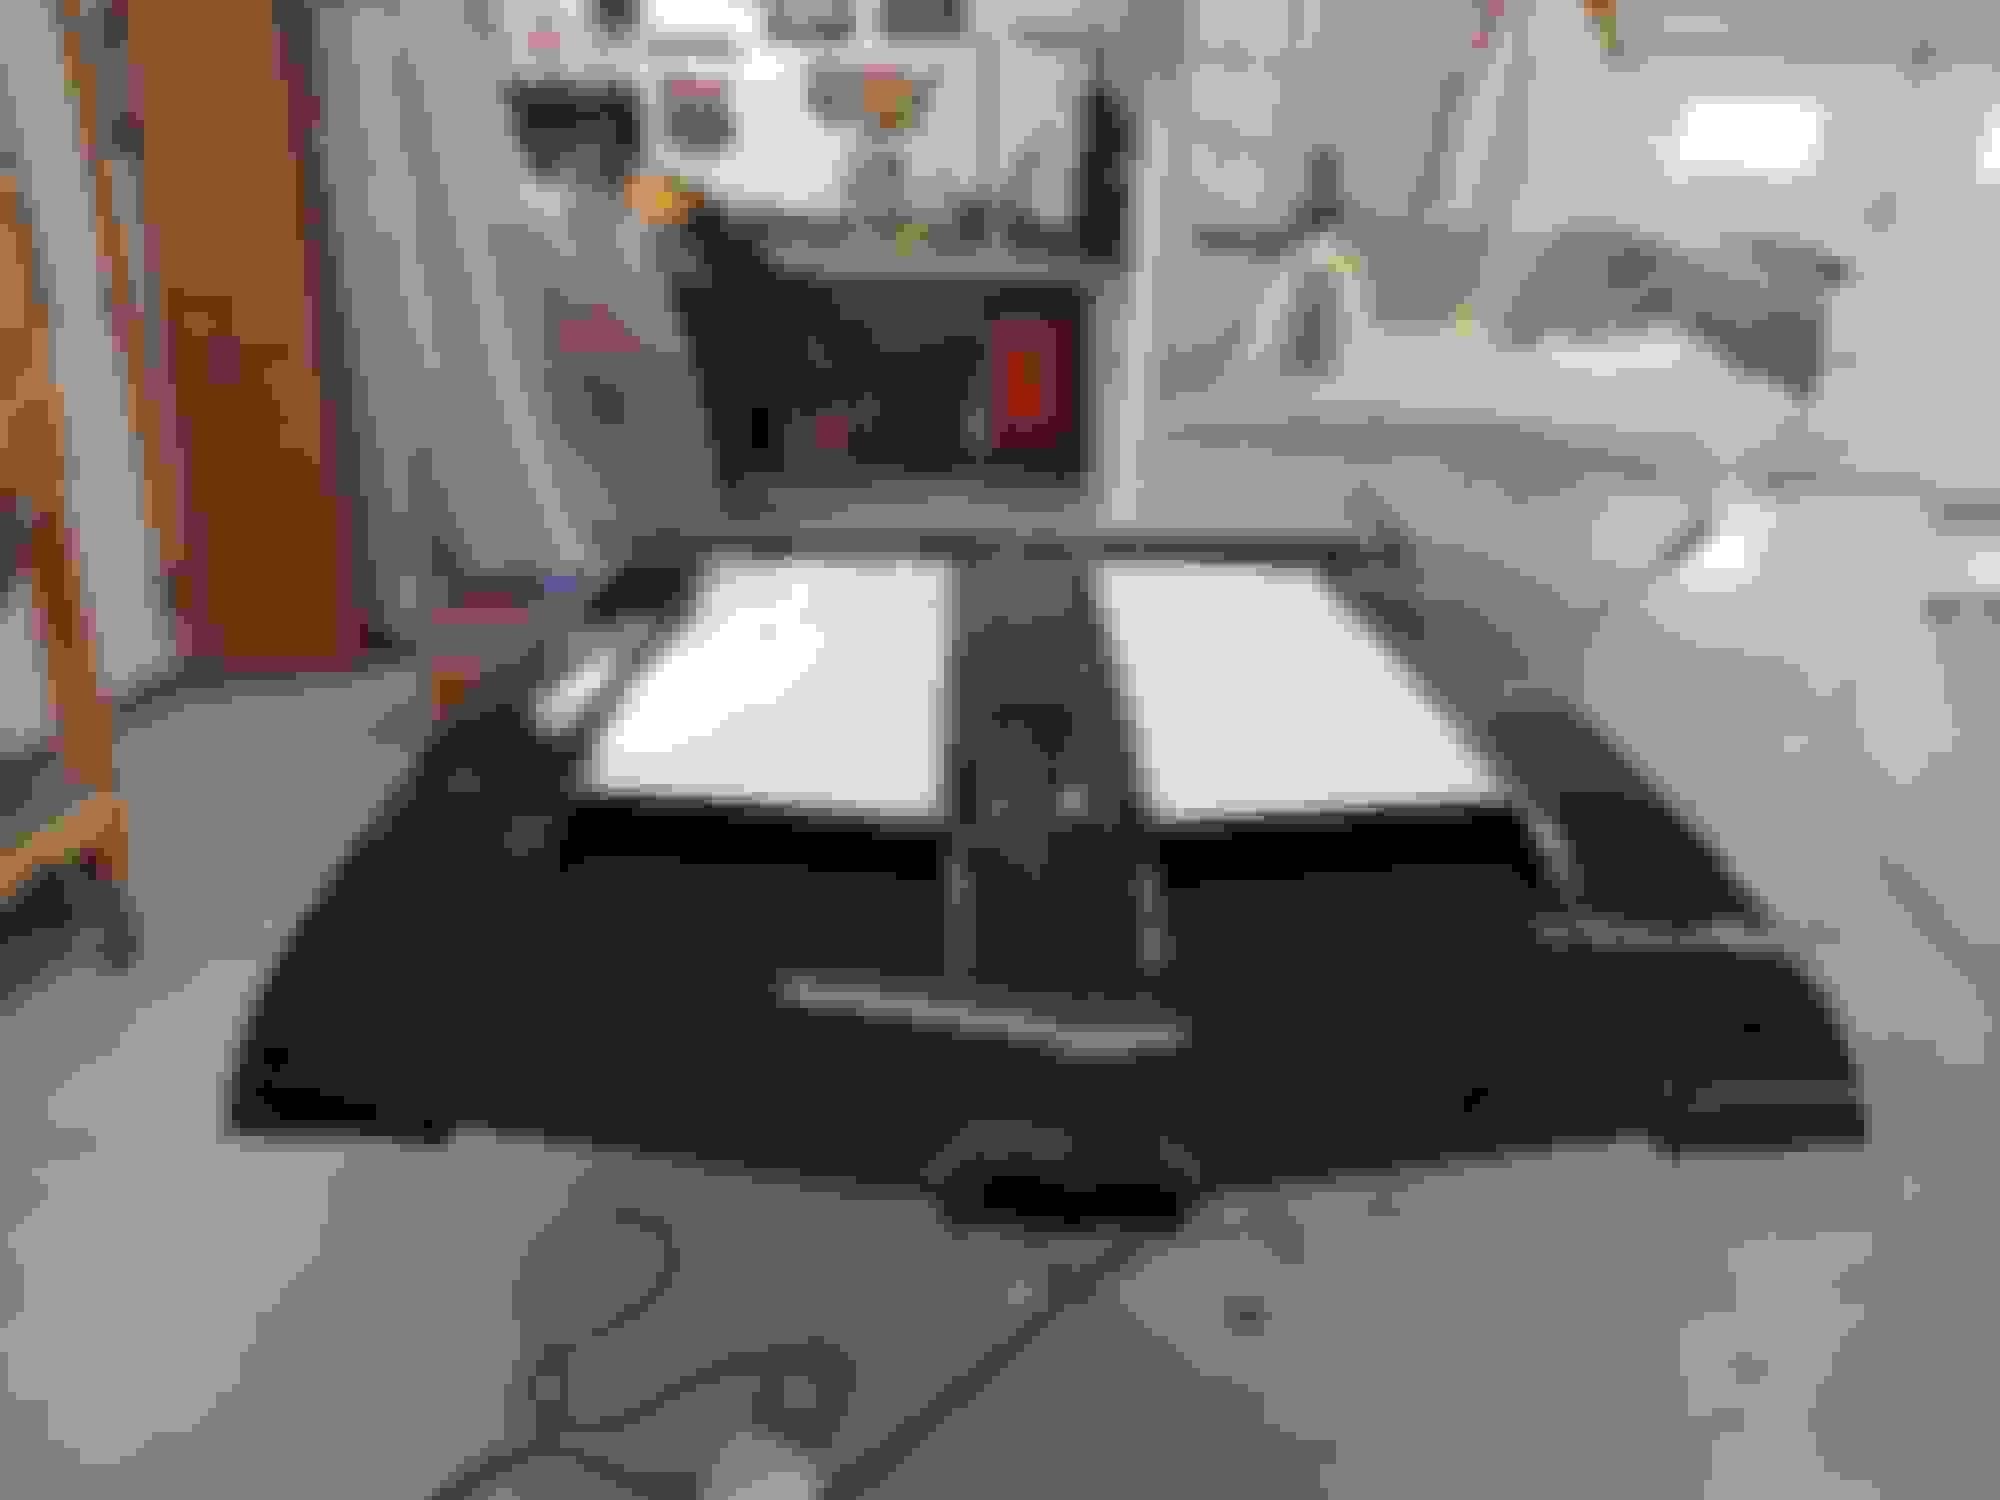
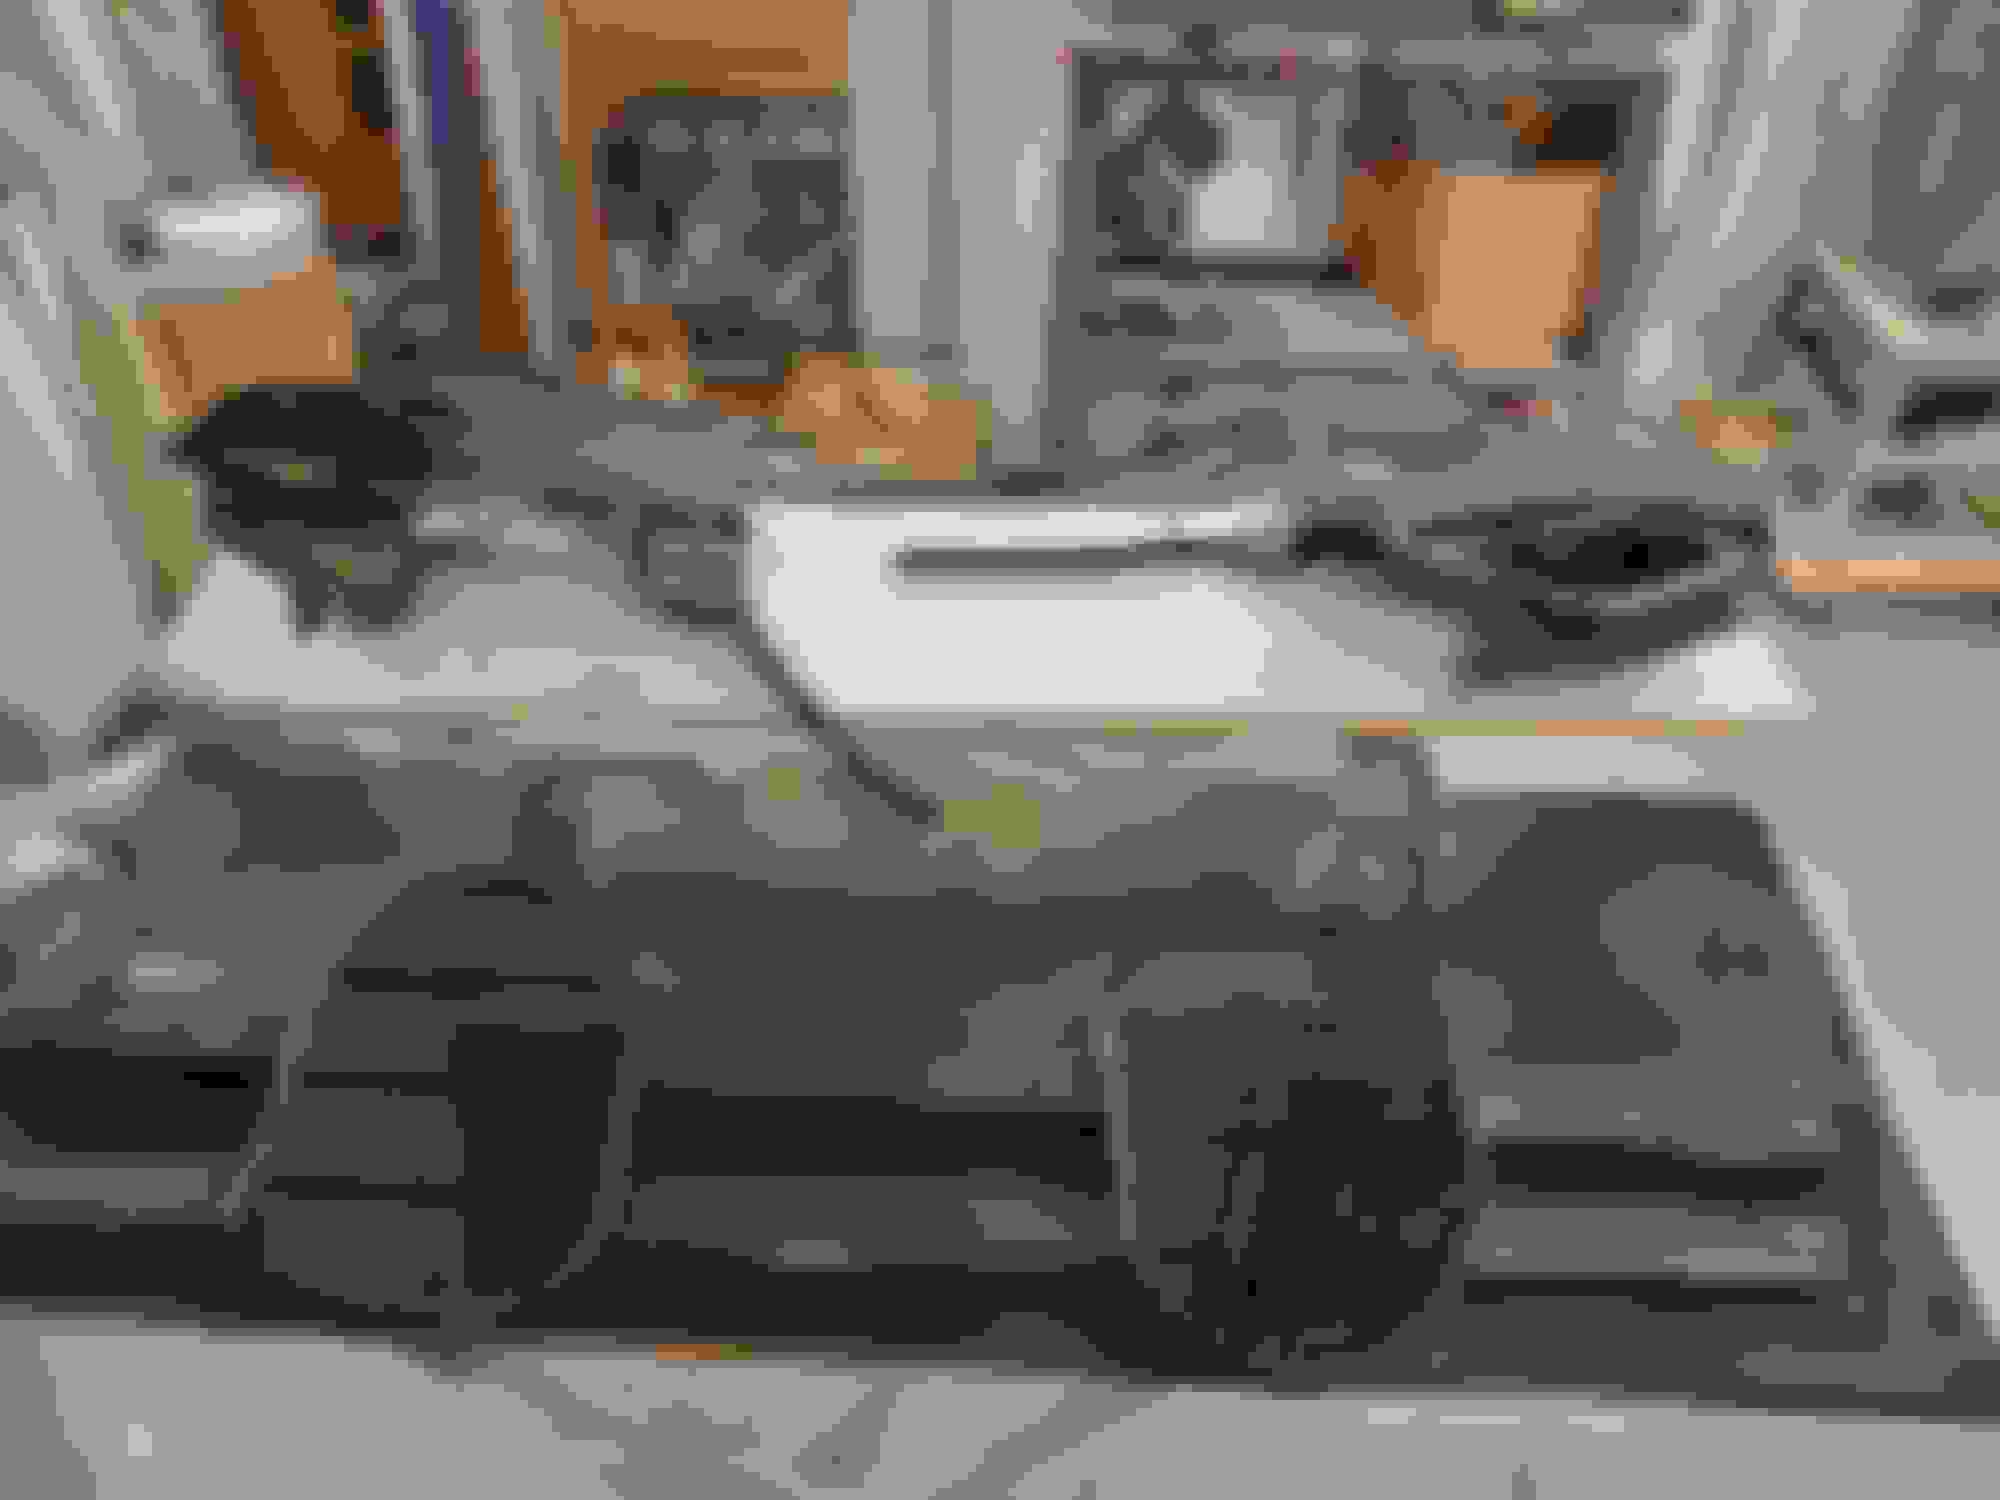
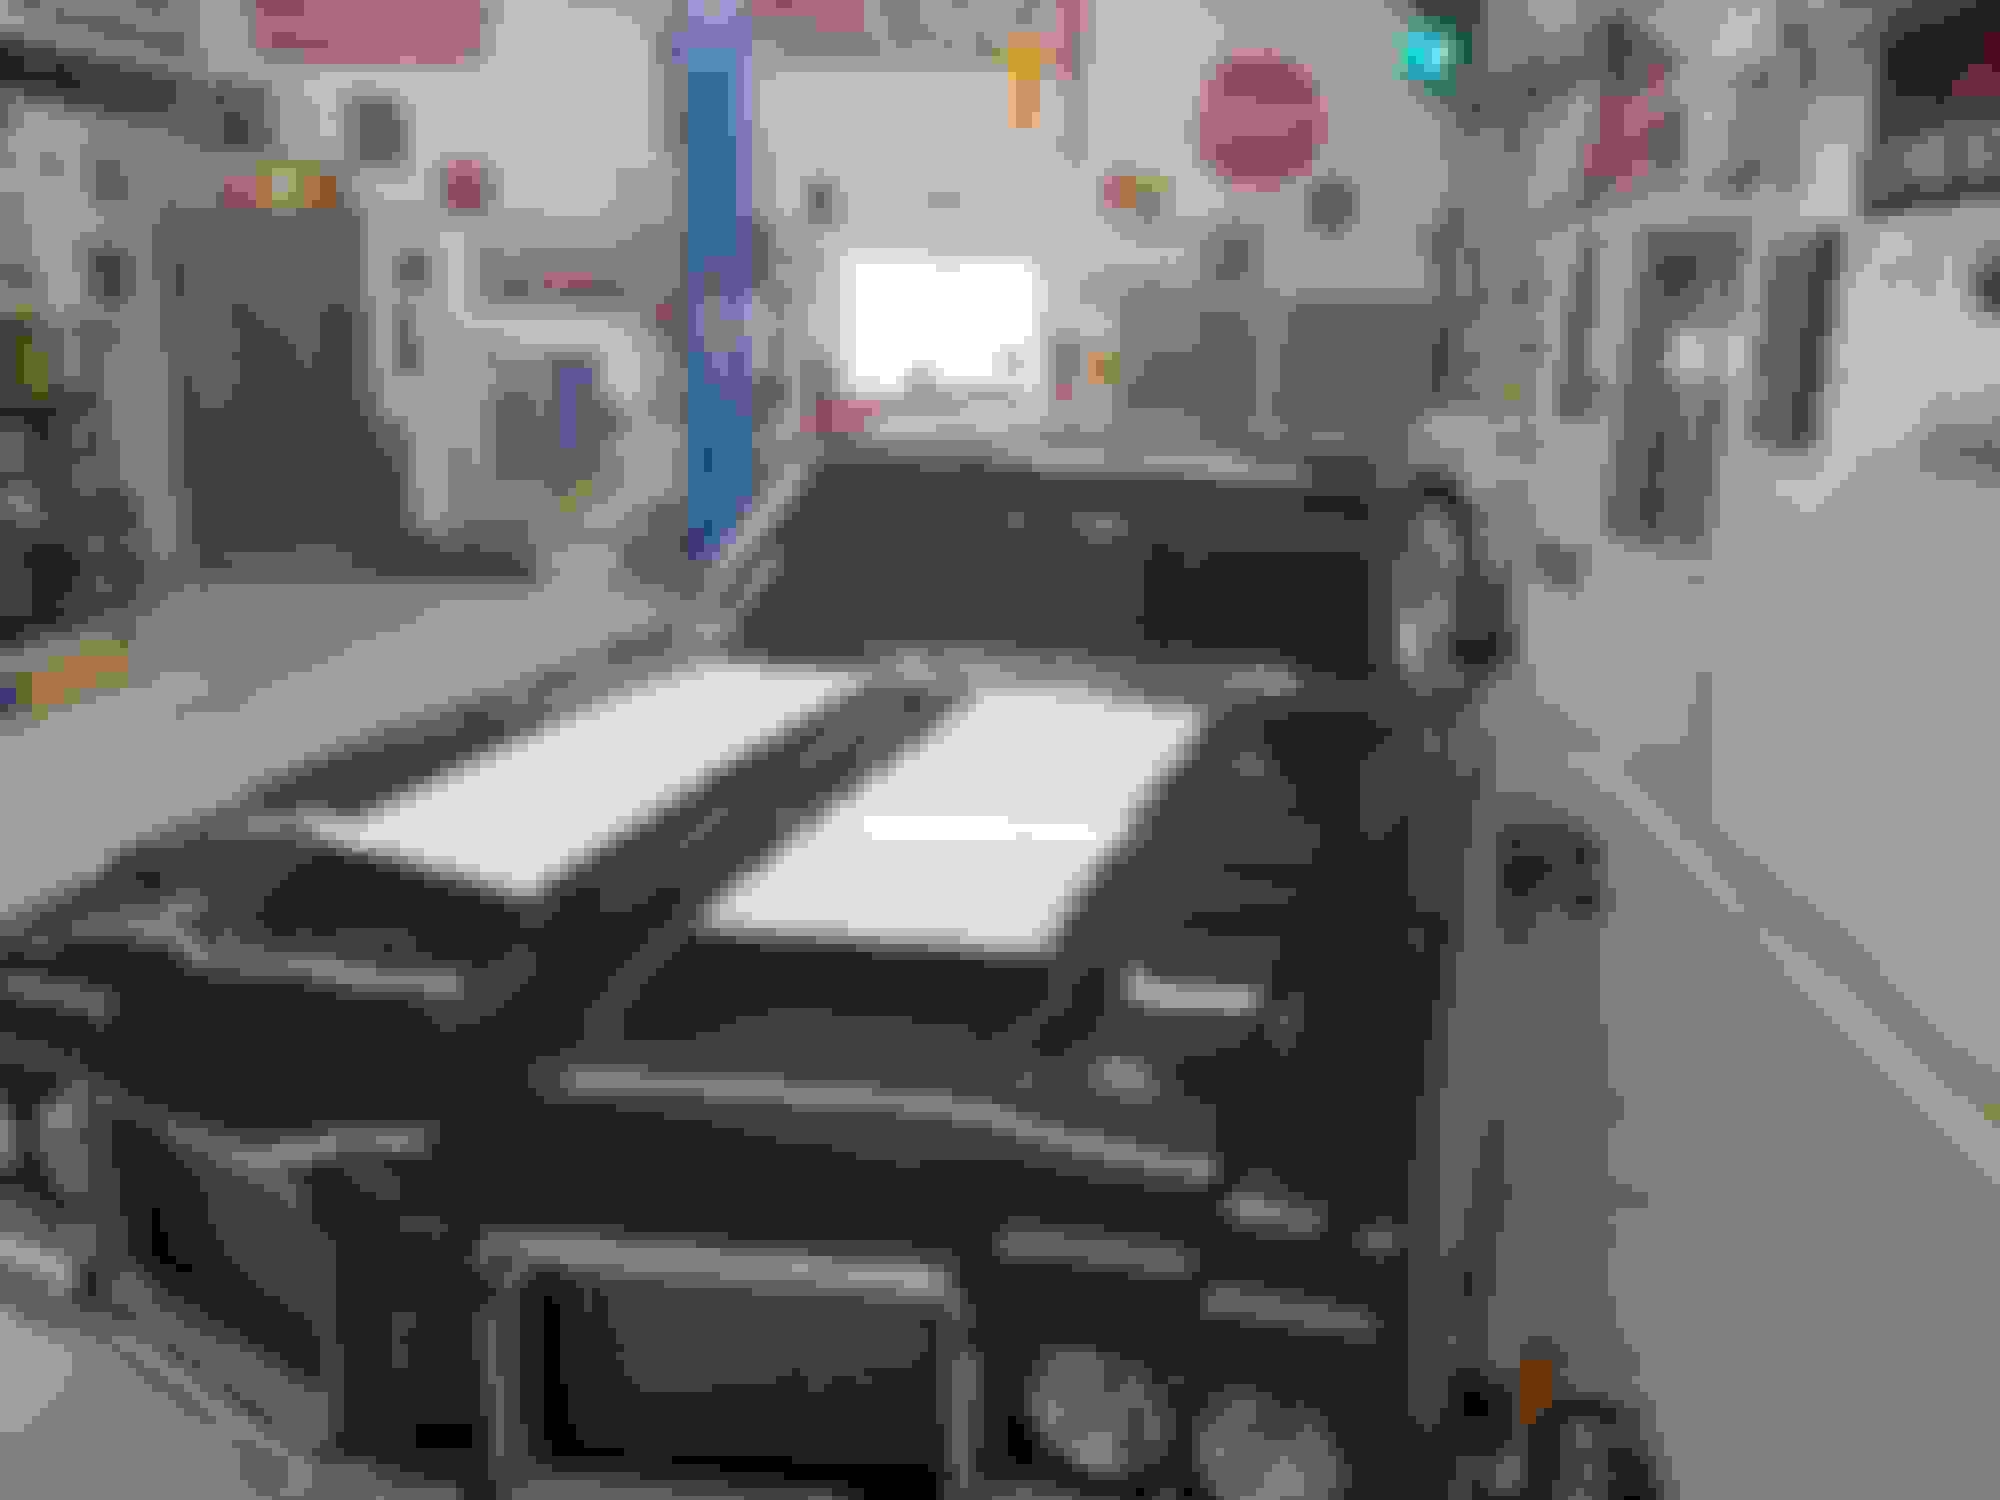
Now that the frame is done...time to start on the car body. Lots of work to do there. Rear quarters are very rusted above the wheel wells and behind the wheels. Trunk panels are rotted, and rear floor pan needs replaced under the rear seats. New rear floor pan welded in place Rotted rear floor pan removed... Body is on the rotisserie being blasted. Thank goodness for my new much larger air compressor. Blasting is coming along.... The beginning body project.... Trunk is a mess....lots of work to be done.
This looks like a super nice project and everything looks and sounds like it was done very nicely!
As you know, Vortecpro was the best choice you could have made for your engine build.
Very interested to follow along and see this one in person!
Battenrunner---thanks for the kind words. I'm having allot of fun with the car. When I purchased the car, it was without any of the drive train or useful drivetrain I should say. The engine and trans were missing and the rear end is the wrong year and model for what I'm going for. I was happy to locate a very nice original Rocket 455 engine to provide VortecPro for the rebuild. Mark was pleased with the quality of the engine upon disassembly. My goal was to find him something as stock as possible and one that had not been altered or changed in the last 45 years. I think we have just that engine.
Mark has already made good progress on the engine so far and we have ordered nearly all the parts to reassemble it. I'll be mating this engine to a Tremec TKO-600 5 speed. I've had good luck with that trans in my 650HP BBC Chevelle. Mark has had the camshaft custom-made for my application and I'm anxious to see the end result on the dyno. The crankshaft has been cut for the manual trans pilot bushing as well. More to come on that....
I have also been pleased with Classic Olds located in North Carolina. Jim Michaels is a joy to work with and is extremely knowledgeable on what belongs on the car from front to rear. I call him regularly to order parts and just get his opinion on changes I may make to the originality of the car. It's nice to have his years of experience and knowledge working on my behalf.
Currently, I am awaiting all my seat upholstery fabric to arrive and will soon be covering the seats and hanging the new door panels. The car is really starting to take shape.
New trunk metal installed.... Rusted trunk pans removed... Both rear quarters cut out and replaced with new metal.....also replaced outer fender wheels and patched inners. Lots of metal work on this project. Right rear quarter removal New panels welded and ready for the next finishing and shaping phase....
Thanks Retro. Making good progress. Here's the next batch of pics..... Metal work is done...now time for the epoxy and paint prep to begin.... Firewall and bottom of the body are now chassis ceramic black and I've begun jamming for the paint work. Paint jamming work is underway....
Time for the Bottle Green base coat to be applied.... Green is on.... Stripes are done...time for the final clear coat.. Cut and polish is now finished....time to start rebuilding the car with new and restored parts.
Bottle Green. My absolute favorite color followed by the Azure Blue. The spray looks super clean and the Ram Air hood addition was a great call. Do you plan to add the W35 spoiler too?
Nice work and I really like the color you went with. I sure sounds like you had fun with the project. Having the experience with your previous build and career , shop, and right tools have made it even that much more enjoyable I bet.
Nice to hear you also have had the benefit of good folks to work with in your corner. Happy for you.
Thanks for the comments. Yes, I do love the colors. They turned out to be a good choice I believe. Yes, the spoiler is already installed. More pics coming.....
Keith--thanks for the kind comments and your message. Yeah I am having a blast with the car. I like to keep busy. So thankful for my shop area, all the tools I've been collecting over the last 35+ years, and etc.
I do have lots of great people supplying me with what I need. Last Friday I spent most of the day hanging out with Mark from VortecPro in the Springs. We were finalizing the balancing of the lower end and getting the engine ready for assembly this week. The engine is coming together nicely and should run strong.
Over the weekend, I started getting the seats ready for upholstery and began installing my stereo components. Later this month, I will order the wiring harness and the dash cluster.
More pics of the assembly.... Headliner prep work. Installing all the insulation.... W-30 red inner fenders are installed and aligned. More headliner prep work.
Glass and all emblems and lights completed.... Glass install underway.... Kick panel refresh.... Used the tinted glass from Auto City Classic....love the new tinted grey look.
Looks great, nice work!
What material did you use on the interior underside of roof? Is it like a dynamat material?
I have to do mine soon and wondering best product to use.
How much time do you have into this? Im thinking these updates are compressed for our viewing pleasure?
RR455---good morning. Thanks for the post and the kind words. The metal work takes patience and repetition to get it where you like it. At least that's what I've found in my own work.
Scrappie---I began working on this car in Dec of 2018. I promised my wife I would wait for awhile once I finished the Chevelle so it sat for two years outside my shop waiting. Lol
It's coming up on two years that I've been working on it but I'm significantly ahead of my restore timeline for the Chevelle. Some of that is due to upgrading my air compressor which allowed me to accomplish the sand blasting a whole lot quicker than last time. I hope to have the car drive able by early spring if all goes well.
My engine will soon be finished and then I will be purchasing my transmission assembly and rear end. Those will be some of the last big purchases for the restoration.
On the insulation, another friend of mine who does lots of restorations turned me on to a product called Prodex from Insulation4Less.com. I've used it for several things around the shop and a few restorations. I like it's ease of use, insulation qualities, and cost as compared to some of the other higher-end products. I can take more pics of the product if you wish. I will be finishing the floor with it under the carpet once I cut and fab the new tunnel design for the Tremec. Hope that helps.
You have produced some seriously FINE handiwork with this effort, Dude! Congrats on your project, it looks fantastic. And that mill that Vortecpro has assembled for you will be the Coup de' gras! I live in Parker; maybe I'll see you on the road sometime in the Spring.
Well, I had to report back to those following my post on the outcome of my engine from Vortec Pro. After watching Mark Jones in action throughout the machining and build process, I can actually affirm that he is a master at what he does. I would never dream of going elsewhere if I needed any engine work or another complete engine assembly. His attention to detail, knowledge, and experience make him a world-class engine builder in my book. My engine performance far surpassed any expectations that I had going into this engine build. Mark was able to take my core OEM engine and add the right performance modifications while also correcting the known oiling issues that traditionally exist. The performance numbers were made with the 1969 GM W-30 Oldsmobile aluminum intake and a race proven Rochester Quadra-Jet carb. I was intrigued throughout the engine build watching Mark measure, inspect, and address each and every detail to include the deficiencies that surfaced with many of the new and expensive parts that were purchased for the engine.
Once the engine was built and ready, Mark verified the calibration on his engine dyno which made our measured power outputs very exciting and real. The max power was: 605 ft. lbs. of torque at 4200 rpm and 547.4 HP at 5600 rpm although the correction factor for the dyno was set very conservative and the numbers are likely even a bit higher in all reality. I have everything documented in a very detailed report for reference.
Next step will be to get the headers ordered and Jet-Hot coated and then install the engine.
Last edited by 442Dude; October 28th, 2020 at 05:46 AM.
Update for the week.....ordered my 1 7/8" Hooker headers and sent them to Jet Hot in OK for coating. Hope to have those back by the end of the month. That will allow me to get the engine stuck in the car and keep moving forward on the drivetrain. Also ordered my new 12-bolt posi rear end from Tom Rockwell racing in CO Springs. Tom built me a great rear end for my Chevelle and I returned to him for this one as well. That should be done around the middle to end of December. I will then have to get the rear tubular control arms and sway bars to get that mounted correctly.
I was planning on purchasing another Tremec TKO-600 5 speed trans for the car but knew I would have to cut up the tunnel and fabricate. I now see that Tremec is releasing the TKX trans which looks an aweful lot like a Muncie and there are many opinions that it will work without cutting up anything. I'm hearing good promises so far and it looks like they will ship those the end of this month. More to come on that....exciting!
Well it's been a month or so since my last update and more things are coming together. Here's what's happened in the last month:
Ordered and received the Hooker Super Competition 1 7/8" headers and then had then coated from Jet Hot. Waiting to install them with the engine.
Installed Right Stuff Brake Master Cylinder and Booster. (I'm planning on adding a vacuum pump to make this effective since my vacuum is lower due to the cam choice).
Installed the steering gear and pitman arm. This completes my front steering with the exception of my sway bar which I still need to purchase.
Installed my hydraulic clutch cylinder and all the linkages and connections to the pedal inside the car.
Installed the American Autowire Harness throughout the car. I am nearly done inside with the exception of hooking all the dash/cluster wiring up. Engine wiring will be completed once the engine is installed.
Ordered my ne Dakota Digital Repro cluster. That is delayed and due to arrive in March.
SS brake lines are due in this week. Once I install the front lines that go from the master to the right front wheel, I can install the engine and the headers. I hope to get that done in the next two weeks.
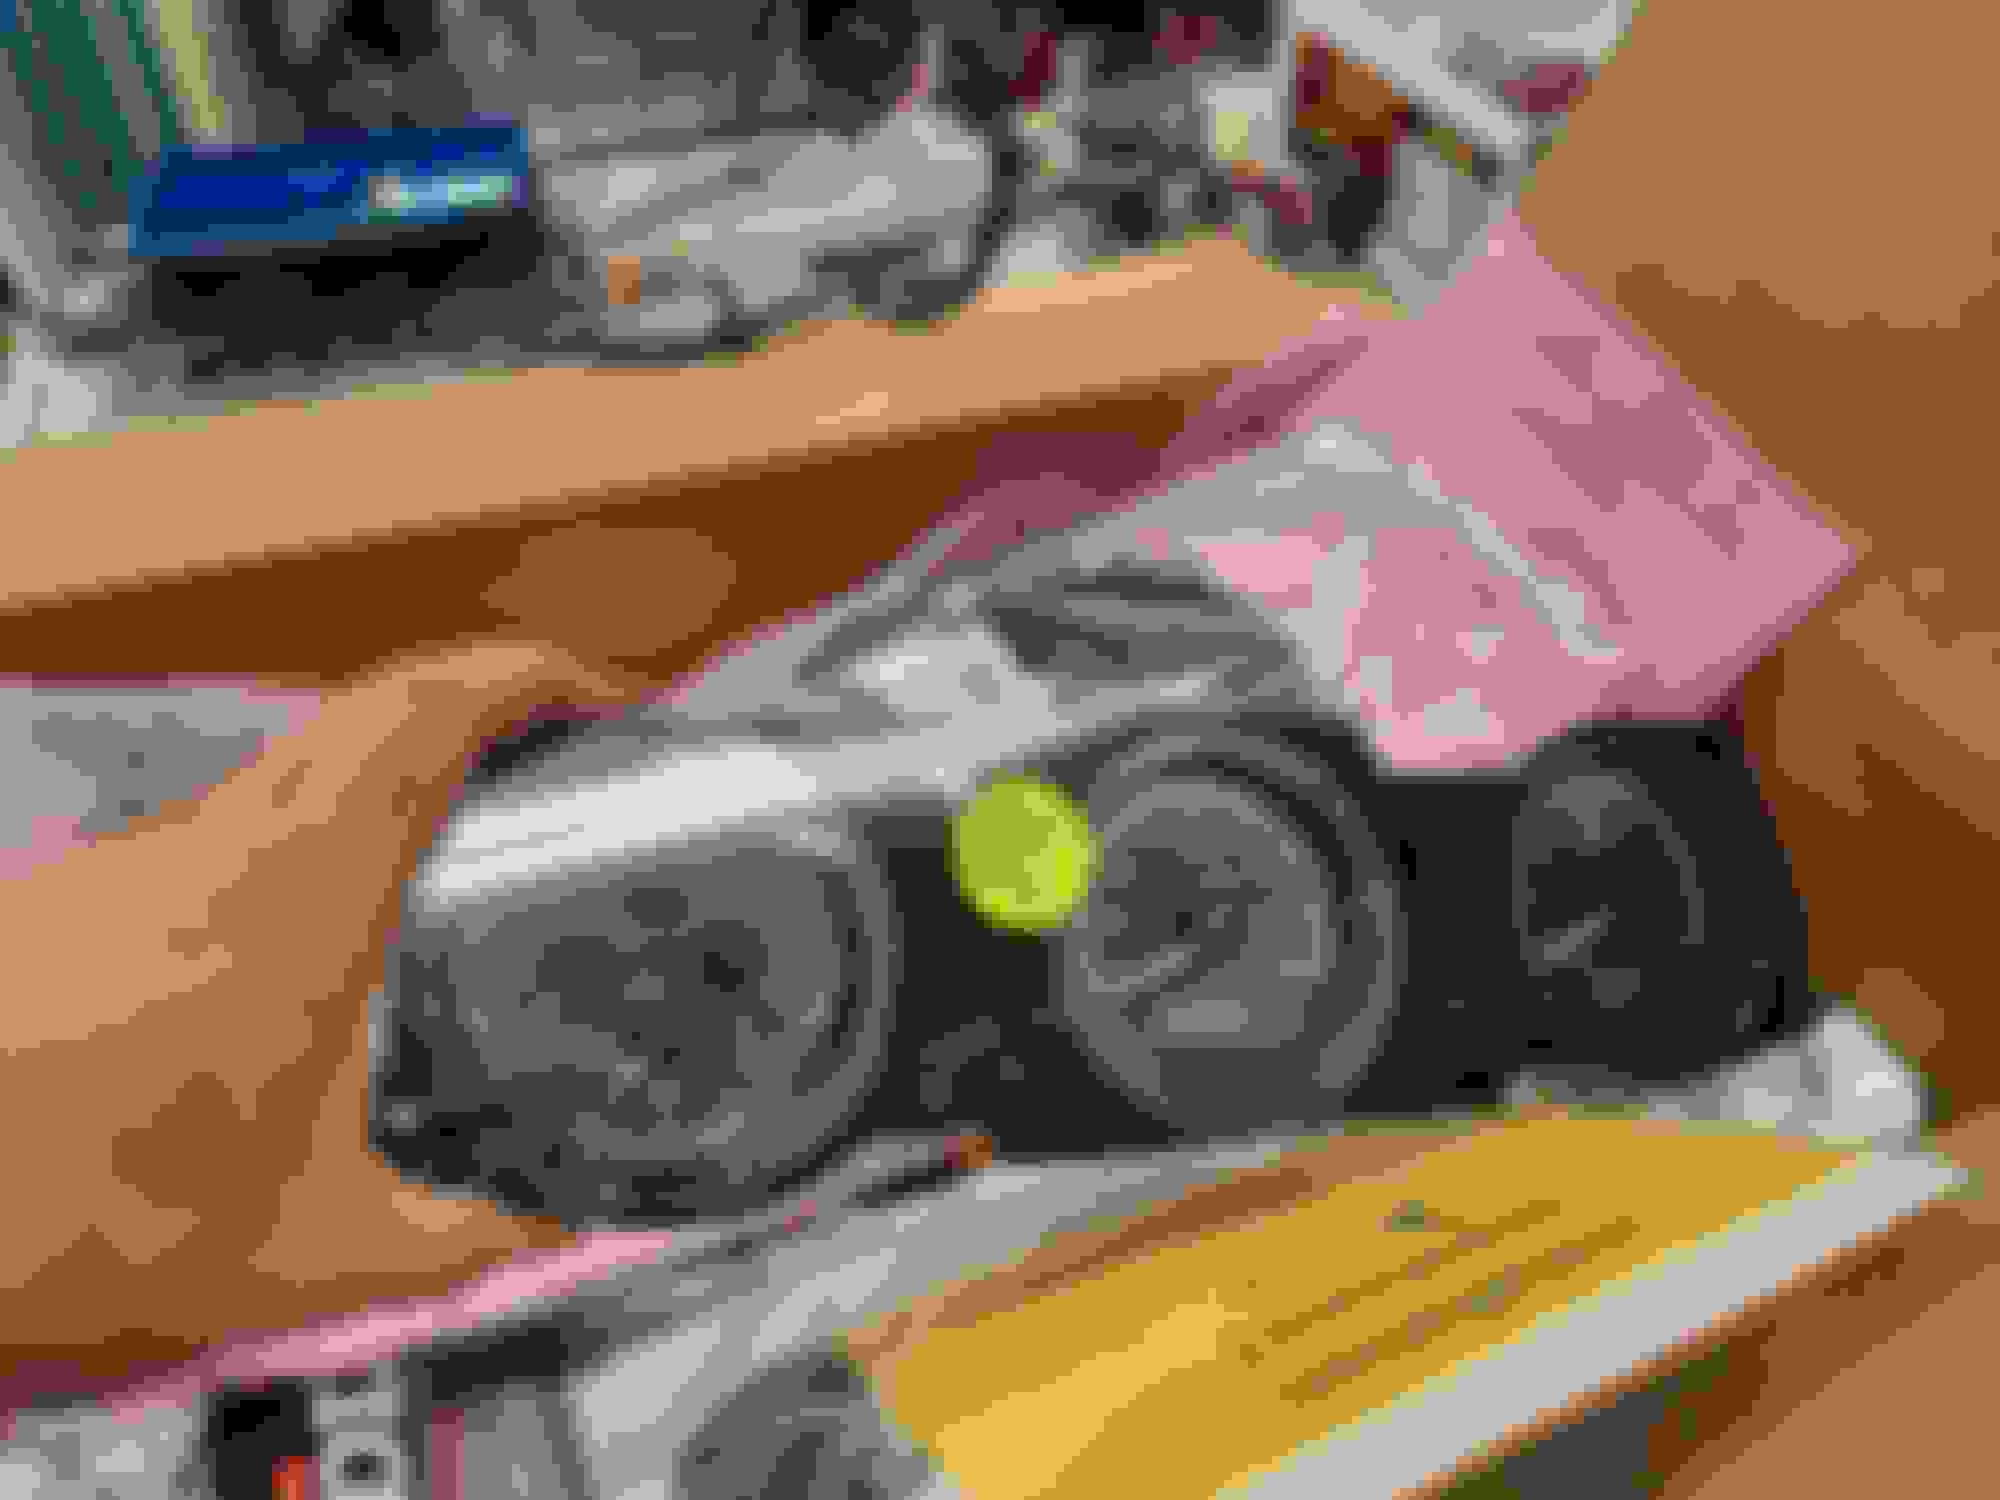
Finished covering the front bucket seats with upholstery and the right foam kit. Still waiting on the remaining items to finish the rear bench seats and the door panels.
Rear end is projected at two weeks out till I receive that. Seat work underway... Final product. Still need to steam out a few tiny wrinkles before I am totally satisfied. Steering gear and pitman installed. Sway bar is left to install. Relocated the prop valve for more header clearance. Wiring harness work underway... New harness with fuse panel....American Autowire. Heater ducting and cabling installed. Also installed hidden front speakers under each the corner of the dash.
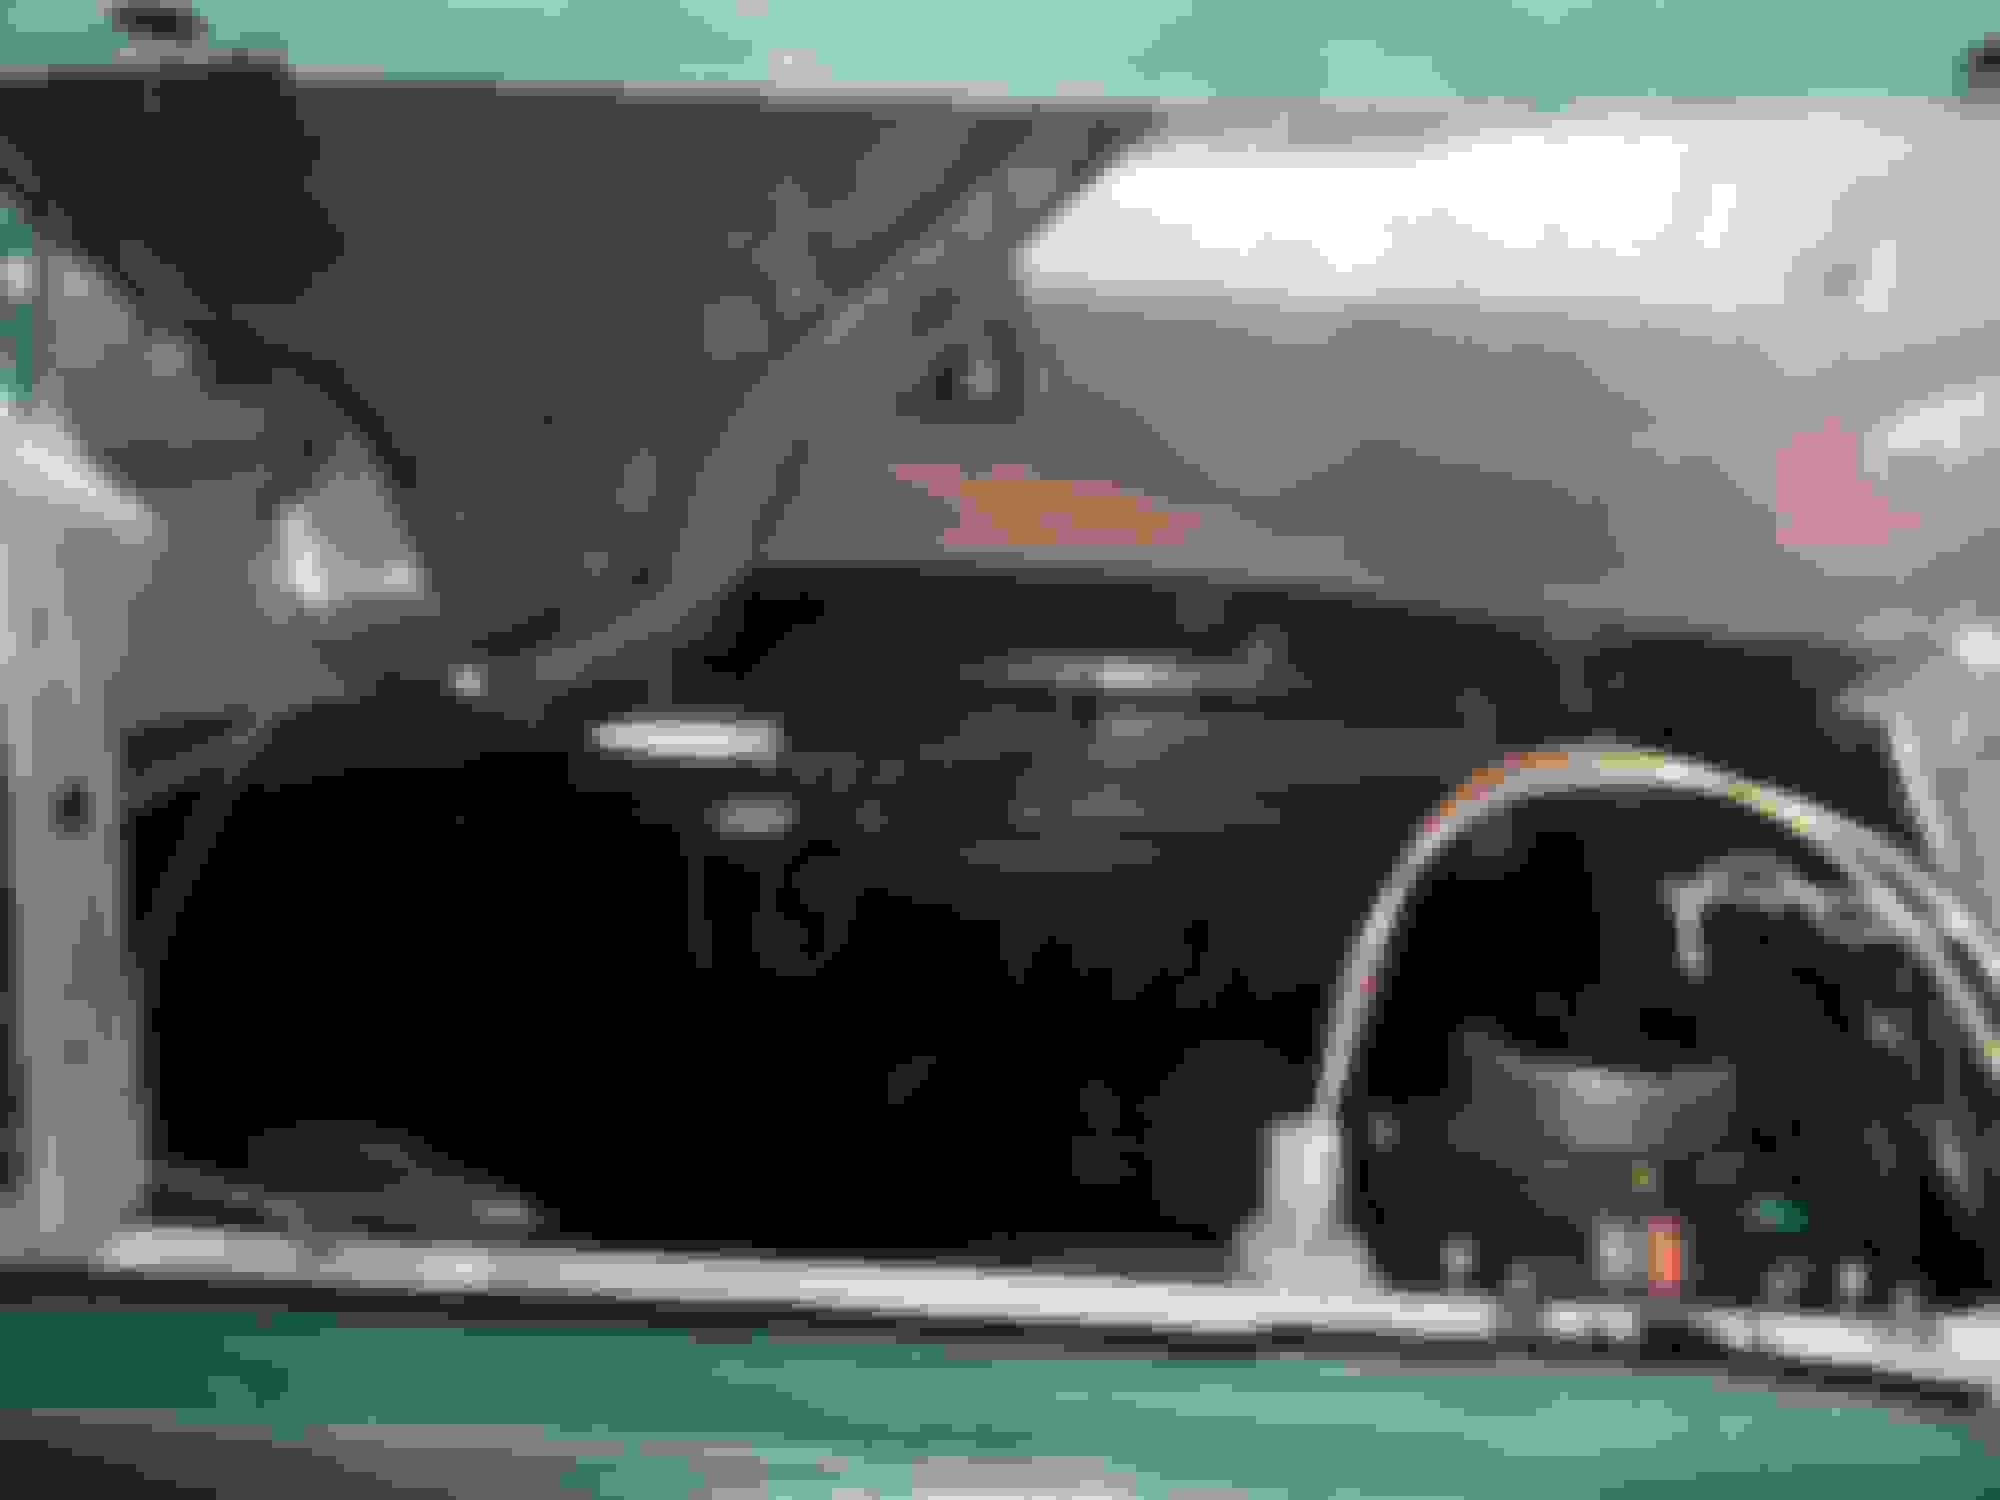
Received all the outstanding brake lines and parts from Right Stuff and installed those prior to the engine. Installed the engine last week with the headers, new starter, and etc. Finalized the power steering and now working on completing the last of the engine wiring.
Completed the refurbishing of the dash and all the trim. Added in a new Dakota Digital cluster that's similar to OEM. Everything is wired in now with the exception of the stereo and the console. Waiting on the rear end next and all the rear suspension parts. Dash pad and trim all reburbished.... Dakota Digital cluster.... Everything installed ...
What american autowire kit did you use? how did you like it? I am also doing the dakota digital gauges curious how those work out for you as well. Following your build its looking great.
 September 4th, 2020, 03:10 PM