When you click on links to various merchants on this site and make a purchase, this can result in this site earning a commission. Affiliate programs and affiliations include, but are not limited to, the eBay Partner Network.
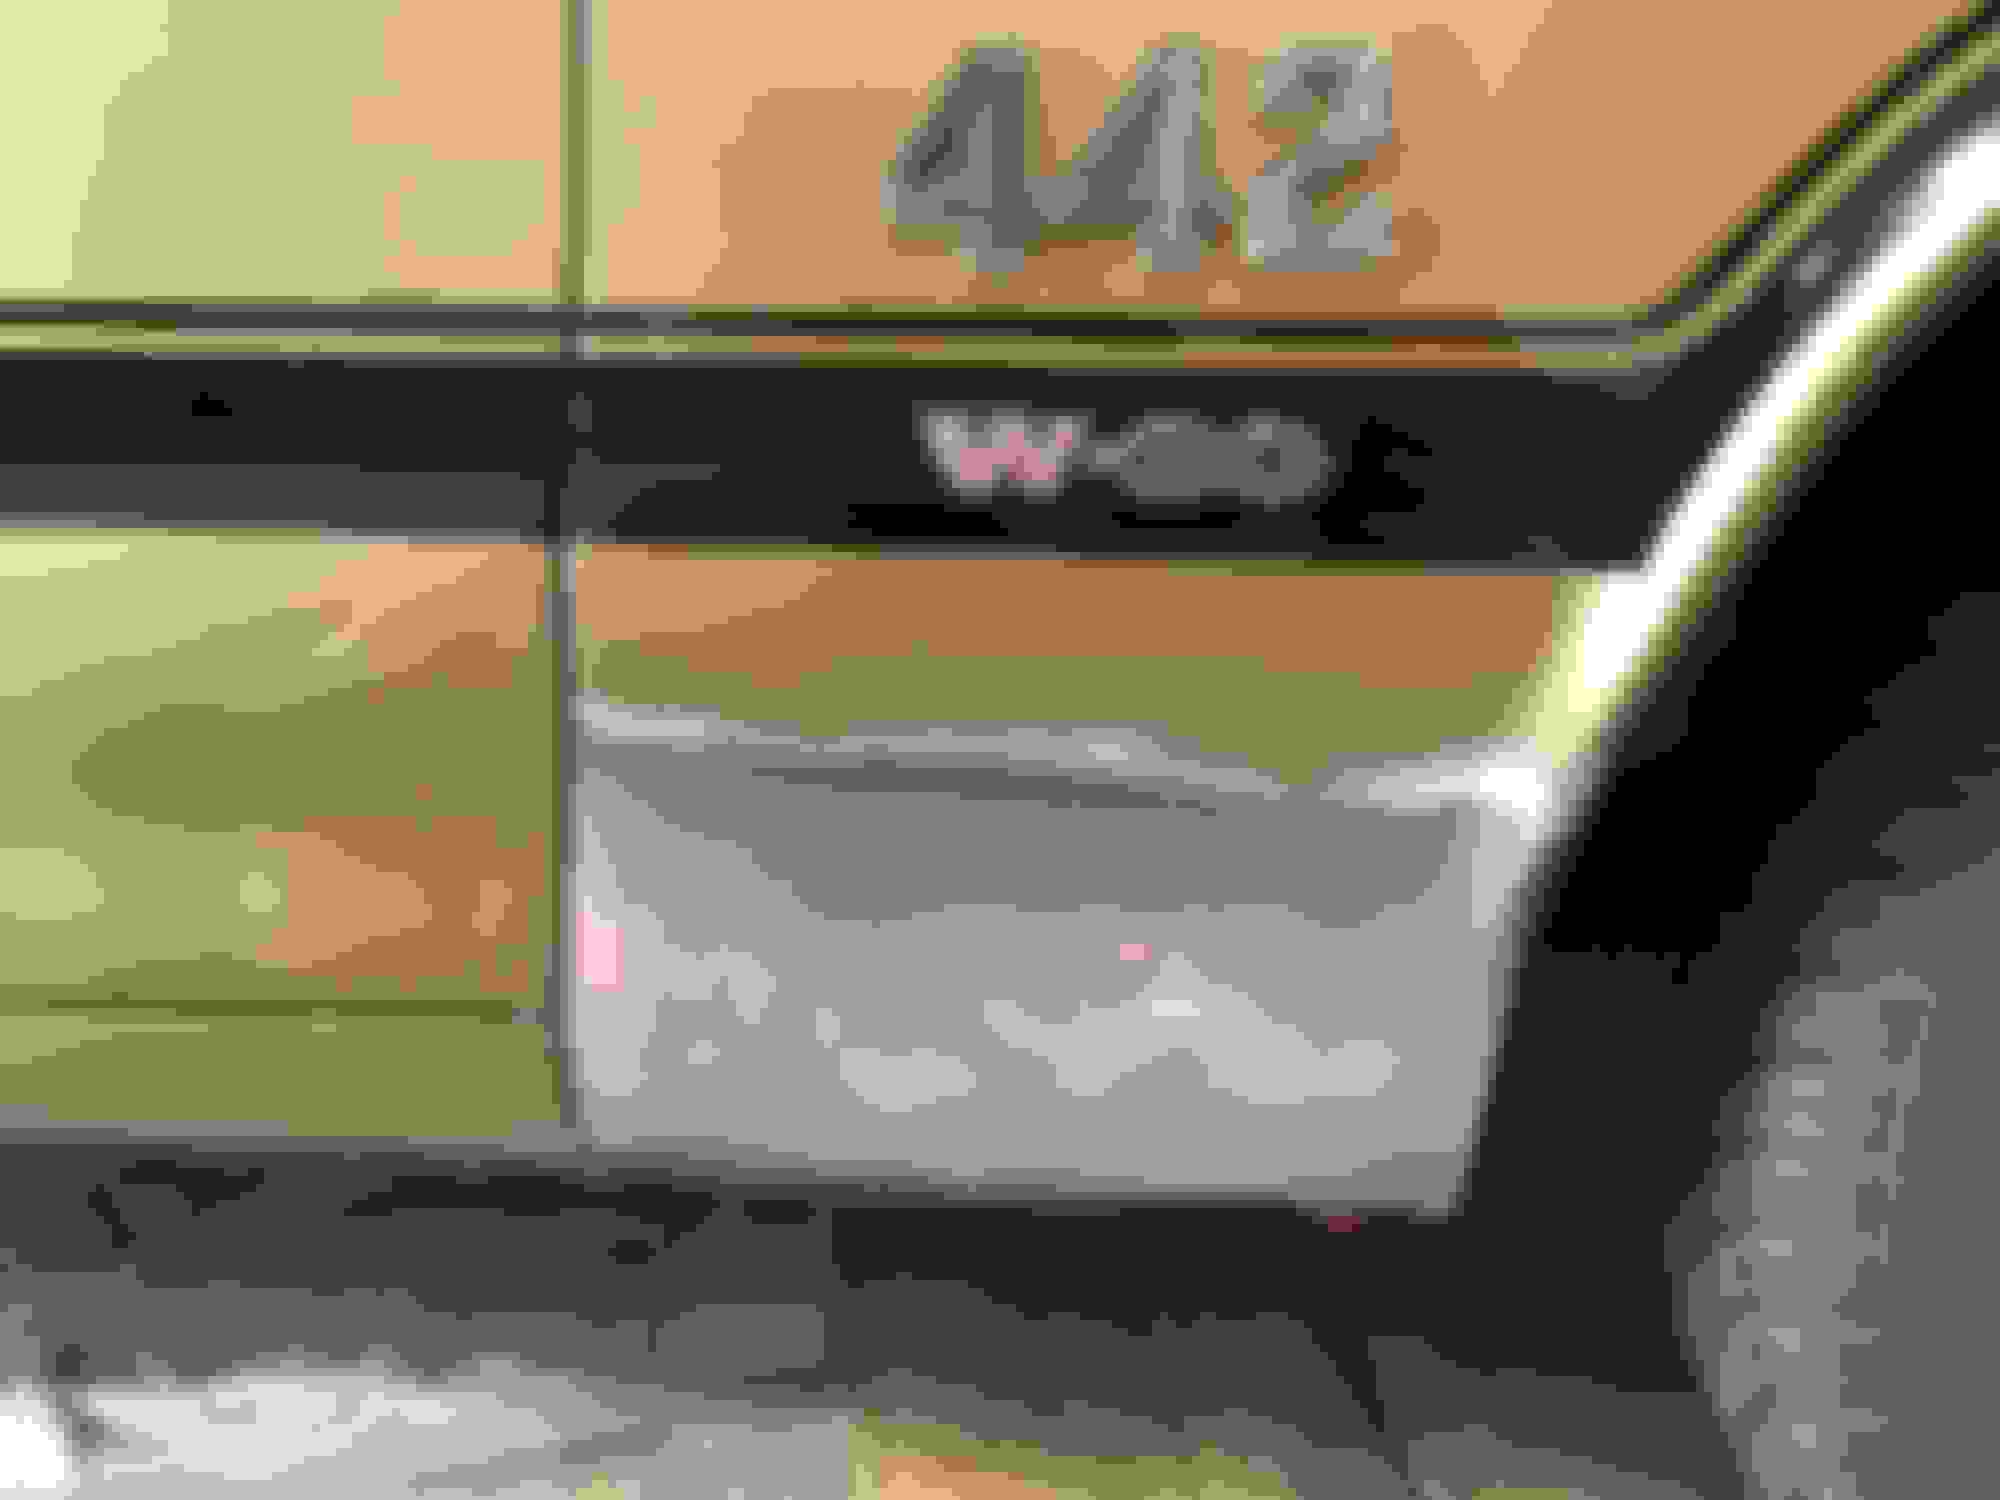
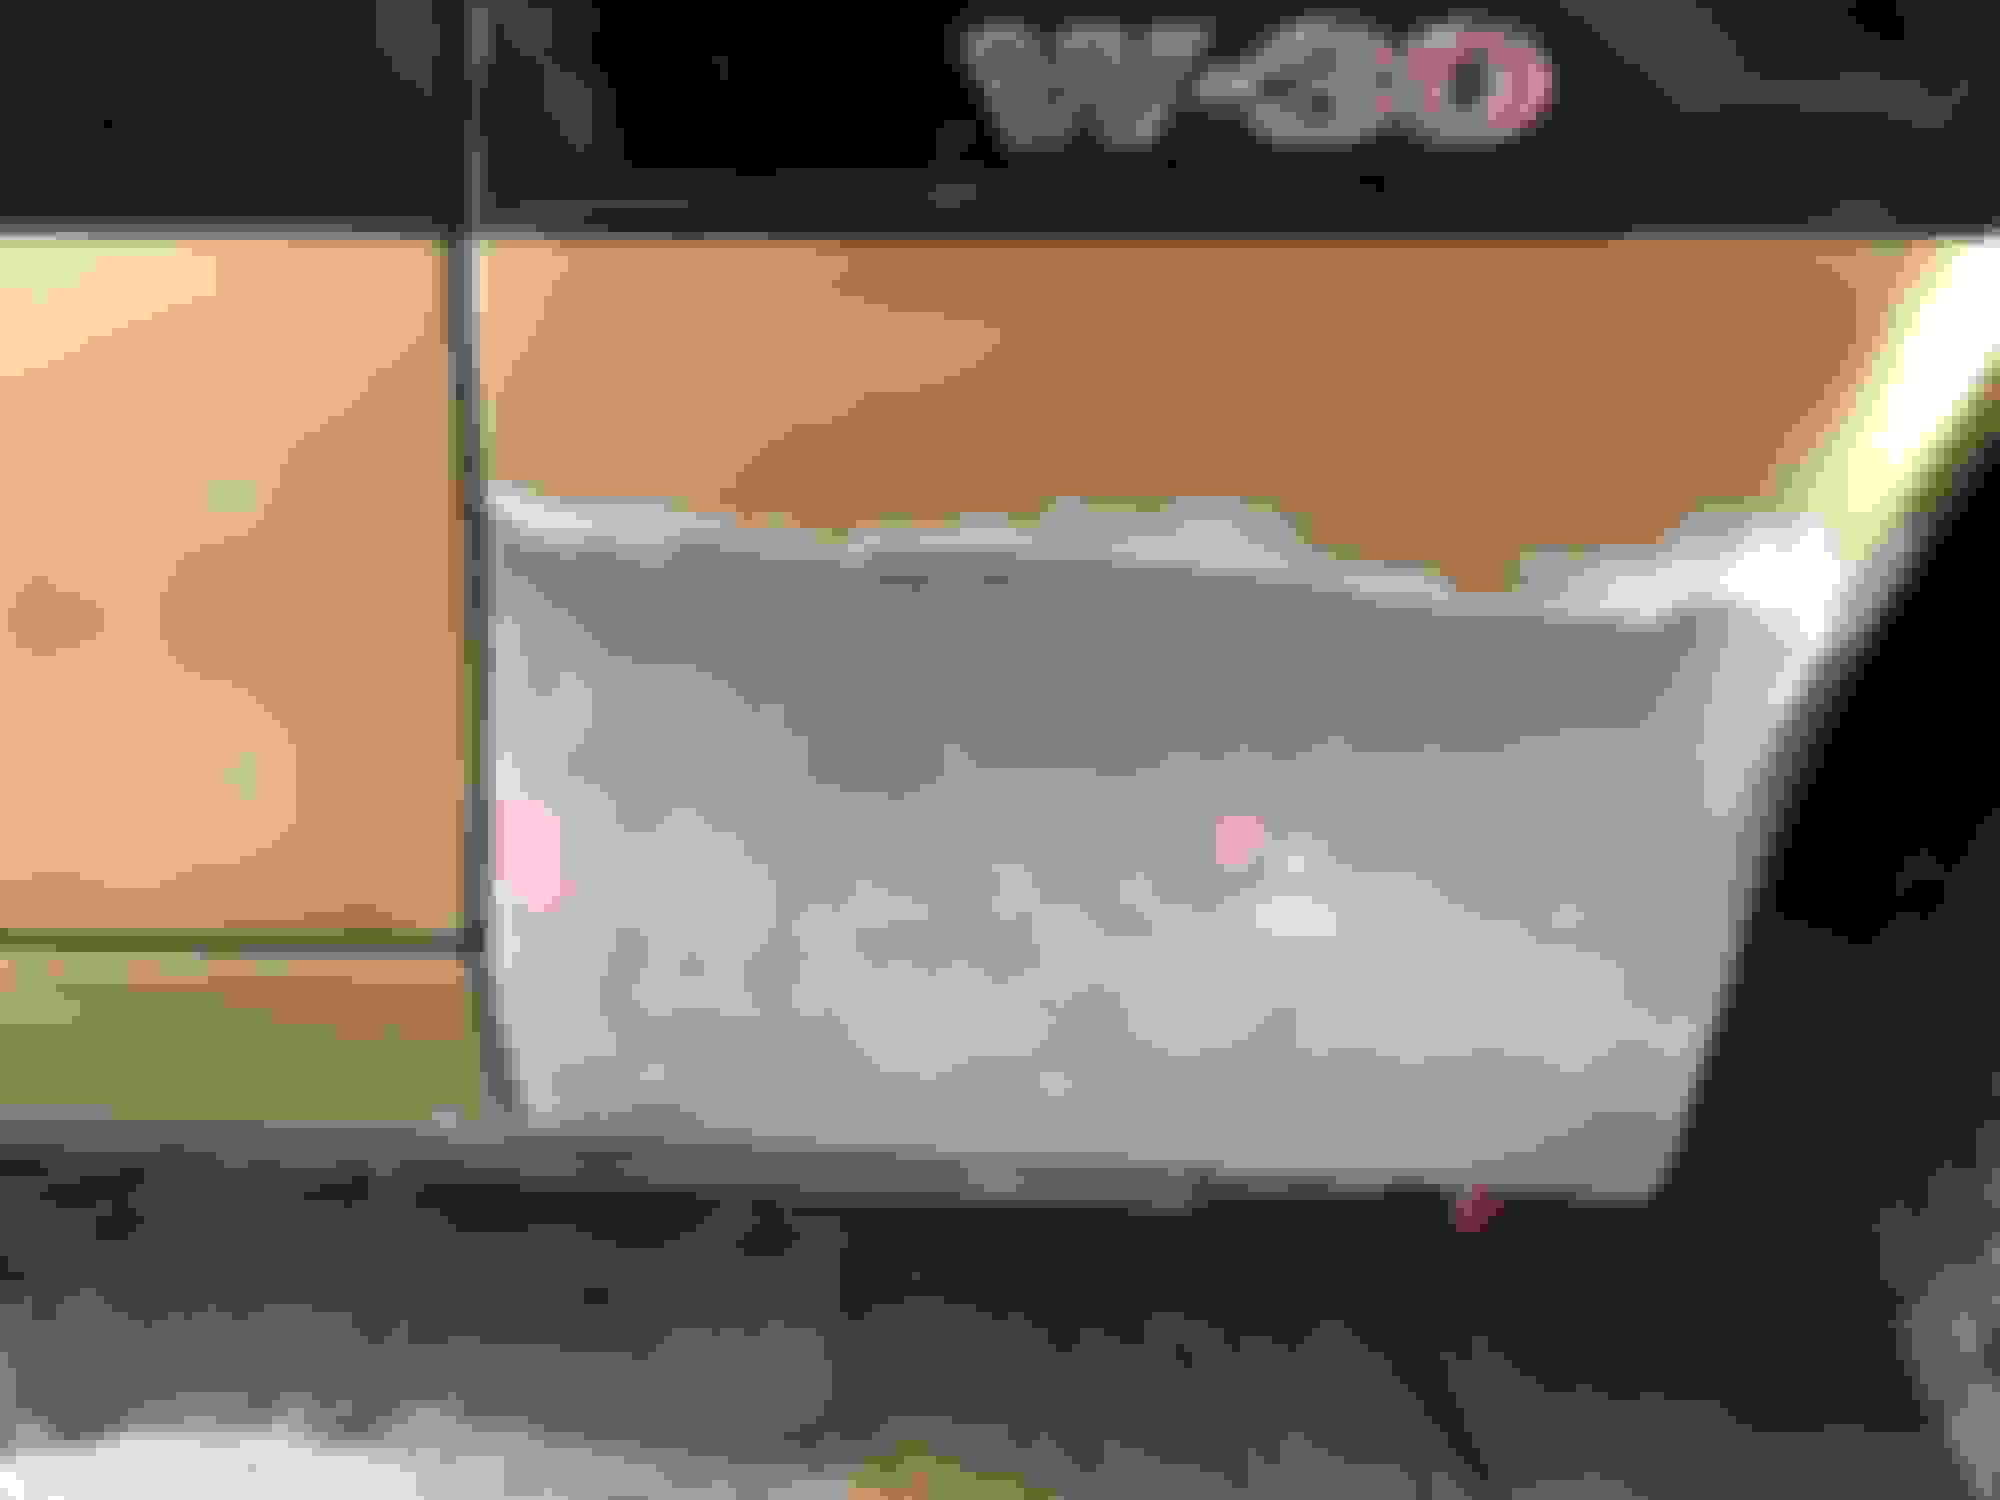
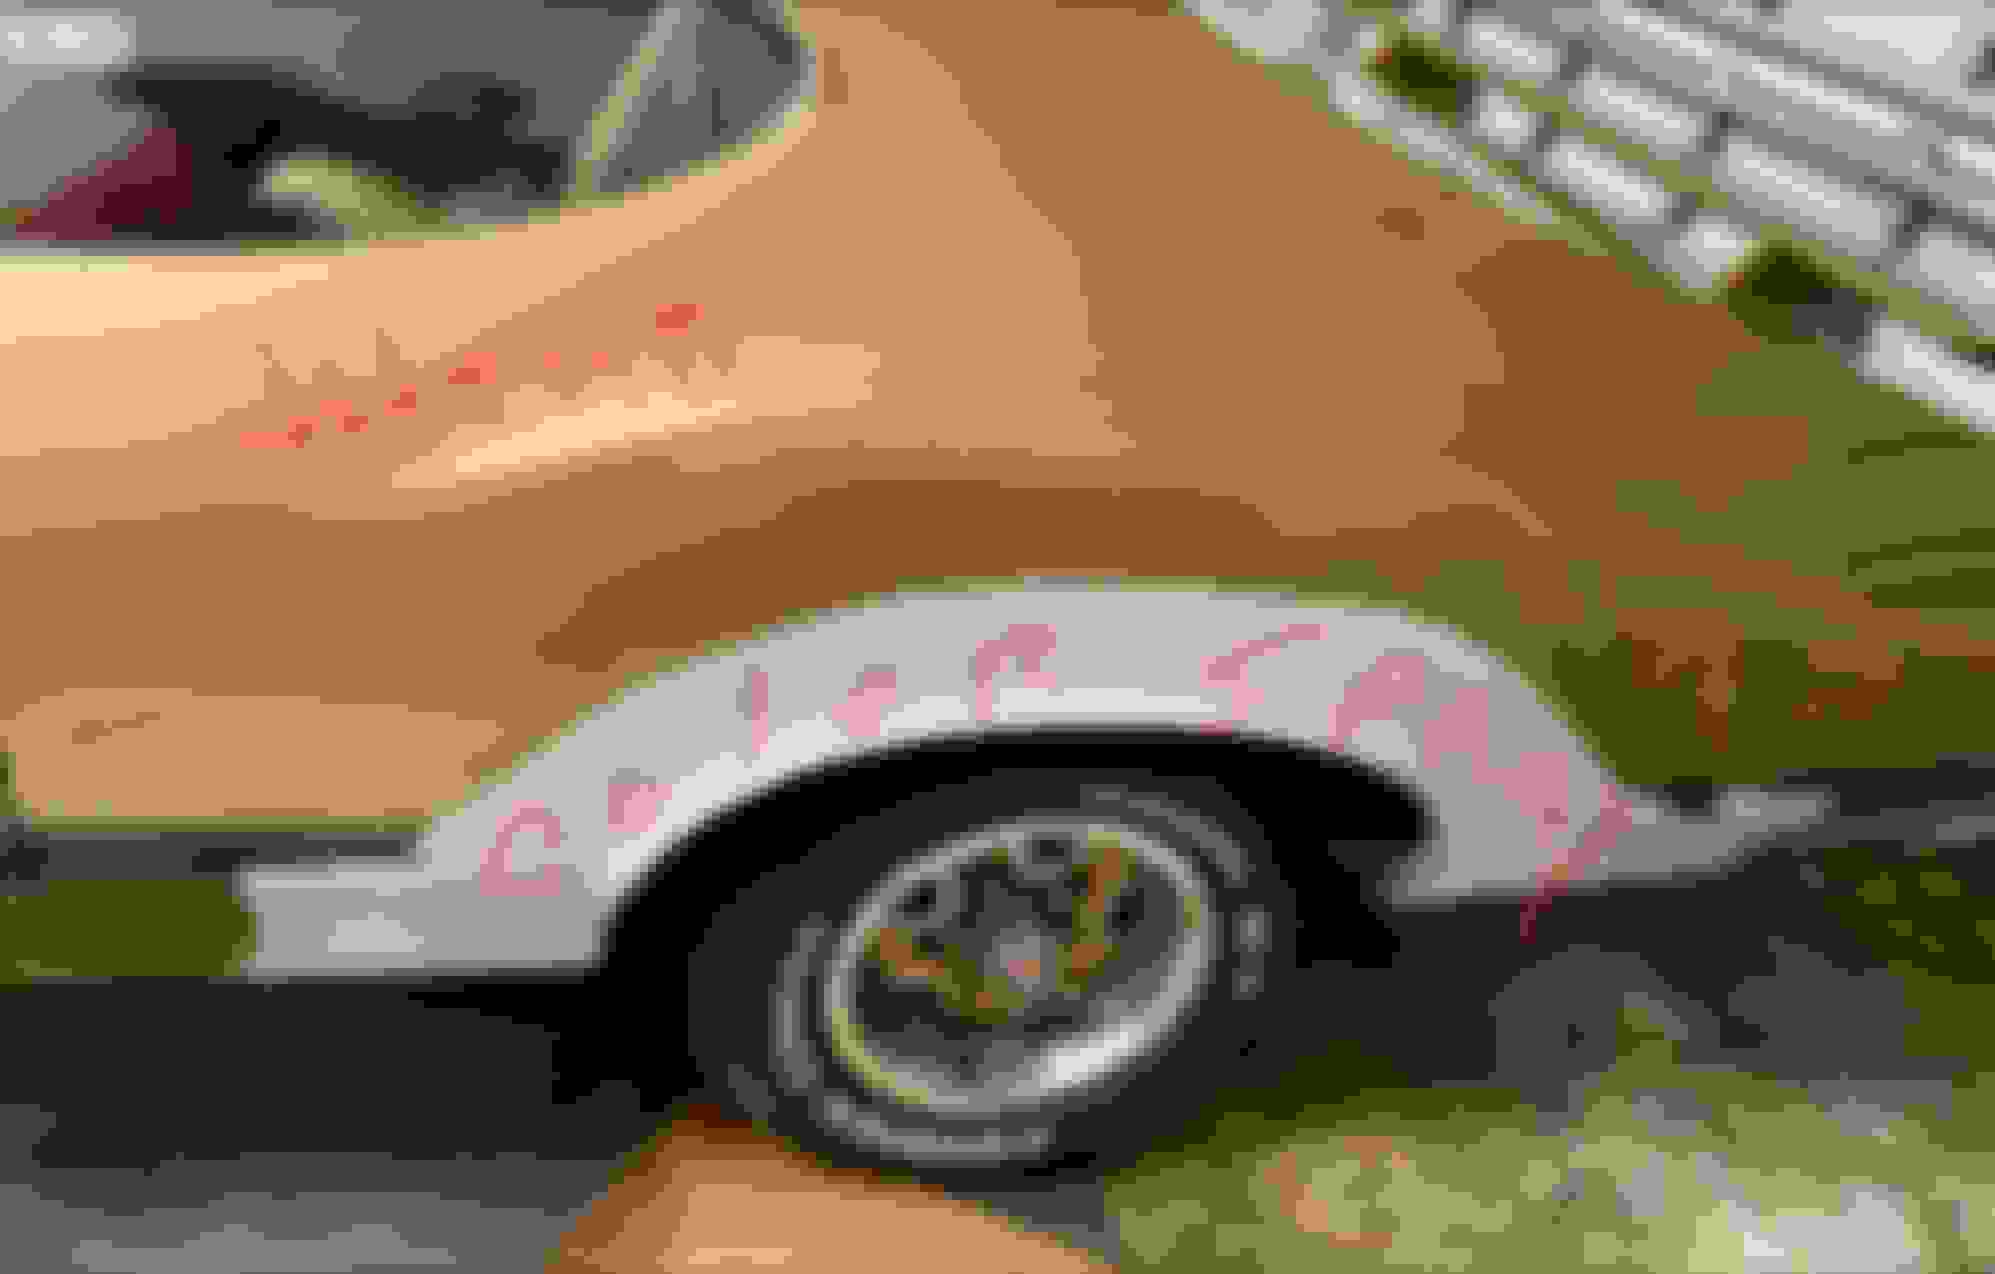
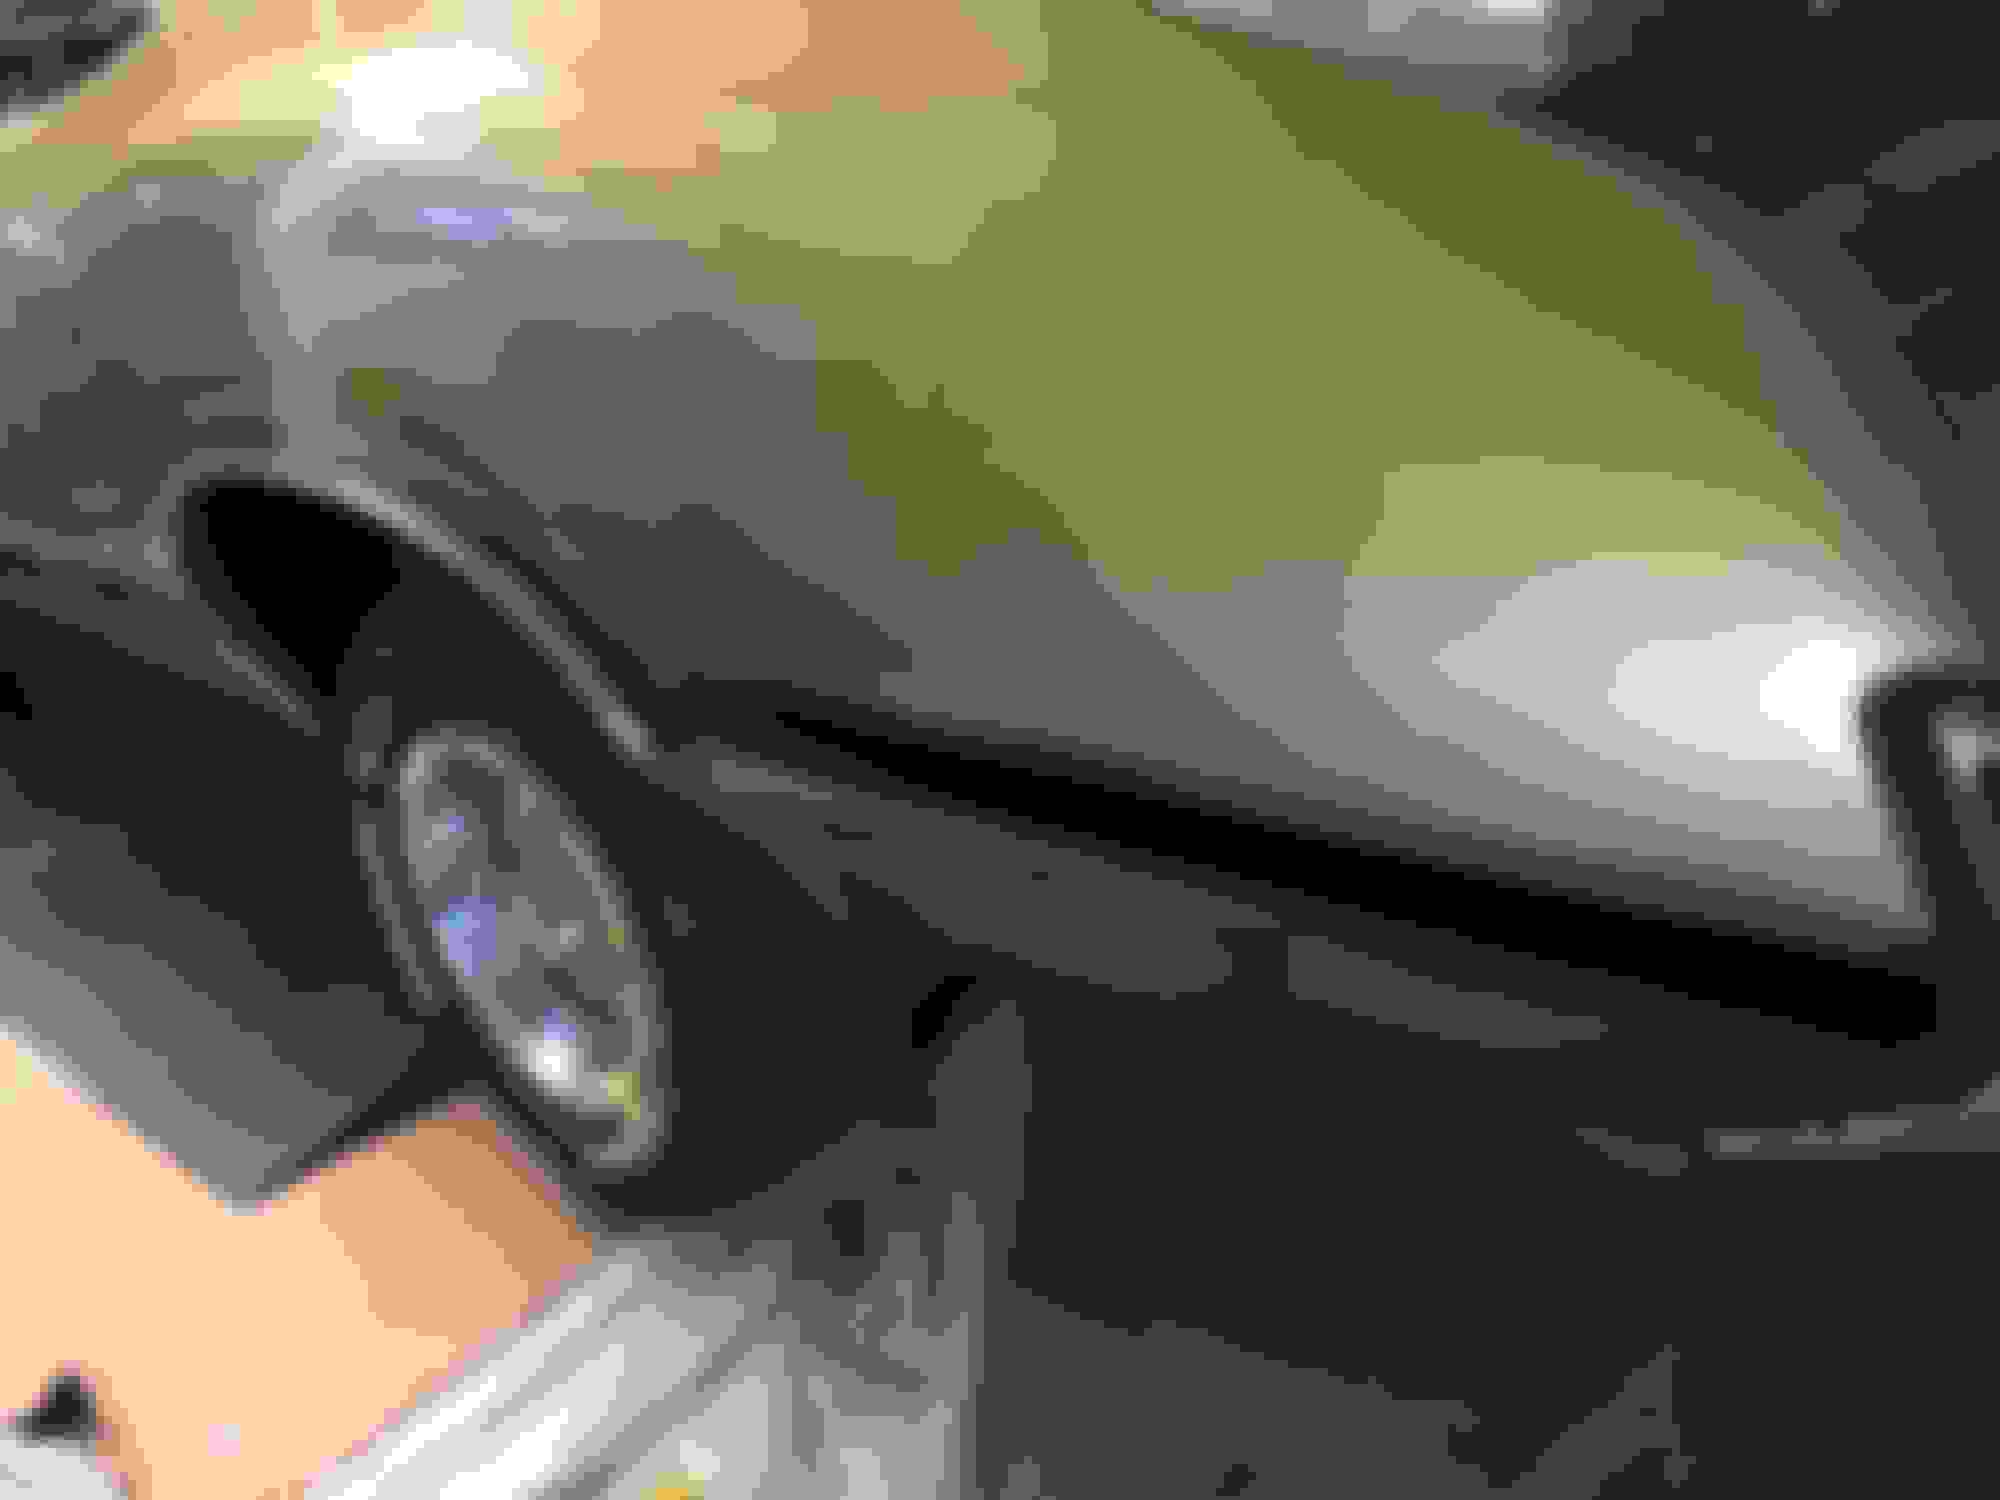
I welded in new patch panels on front fenders, this is acrylic lacquer with-a clearcoat. I sent samples to TCP global and they sent me paint back. Obviously it’s not a perfect metallic gold match I’ll have to blend a little bit. As you can see in the photo I don’t have a lot of blending room I’m gonna try and see what happens cause I want to shoot completely underneath those black stripes. My question is with lacquer do I immediately let it flash and then shoot the clearcoat on? And the second question is if I blend a little bit into that door can I just blend that clear lacquer into that clear or do I have to shoot the whole bottom of that door underneath the black line with clear
? I’ve been told before that the lacquer Clear will melt right in but I don’t know so hopefully somebody that’s done a lot of lacquer work can help me out here. Appreciate it
I would do at least the whole panel, prep work is the key, I'm going to assume your going to prime it first. When you blend your going to want to use more thinner, and yes after the paint flashes you can shoot clear.
I would do at least the whole panel, prep work is the key, I'm going to assume your going to prime it first. When you blend your going to want to use more thinner, and yes after the paint flashes you can shoot clear.
Thats a 2k primer sealer, yes I plan to shoot another coat of white primer in on that area and lightly block it down before shooting color. Color calls for 1 to 1 mix, your saying use a little more thinner in the mix when dusting into the old color?
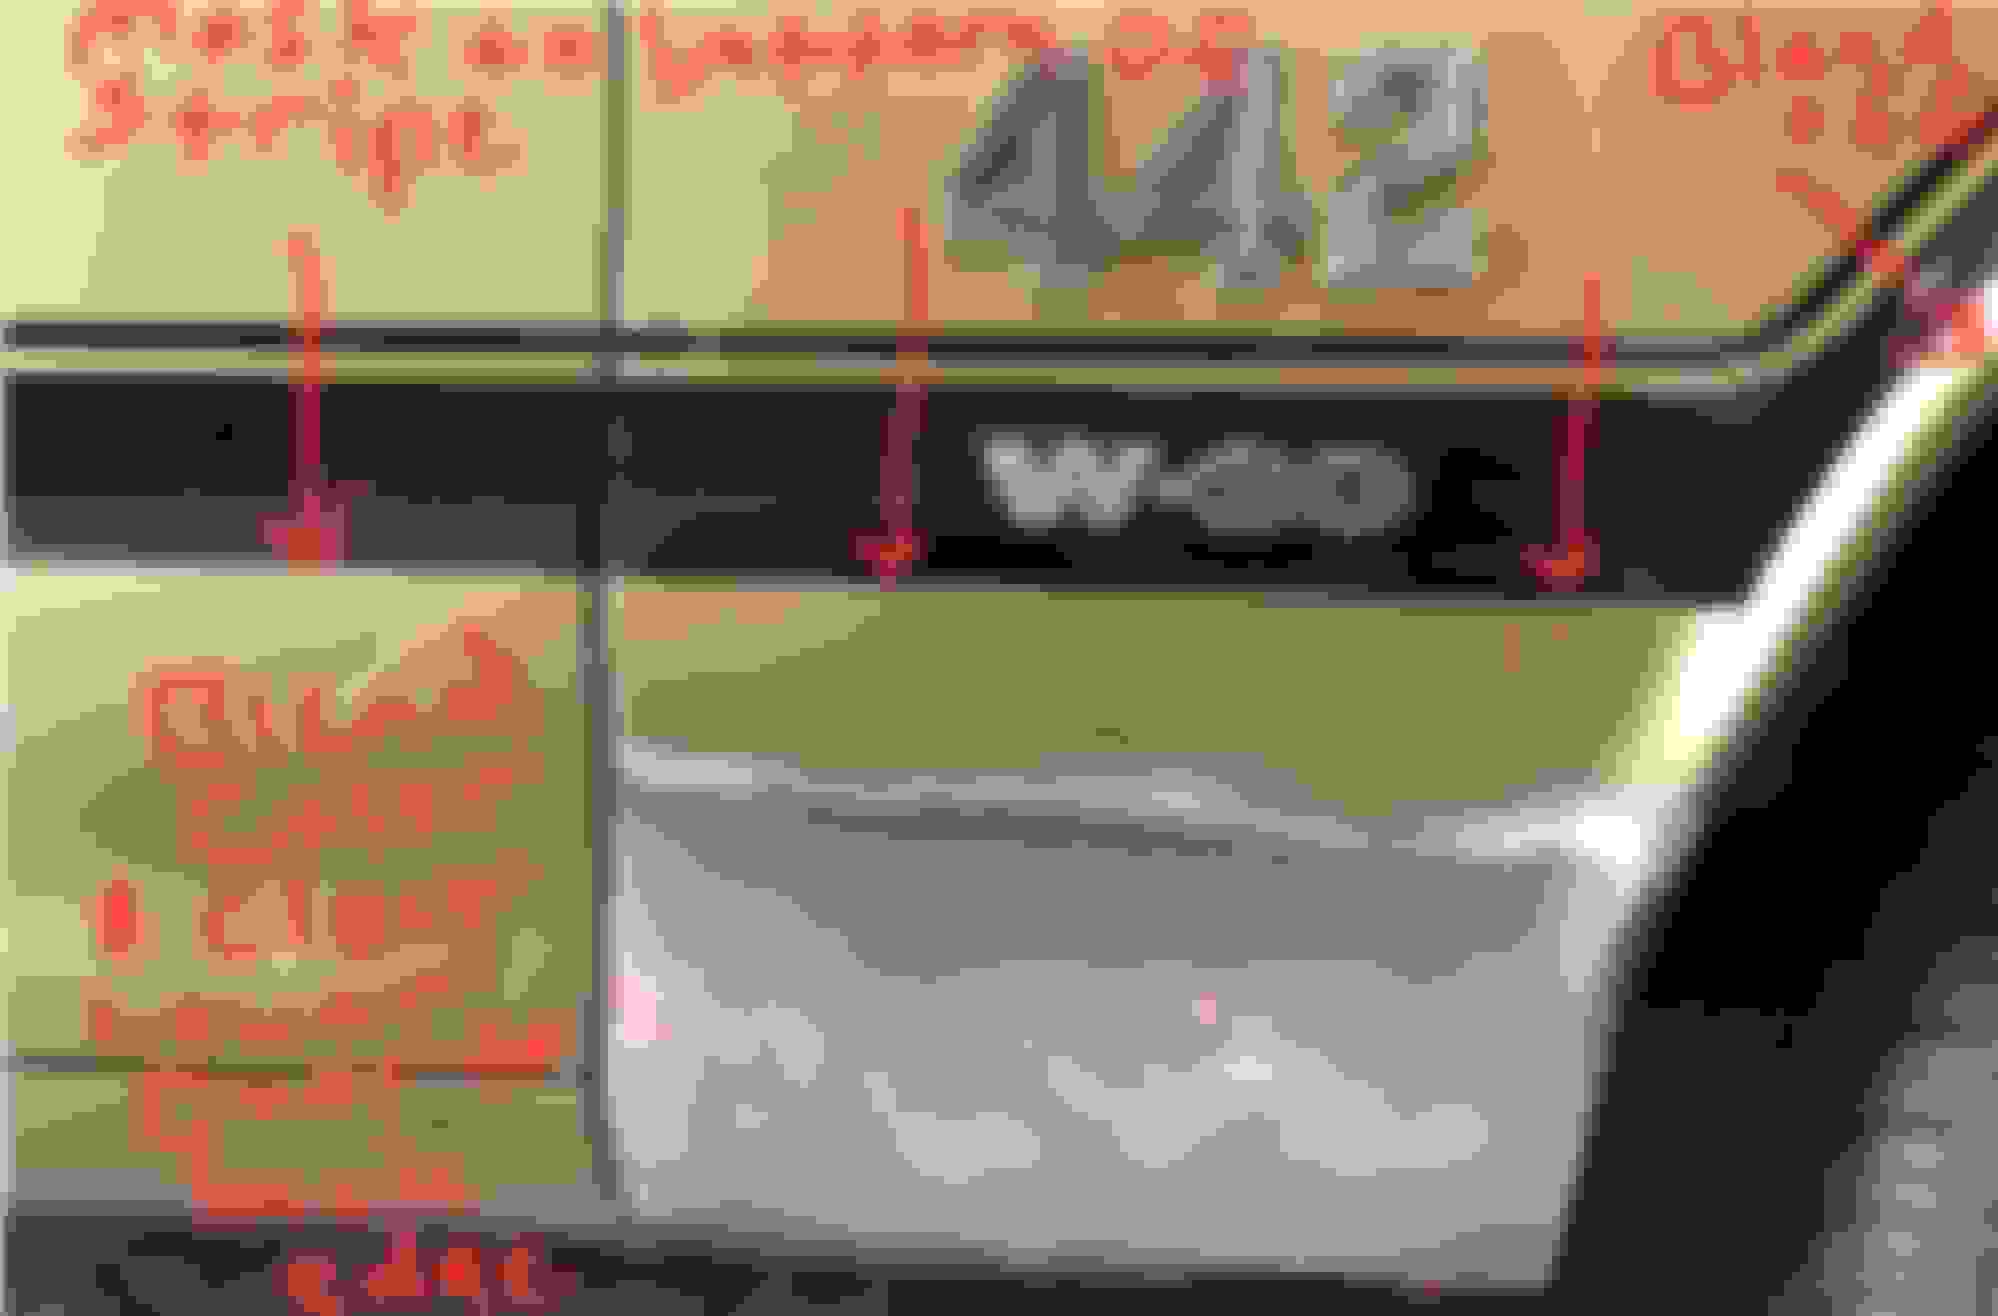
I Would-
Mask the lower edge of black stripe on fender & door
Color the lower fender and blend off color in skinny area, blend front third of door
Clear lower fender, blend off above color blend, clear the lower door to rear edge
Could blend rocker as well, just have to choose a method for masking
^^^THIS! One of the many great things about lacquer is that the clear will "melt" the preceding layers and help with the blend and the leveling. Modern BC/CC urethanes don't do that.
^^^THIS! One of the many great things about lacquer is that the clear will "melt" the preceding layers and help with the blend and the leveling. Modern BC/CC urethanes don't do that.
bccan's plan is good. The only thing I would add is to be sure you have removed any residual wax from the target surfaces with a good wax and grease remover like "Prep All". I would also knock the gloss down a bit on the surfaces you will be blending with some 800 grit paper. While lacquer will "melt" some, it doesn't hurt to open it some first and give the surface some tooth to grip the new paint.
bccan's plan is good. The only thing I would add is to be sure you have removed any residual wax from the target surfaces with a good wax and grease remover like "Prep All". I would also knock the gloss down a bit on the surfaces you will be blending with some 800 grit paper. While lacquer will "melt" some, it doesn't hurt to open it some first and give the surface some tooth to grip the new paint.
good luck.
tc
Thanks, definitely plan to use a degreaser, was going to use gray scotch bright pads to degloss..
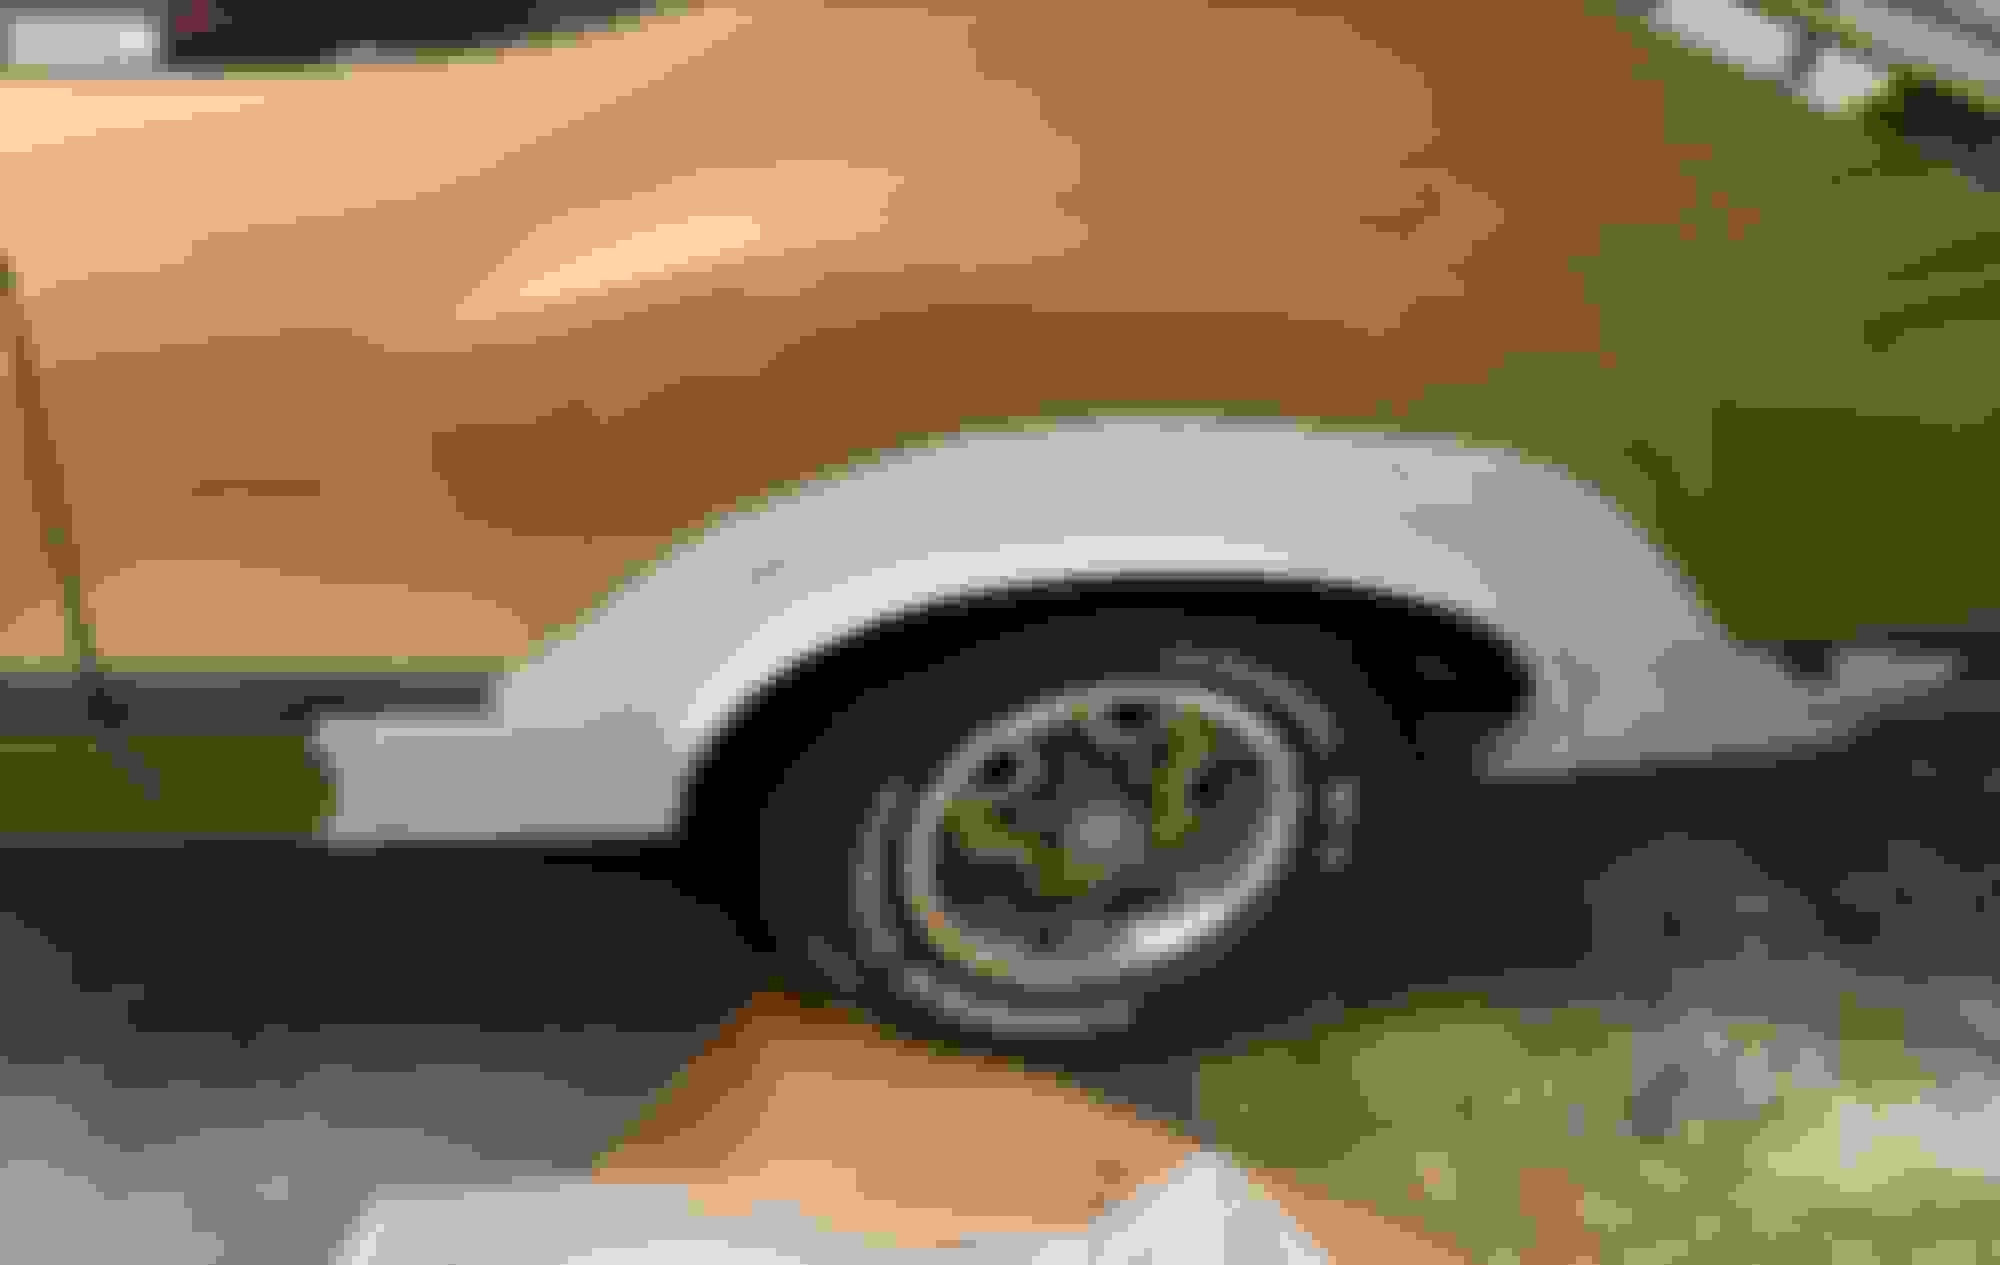
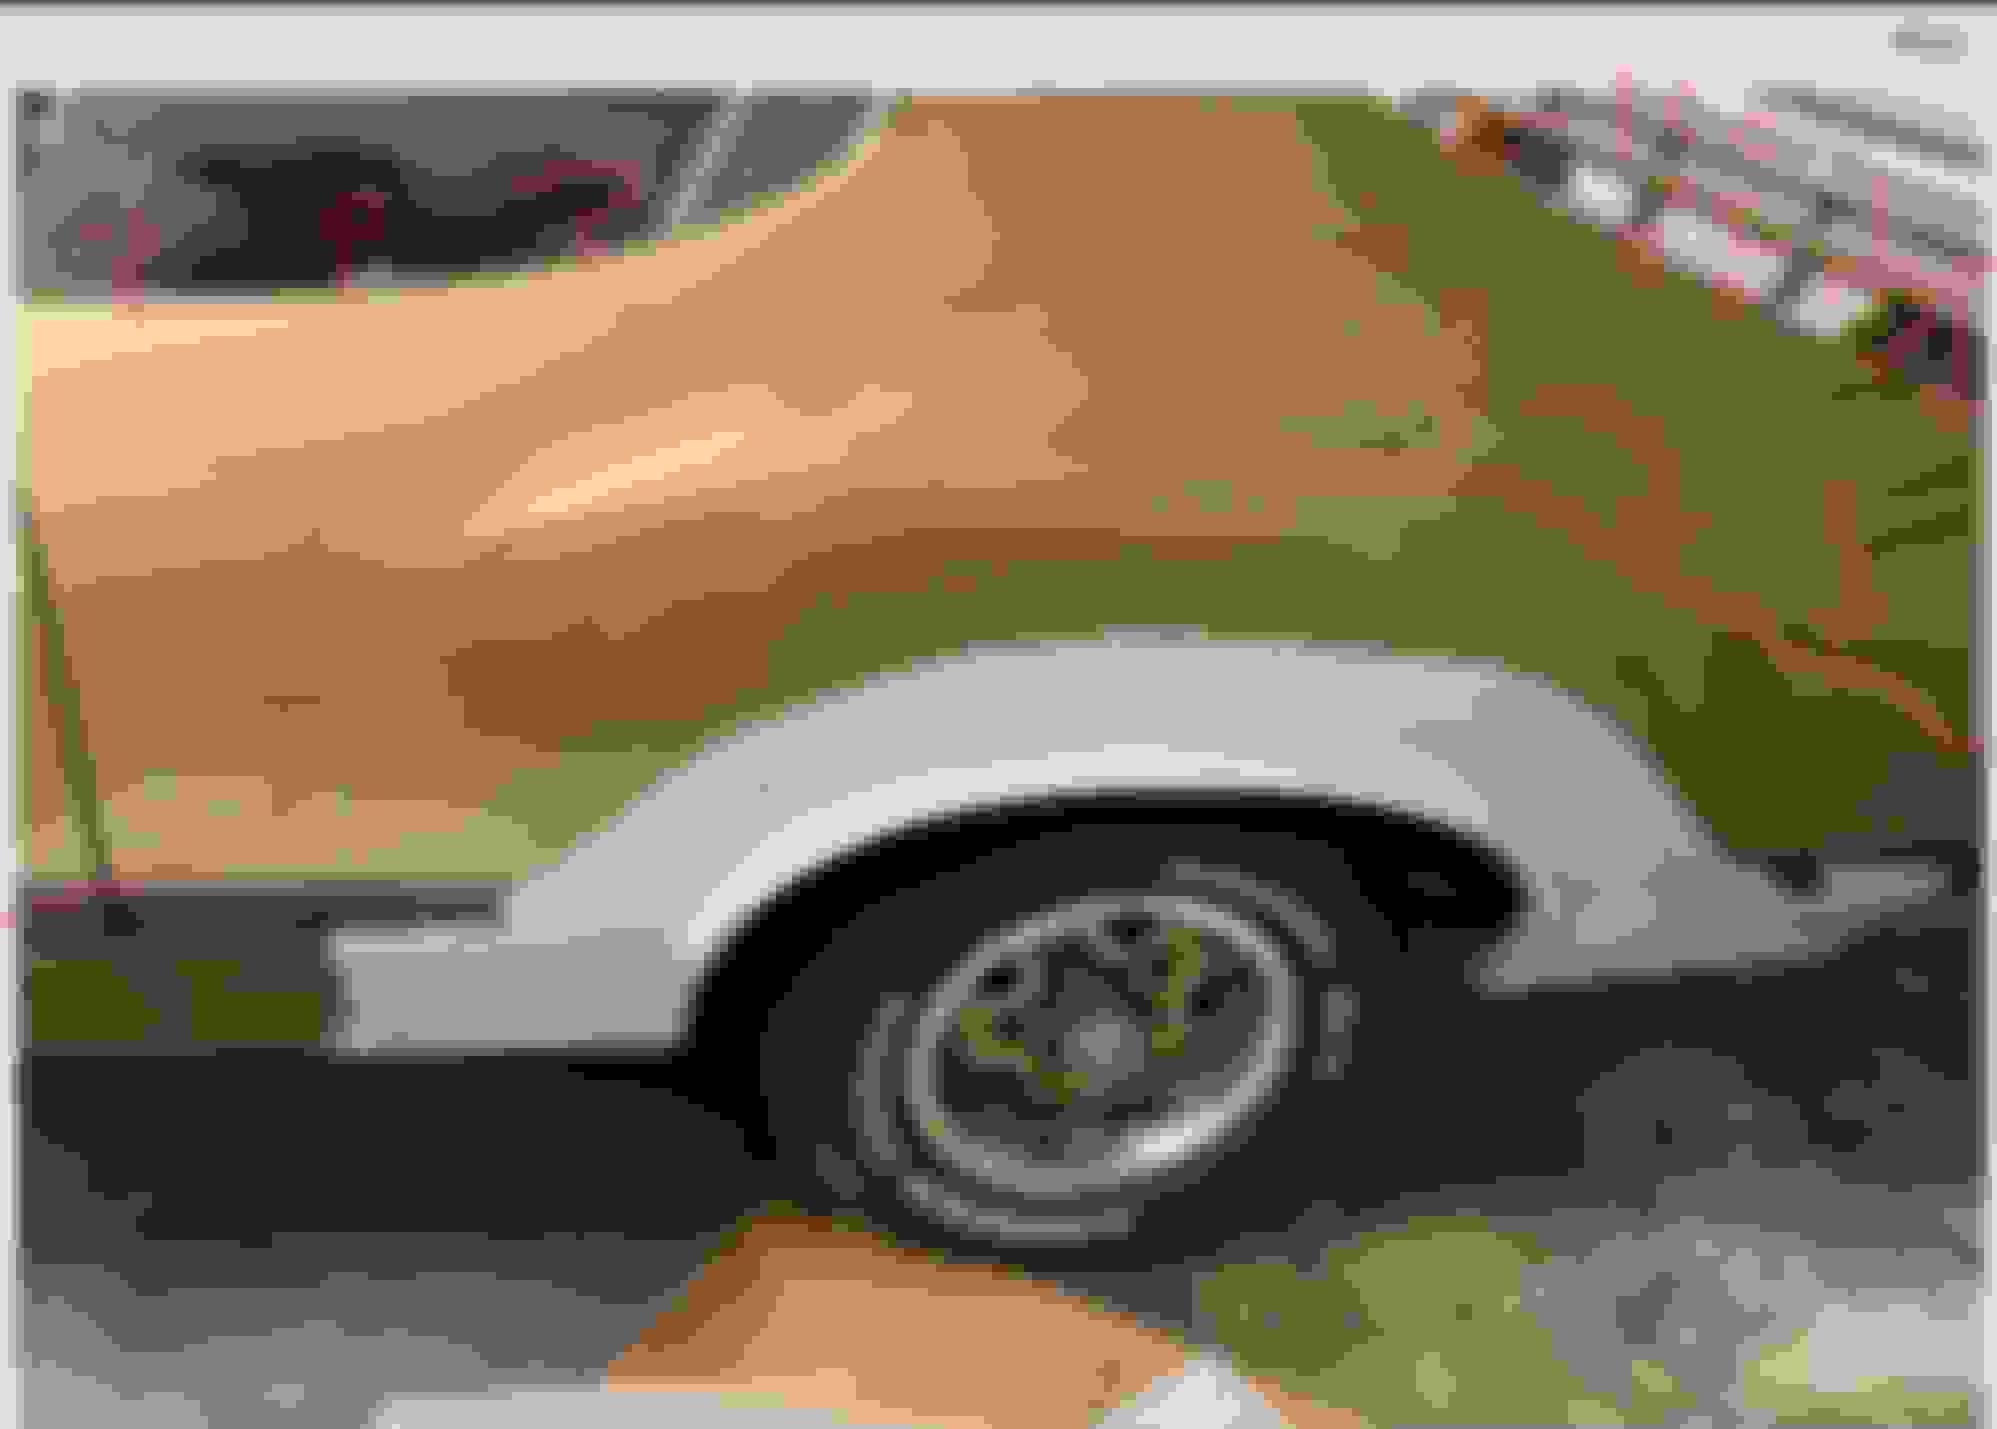
I blended half way into the door, and on fender lip as you directed..I shot it in my driveway, got a little rough feeling on clear coat, wet sanded it down and polished just the fender, will finish door tomorrow..The color is a shade darker/ greener it appears. The stripe should hide it pretty good when I’m done. The stripe should hide it pretty good when I’m done. I still have to do the other side and then I’m gonna post pictures of the rear quarter where I welded in a new quarter lip and outer fender well. That one’s not going to have a cut off line so I’m gonna have to blend into it and I’m gonna need your guys assistance and drawing like this one. On the clear I think it was a little bit warm out here in Florida, and just a little bit of breeze and I think it just kind of caused it to get rough on that clearcoat. I may have to re-shoot it once it’s done to get it right
Last edited by Andy; November 29th, 2022 at 04:34 PM.
this there’s no line to break off of so I’ll definitely need some professional thoughts on how to blend it and where to blend it. I’m a decent welder and OK at the bodywork part because you can just keep redoing that stuff so I pick it up. This is new on the painting side so I’m a very much a novice
I blended half way into the door, and on fender lip as you directed..I shot it in my driveway, got a little rough feeling on clear coat, wet sanded it down and polished just the fender, will finish door tomorrow..The color is a shade darker/ greener it appears. The stripe should hide it pretty good when I’m done. The stripe should hide it pretty good when I’m done. I still have to do the other side and then I’m gonna post pictures of the rear quarter where I welded in a new quarter lip and outer fender well. That one’s not going to have a cut off line so I’m gonna have to blend into it and I’m gonna need your guys assistance and drawing like this one. On the clear I think it was a little bit warm out here in Florida, and just a little bit of breeze and I think it just kind of caused it to get rough on that clearcoat. I may have to re-shoot it once it’s done to get it right
That looks nice. Lacquer will always have some orange peel, that's why you color sand. The beauty of lacquer is that you can.
Great job! I like the way you started with the "easier" one and learned on that. Now the more difficult paint blend will be less difficult since you have some experience. I love it!!
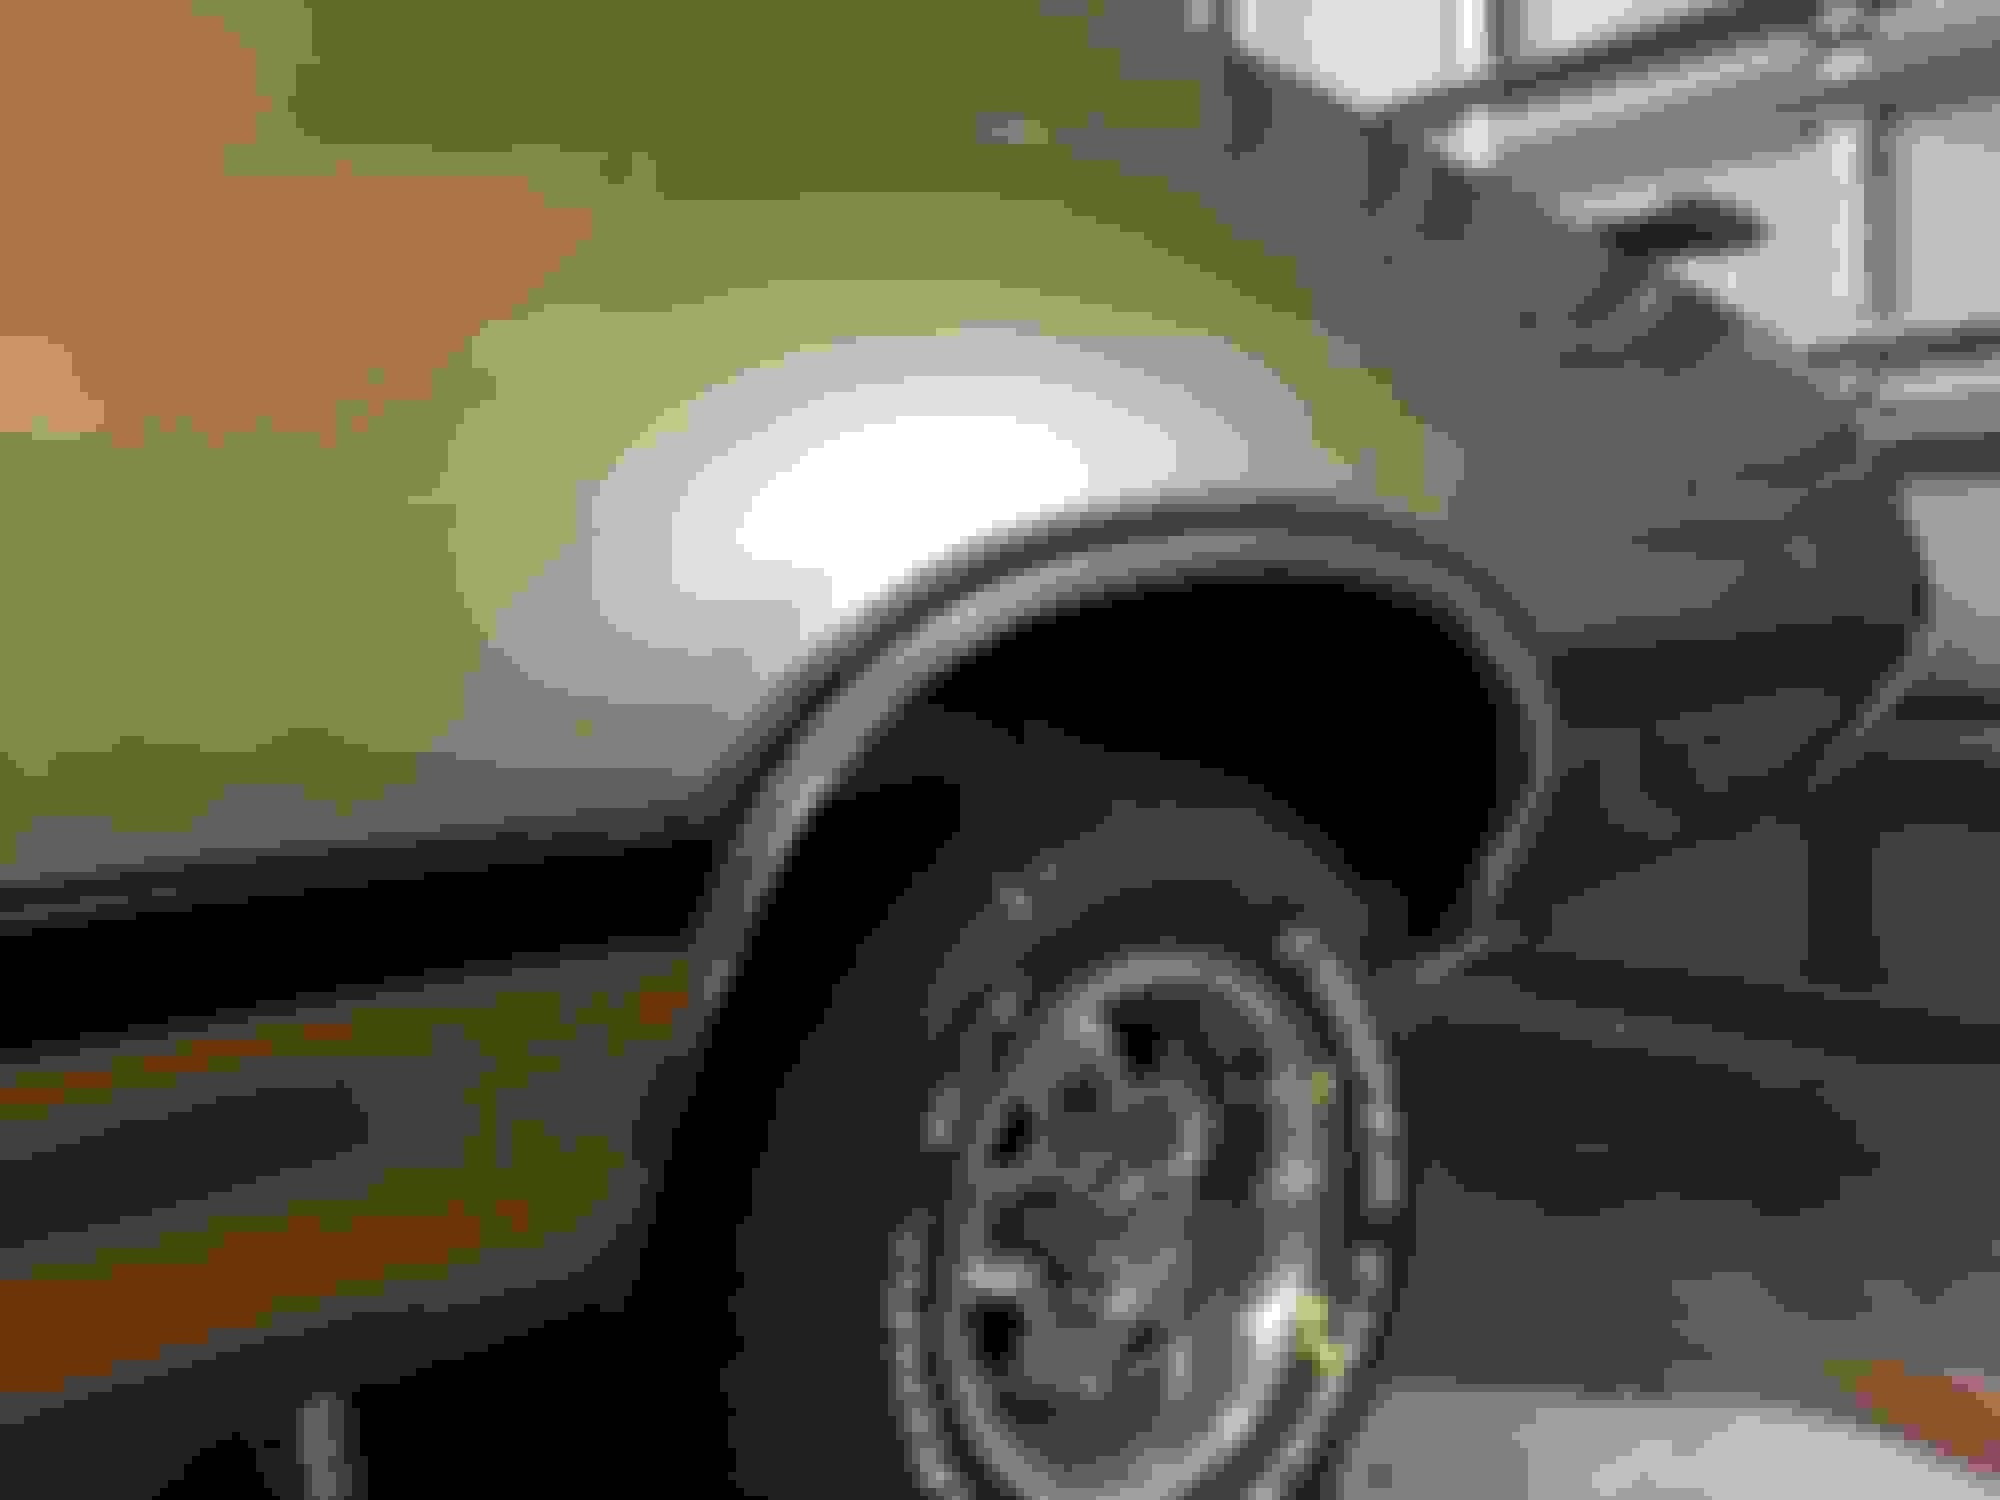
For your rear quarter, I would be inclined to take the color up to the ridge line over the hip and blend it off the front and rear where it flattens out. The reason being the light will always reflect differently at the ridge line and color variations will be less detectable. Try to fade the blend off before you get to the door line.to avoid an abrupt drop off at the door.
Easy to tape off the fender above the ridge, but tricky in front and behind the ridge. You can reduce the "hard line" effect in these areas by rolling your masking paper over forming a radius edge and staying away from it when you shoot color.
I also might be inclined to take the clear coat all the way up to the sail panel of the quarter. This minimizes the area that you will need to buff to transition out your new clear coat.
Hopefully others will chime in, we have some pros here I'm guessing who can help.
tc
Last edited by 4+4+2=10; November 30th, 2022 at 08:42 AM.
[QUOTE=4+4+2=10;1466852]Nice job ! Looks like a close color match too.
For your rear quarter, I would be inclined to take the color up to the ridge line over the hip and blend it off the front and rear where it flattens out. The reason being the light will always reflect differently at the ridge line and color variations will be less detectable. Try to fade the blend off before you get to the door line.to avoid an abrupt drop off at the door.
Easy to tape off the fender above the ridge, but tricky in front and behind the ridge. You can reduce the "hard line" effect in these areas by rolling your masking paper over forming a radius edge and staying away from it when you shoot color.
I also might be inclined to take the clear coat all the way up to the sail panel of the quarter. This minimizes the area that you will need to buff to transition out your new clear coat.
Hopefully others will chime in, we have some pros here I'm guessing who can help.
Thanks, yea I was thinking that ridge line would be a good break with the exception of each side of that ridge line is flat. Thats where I am scared, but hey only one way to find out is try I guess..The color is close but a tad greener and a tad darker..I tried spraying some color cards at 25psi, 30 psi and 35psi to see ifit lightened up at different spray pressure. it didn’t seem to make one bit of difference. I’m using a touchup gun it’s a pretty good gun so the metallic laid out decent they just didn’t do any color changes with different pressures. I did screw up when I sprayed the color and I realize now what I did because it came out rough in certain areas. I’m down in Florida and it was getting warm out and so I was using the gun to try to quick dry the paint by just holding the gun trigger open and letting air on it not realizing that was evaporate the reducer too quick leaving it dry. So I will have to probably rescuff that down and spray it again or its going to bug the **** out of me.. Its definitely a learning curve..anyone else has any ideas on blending that rear quarter help me out if ya can. Appreciate everyones help.
One side done, definitely learned some things..going to the other side..hopefully I can do better on it..then maybe I will come back to this side and fix a few areas.
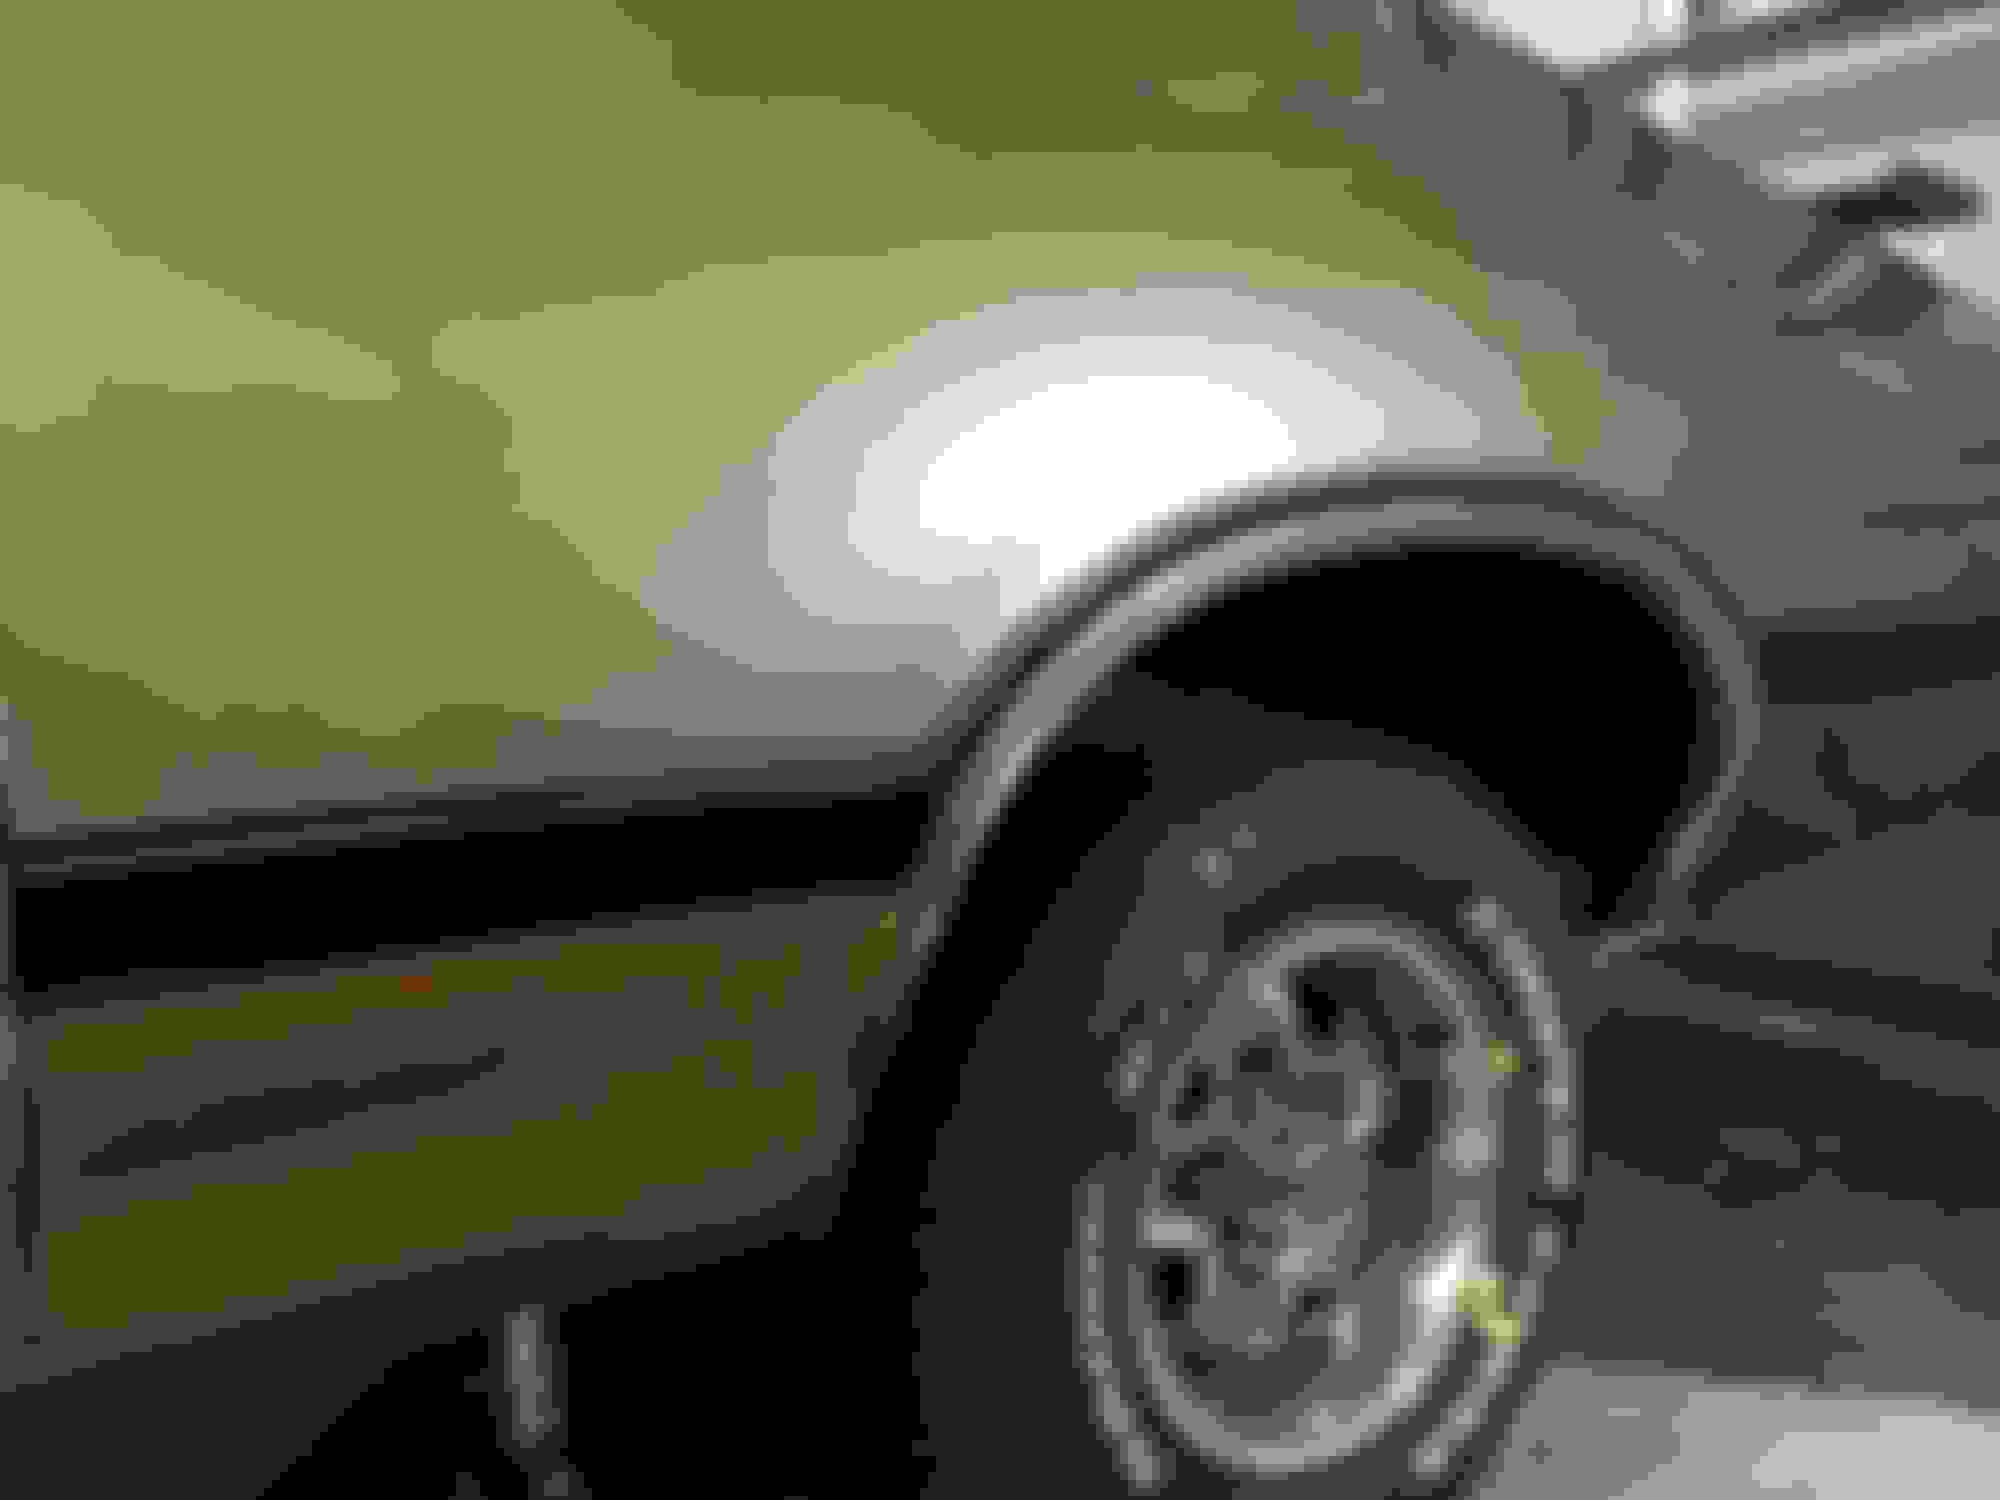
Thoughts on how to blend this area, thinking blend up to my red line, just blend not taped hard solid color, then blend left and right slightly into front and rear of rear quarter…maybe clear one coat, redo black stripes, then clear the whole rear quarter up to sail panel?. Thoughts, suggestions?
Good success with the fender, NOW comes the challenge! Looks like general consensus on qtr pnl.
Probably a dumb question but you have completed the body work after the photo was taken, right?
Decisions TBD-
Stay out of the door?
Try a huge clear blend off the eyebrow or go into the sail panel?
Clear to qtr glass molding or roll the edge?
Stripe before or after the gold?
I would typically color like marked, clear up to sail panel/roof area, blend the door and stripe, clear the upper qtr surface adjacent to trunk lid & blend off in the deck panel between trunk & back glass, but that would be with urethane paint, in a booth. It would actually look too good compared to the old paint. But! That’s a lot of spraying when not in a booth. The clear blend with lacquer will be vulnerable to the sun but if it’s generally stored inside it should be ok. Golds & silvers are difficult to blend without mottling or dark shadows. Advantage of keeping clear blend low is color/appearance glancing at car will be less apparent but can you get it melted in? Clearing whole qtr face will surely change the “tone” even where there is no color applied.
I think in this situation I would-
R & I the side light (I’m sure you have, just sayin)
Roll front, rear (near bumper if it is on the car) & top edges of qtr pnl. Roll rocker edge for an appropriate distance.
If you think you can get a decent clear blend staying slightly above the color , go for it, otherwise go to upper edges.
if “going high” I would clear to the qtr glass belt mldg but try not to “bridge” it with paint.
I would do the gold, then the stripe, then clear it.
A sticky wicket. The good news is that if it goes to Hell, you can wash it off with thinner and regroup.
Last edited by bccan; November 30th, 2022 at 06:42 PM.
Good success with the fender, NOW comes the challenge! Looks like general consensus on qtr pnl.
Probably a dumb question but you have completed the body work after the photo was taken, right?
Decisions TBD-
Stay out of the door?
Try a huge clear blend off the eyebrow or go into the sail panel?
Clear to qtr glass molding or roll the edge?
Stripe before or after the gold?
I would typically color like marked, clear up to sail panel/roof area, blend the door and stripe, clear the upper qtr surface adjacent to trunk lid & blend off in the deck panel between trunk & back glass, but that would be with urethane paint, in a booth. It would actually look too good compared to the old paint. But! That’s a lot of spraying when not in a booth. The clear blend with lacquer will be vulnerable to the sun but if it’s generally stored inside it should be ok. Golds & silvers are difficult to blend without mottling or dark shadows. Advantage of keeping clear blend low is color/appearance glancing at car will be less apparent but can you get it melted in? Clearing whole qtr face will surely change the “tone” even where there is no color applied.
I think in this situation I would-
R & I the side light (I’m sure you have, just sayin)
Roll front, rear (near bumper if it is on the car) & top edges of qtr pnl. Roll rocker edge for an appropriate distance.
If you think you can get a decent clear blend staying slightly above the color , go for it, otherwise go to upper edges.
if “going high” I would clear to the qtr glass belt mldg but try not to “bridge” it with paint.
I would do the gold, then the stripe, then clear it.
A sticky wicket. The good news is that if it goes to Hell, you can wash it off with thinner and regroup.
Thanks, yes, body work completed, rear marker light removed..starting to wonder if I would better off having a pro do that quarter panel.. lots of **** to go wrong for a novice..hmmm. 😒
I have been practicing paint pressure and flow etc on an old fender.. I should have done that before shooting passenger side fender blend..none the less I think the drivers side will be nicer, then the blending of rear quarter begins..its going to be what its going to be but I am going to do it..I am just that stubborn, notice I didn’t say smart..😂😂. Will post when done
Thanks, learning as I go..as you know neither of my cars are show cars..I don’t want a show car, I drive mine to the store, home depot, the beach pretty much everywhere..its just fun to do your own stuff even if its not perfect..your a good man Mike, you have helped me a ton..
I’m down in Florida and it was getting warm out and so I was using the gun to try to quick dry the paint by just holding the gun trigger open and letting air on it not realizing that was evaporate the reducer too quick leaving it dry.
What type of thinner are you using?
The reason I ask is that you should be using a "slow drying" thinner when painting in temperatures above 80 degrees.
It also helps to mix some extra thinner in the last coat to let the paint flow out better.
As you discovered, "forced drying" is not the thing to do.
Take your time. allow fifteen minutes between coats.
Some guys even color sand between coats, but I have never seen the necessity in that.
Last edited by Charlie Jones; December 5th, 2022 at 04:33 PM.
What type of thinner are you using?
The reason I ask is that you should be using a "slow drying" thinner when painting in temperatures above 80 degrees.
It also helps to mix some extra thinner in the last coat to let the paint flow out better.
As you discovered, "forced drying" is not the thing to do.
Take your time. allow fifteen minutes between coats.
Some guys even color sand between coats, but I have never seen the necessity in that.
I am using a slow thinner, not quite giving full 15 minutes between coats. I got the lacquer color paint laying down beautifully, but the clearcoat is the one giving me a problem and I think I’m just hurrying it when I spray it. I can move that quickly with the metallic color, but when I try to use the same pace with the clear lacquer it doesn’t seem to want to really build up and it goes on a little thin and a little dry. Obviously I wet sand and buff it out but I can do a much better job on it if I just slow down I think
Thanks, learning as I go..as you know neither of my cars are show cars..I don’t want a show car, I drive mine to the store, home depot, the beach pretty much everywhere..its just fun to do your own stuff even if its not perfect..your a good man Mike, you have helped me a ton..
You're always welcome but I'm not a paint/body guy for sure.
Also, how much pressure are you using at the gun?
You DO have a gauge with a regulator valve on your gun. Don't you?
Read your MSDS, Most lacquers spray at about 35 PSI or so, at the gun.
I am using a slow thinner, not quite giving full 15 minutes between coats. I got the lacquer color paint laying down beautifully, but the clearcoat is the one giving me a problem and I think I’m just hurrying it when I spray it. I can move that quickly with the metallic color, but when I try to use the same pace with the clear lacquer it doesn’t seem to want to really build up and it goes on a little thin and a little dry. Obviously I wet sand and buff it out but I can do a much better job on it if I just slow down I think
Clear coat, especially high solids clear coat shoots better with a larger tip like 1.4. Mixing in more thinner and moving slower is the way to compensate. In doing this you really do need to allow enough time between coats to flash off the extra thinner.
The driver side looks really nice btw. You are picking up this painting stuff pretty fast!
Also, how much pressure are you using at the gun?
You DO have a gauge with a regulator valve on your gun. Don't you?
Read your MSDS, Most lacquers spray at about 35 PSI or so, at the gun.
On the paint and clear with thinner I purchased from tcp global there was not a msds sheet, talking to the tech at there company he said play around with pressures, using a hvlp touch up gun anywhere from 20-35 psi..I practiced with the metallic paint and 25-30 psi seems to be the sweet spot..I was shooting the clear at the same psi..I tried 35 on the paint and-it didn’t make it any better or worse than at 25 psi, just more overspray..plan to practice a little clear on my training fender..
[QUOTE=Andy;1468120]On the paint and clear with thinner I purchased from tcp global there was not a msds sheet, .[/QUOTE}
Here is the tech sheet for TCP Global lacquer; Microsoft Word - techsheet_al.doc (tcpglobal.com)
On the paint and clear with thinner I purchased from tcp global there was not a msds sheet, .[/QUOTE}
Here is the tech sheet for TCP Global lacquer; Microsoft Word - techsheet_al.doc (tcpglobal.com)
Thank you, in reading it the air pressures shared are conventional guns.. pressure on hvlp guns shows 8-10 at tip? I am using 25 ish at the guage going into the gun..how would you equate that to tip pressure? . I definitely should give it more time after final color coat before attempting to clear it..
Last edited by Andy; December 7th, 2022 at 05:50 AM.
I finally finished the rear quarter blend..I had to do it three times to get it body work right and get the blend decent, not perfect looks pretty good for my first foray.. blending took a few attempts, finally got it close..still needs a little touch up blend by the eyebrow..stripe turned out good however there is a mistake..I will let you all pick it out..
Looks great Andy.. I've been wondering how you were coming along, thanks for the update.
tc
Ended up with Covid, had to put my mom in a nursing home. **** happens, then of course I had to do the same two or three times to get it right. Finally I watched a guy on YouTube that starts with color and blends up a certain spot that he mixes the color with the clear 50%, and blends up a little higher then adds a little bit more clear so you’re basically 70% clear 30% paint and blends up and that worked out smooth. Fortunately acrylic lacquer and acrylic clear are compatible and use the same thinners so it worked out good that’s a really good way to do it. Thank you. You didn’t notice the mistake in the stripe huh lol.. its there
 November 28th, 2022, 01:25 PM